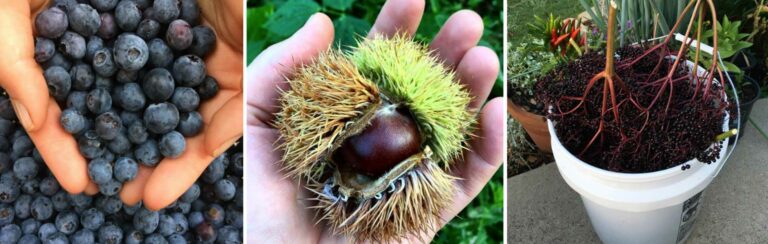
Perennial Power: 5 Fruit and Nut Plants You Should Start This Fall
Plant these high-performing perennial fruit and nut trees today, and you’ll get food for a lifetime AND pass something on to future generations.
Plant these high-performing perennial fruit and nut trees today, and you’ll get food for a lifetime AND pass something on to future generations.
Happiness versus pleasure. What’s the difference? Knowing the answer could make all the difference to your longterm wellbeing.
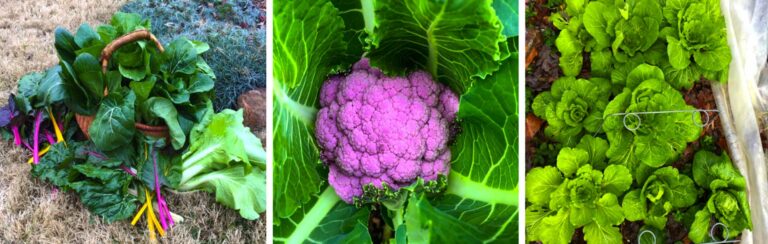
Would you like to be able to harvest fresh food from your very own fall and winter garden no matter where you live? Here’s how!
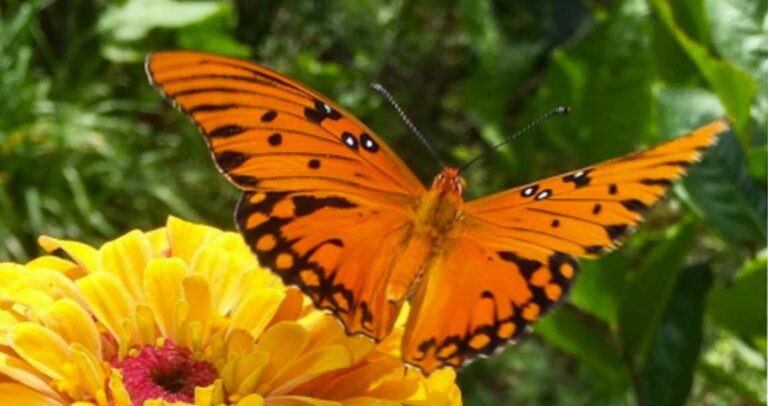
We’d like to introduce you to Fred the Gulf fritillary butterfly. He’d like to tell you a little about himself and his friends…
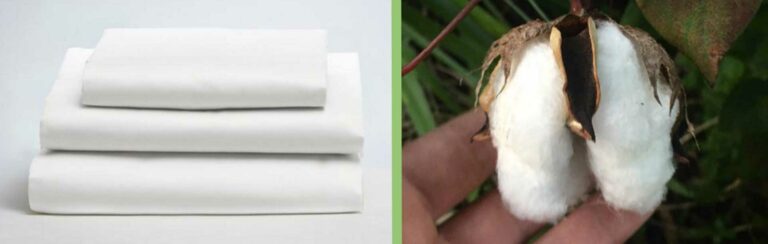
Trying to find the perfect set of bed sheets or organic bed sheets? Here’s a simple guide to help you make the right decision.

Corn smut (aka huitlacoche aka Mexican truffles) is a delicacy. We just created this delicious huitlacoche soup recipe and it was a big crowd pleaser.

Anyone who knows Aaron and me is well aware that we’ve recently become obsessed with knowing where our food comes from, how it’s grown, what’s in it… we’re so careful …
460,000,000 acres of farmland in the US grows garbage, food that we put in the trash. What can you do to help?
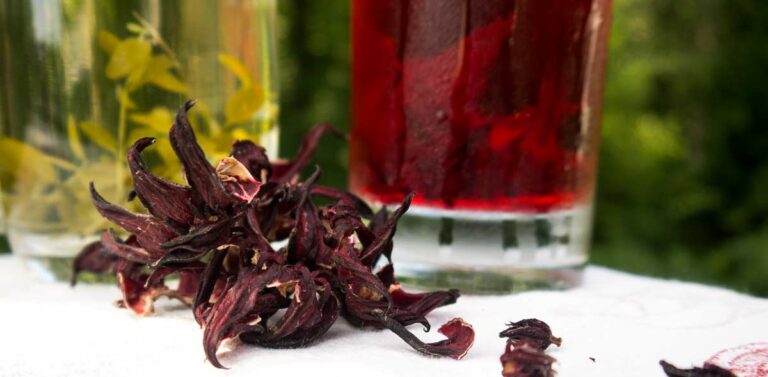
What’s the only caffeinated plant native to N. America? What stings like a jellyfish but tastes like flowers and cucumbers? The answers may be in your yard.

Elderberry syrup is a delicious beverage that also has proven flu and cold-fighting benefits. Find out how to make your own elderberry syrup from fresh or frozen berries!
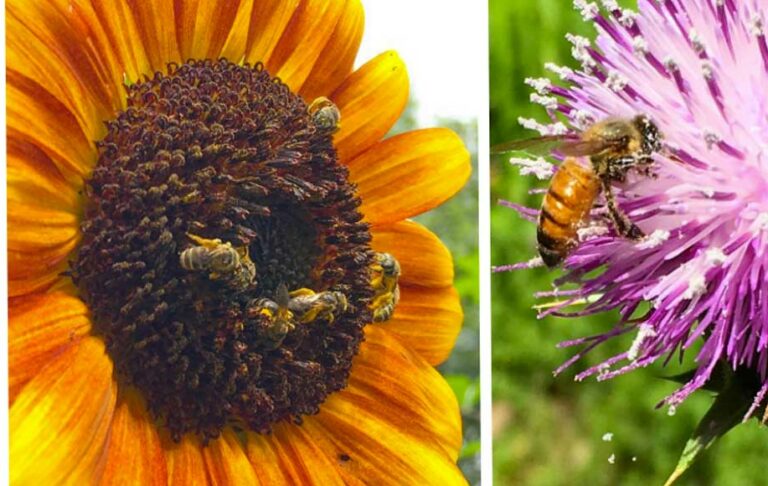
A list of our top-10 favorite pollinator plants for the summer garden, many of which are edible and medicinal.
Good, fast food? Yep. You can learn how to make incredibly healthy, delicious food for a fraction of the time and cost of eating out.
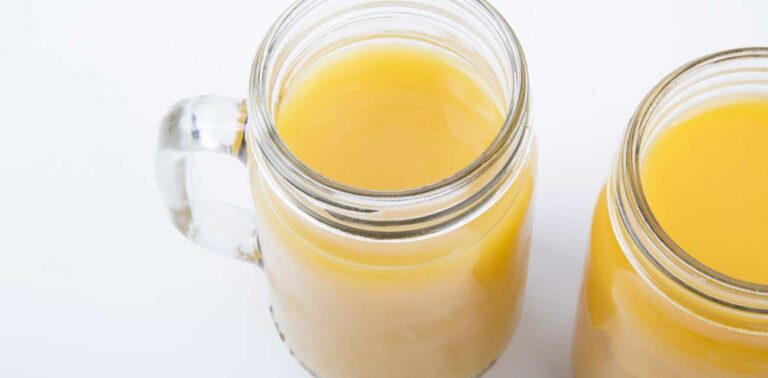
Should you stop drinking juice? Why or why not? Having a good food philosophy grounded in anthropology/science will keep you from getting duped.
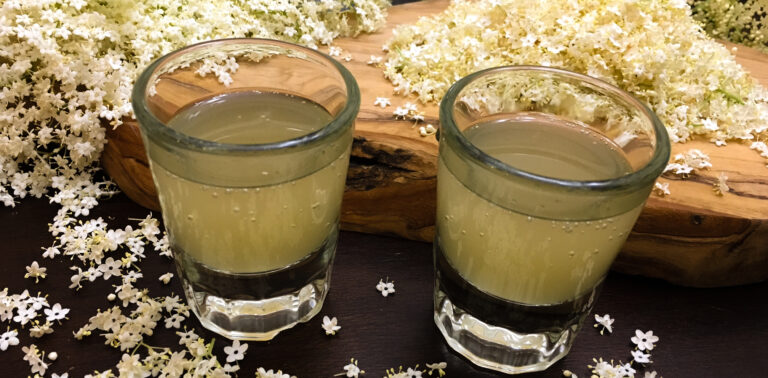
Learn how to make your own sparkling elderflower cordial, a fermented probiotic digestif that’s amazingly delicious.
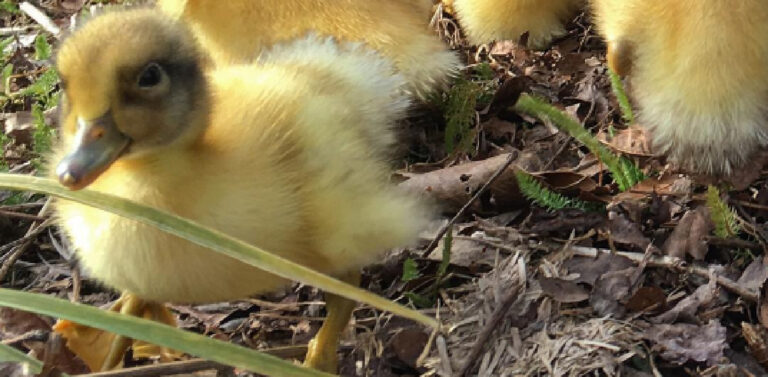
If you got Easter ducklings (or ducklings any other time of the year) then realized they’re more than you can handle, here’s what to do…