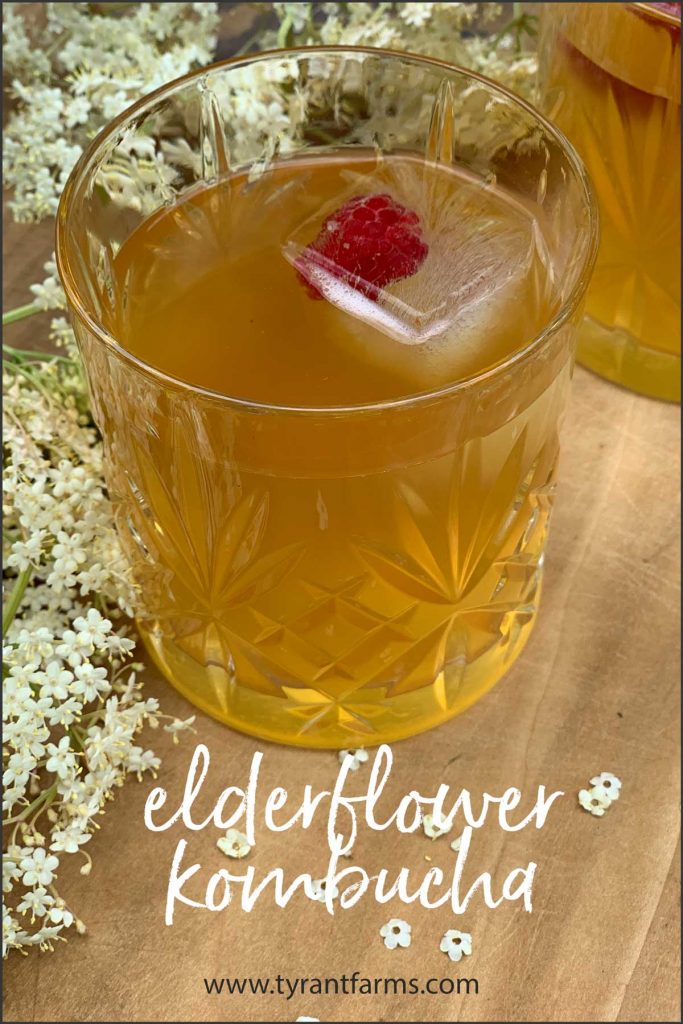
Recipe: Elderflower kombucha
Tyrant Farms' articles are created by real people with real experience. Our articles are free and supported by readers like you, which is why there are ads on our site. Please consider buying (or gifting) our books about raising ducks and raising geese. Also, when you buy through links on our site, we may earn an affiliate commission. Learn more
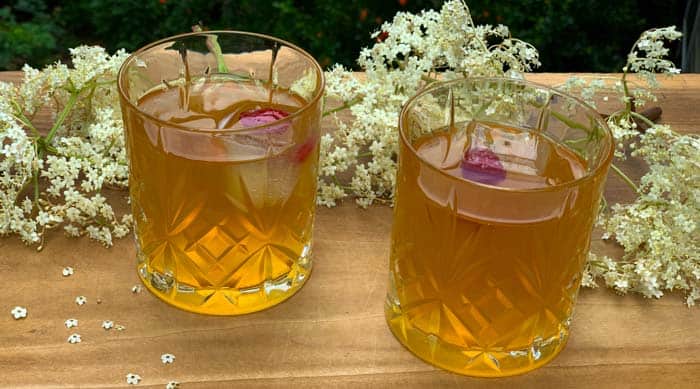
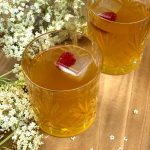
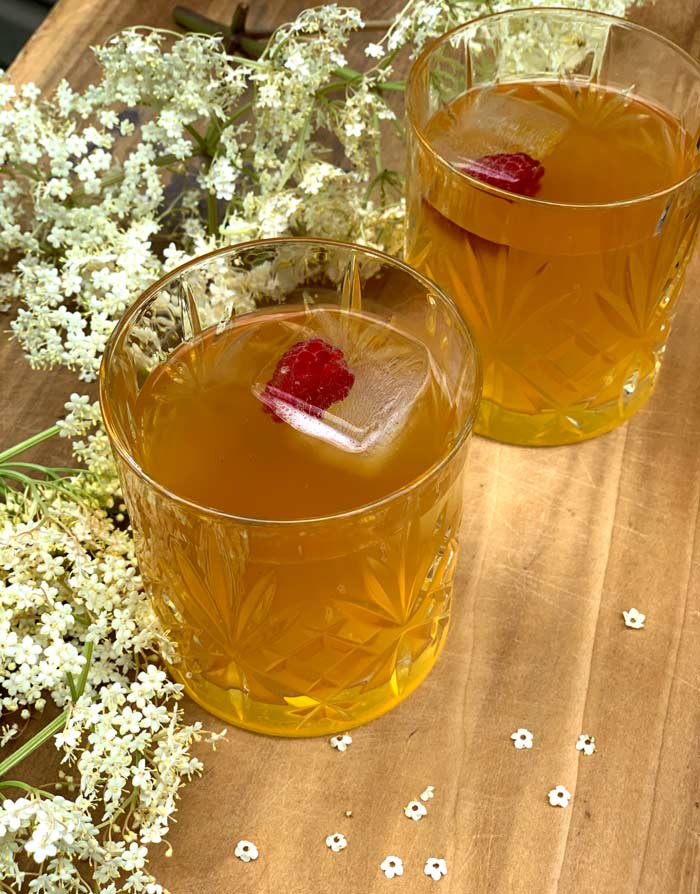
Find out how to make elderflower kombucha: a delicious easy-to-make beverage with probiotic properties.
If you go into our kitchen, you’ll see a large glass jar with a breathable cloth affixed over the lid. Inside the jar is a honey-colored liquid with what appears to be a mysterious sea creature floating on the surface.
Pet jellyfish? Albino seaweed?
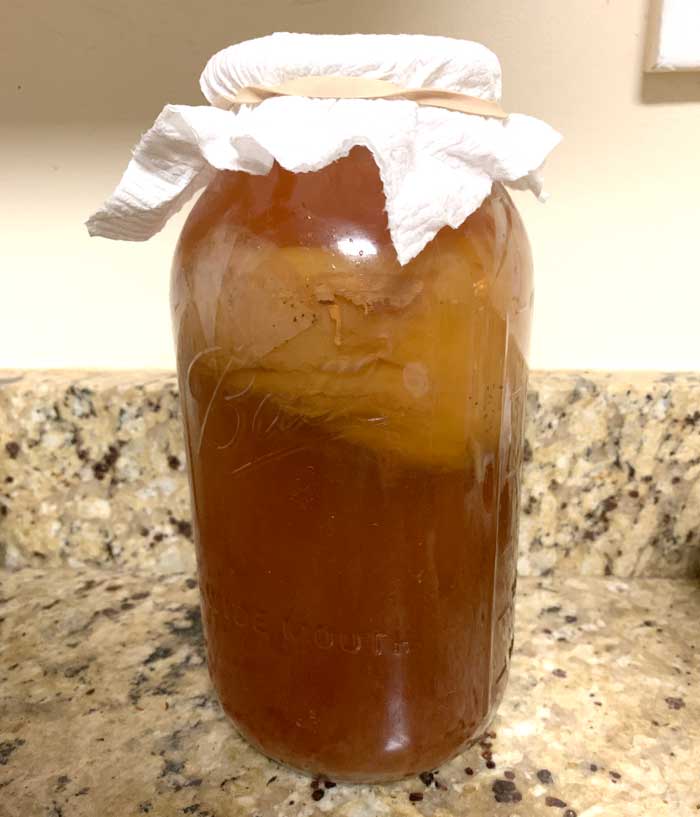
Nope, the floating mass isn’t a sea creature or even a single organism. It’s actually a holobiont; a SCOBY (symbiotic culture of bacteria and yeast) that makes the drink called kombucha.
Our kombucha SCOBY lives in a sugar-rich black and green tea mixture. After 2-4 weeks, the SCOBY has digested nearly all the sugar in the tea, converting it into gluconic and acetic acid. At that point, we strain out the SCOBY mother, refrigerate the liquid to arrest continued fermentation, and repeat the process.
Yes, making your own kombucha is ridiculously easy and there’s no reason to buy a bottle of expensive commercial kombucha when you can make your own. This is especially true when you know how to start making your own flavored kombuchas with garden-fresh or foraged ingredients like elderflowers.
What do you need to make kombucha?
All you need to make your own homemade kombucha is:
- a kombucha SCOBY mother,
- organic black tea (we’ve slowly trained our SCOBY to live on ~40% green tea as well),
- organic cane sugar, and
- *non-chlorinated water.
(*We live in an area of the country with really good public water sourced from mountain springs, and have not found our tap water to negatively effect kombucha development, even though it has chloramine added to it.)
Making flavored kombucha
Kombucha has a characteristic tangy, sour flavor that’s very similar to a mild, sweet vinegar. However, when you’re making your own kombucha, you can sweeten it, water it down, or flavor it however you’d like.
Ideal flavorings for kombucha are fresh homegrown fruit or edible flowers, each of which may also add unique colors to your final kombucha. Depending on the ingredient you use, instructions may vary.
Fruit is typically chopped, added to the “booch” (the abbreviated term used by kombucha aficionados), then strained out after 2-3 days. Making flower-infused kombuchas where the flower flavor really shines through requires a bit more work…
How to make elderflower kombucha
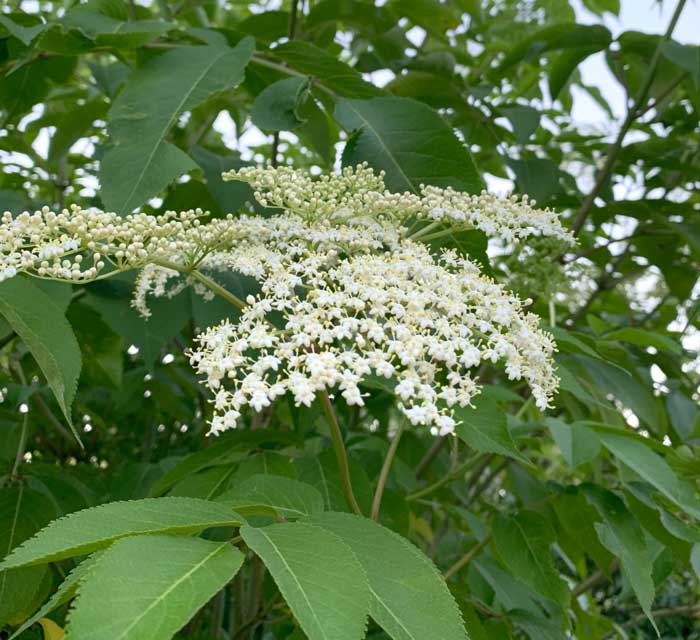
Since we grow elderberries, we have access to tons of elderflowers in late spring. We harvest elderflowers from the outer branches of our trees that have either been blown over during storms or won’t be able to sustain the weight of ripening berries without snapping.
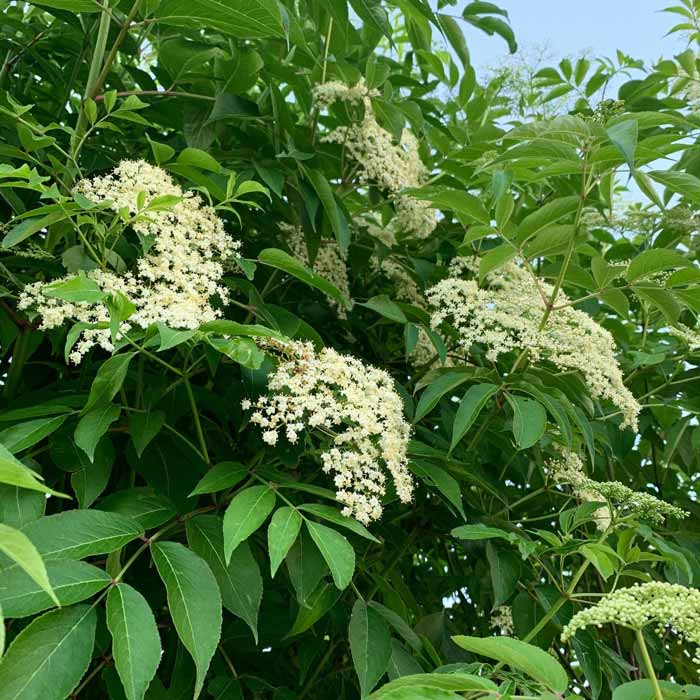
Elderberries grow abundantly in the wild as well, and their large, showy white flower clusters make them fairly easy to identify when the plants are blooming in the spring. (Warning: Never eat a wild plant you’re not 100% certain you’ve positively ID’d.)
Elderflowers offer a subtle, delicious honey-like flavor. If you’ve ever had St-Germain’s liqueur, you’ve tasted elderflowers.
Step-by-step guide to make homemade elderflower kombucha
Here’s how to make your own elderflower kombucha:
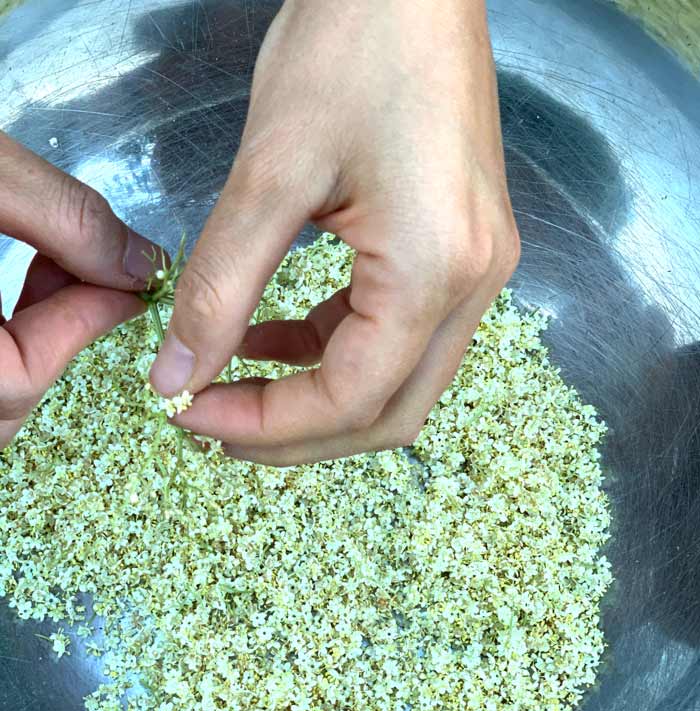
1. Harvest and process elderflowers
Cut entire elderflower clusters off of branches and place them into a large container or paper bag. We’d advise harvesting elderflowers in the morning when their nectaries are fullest.
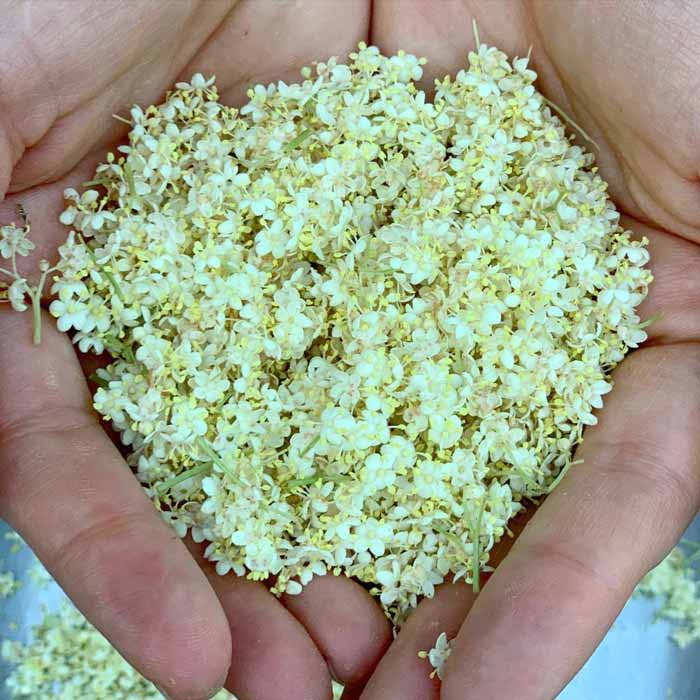
Back indoors, remove individual elderflowers from the stems by pulling them off with your fingertips. This process takes a while. For us, it takes one person about an hour to process two cups of elderflowers and we think we’re pretty good/experienced at it!
Don’t leave any green stems in your final elderflowers. The stems and leaves of elderberry plants actually contain small amounts of cyanide-inducing glycoside. However, the ripe berries and flowers are perfectly safe and edible.
2. Make elderflower syrup.
Next, pour near-boiling hot water over the top of your elderflowers in a heat safe container/pot. (Exact quantities in recipe card below.) Add sugar and stir/whisk until dissolved. (The resulting concoction might more accurately be called a “tea” than a “syrup”, but we didn’t want to confuse you since there’s no actual tea leaves involved.)
The reason you don’t want to add flowers straight to your kombucha is because they’re covered with colonies of native yeast and bacteria which can compete with the microbes in your booch. That’s great if you’re making our sparkling elderflower cordial recipe, but not great for kombucha!
3. Cool elderflower syrup for 24 hours.
Allow elderflower syrup to cool to room temperature, then store in the fridge for 24 hours. This ensures all that delicious elderflower flavor has a chance to come out into the water, but doesn’t sit so long that it gets an off flavor.
4. Strain flowers.
After 24 hours, strain out the flowers through a pasta strainer. Squeeze the strained flowers with your hands to get as much remaining liquid and flavor out as you can.
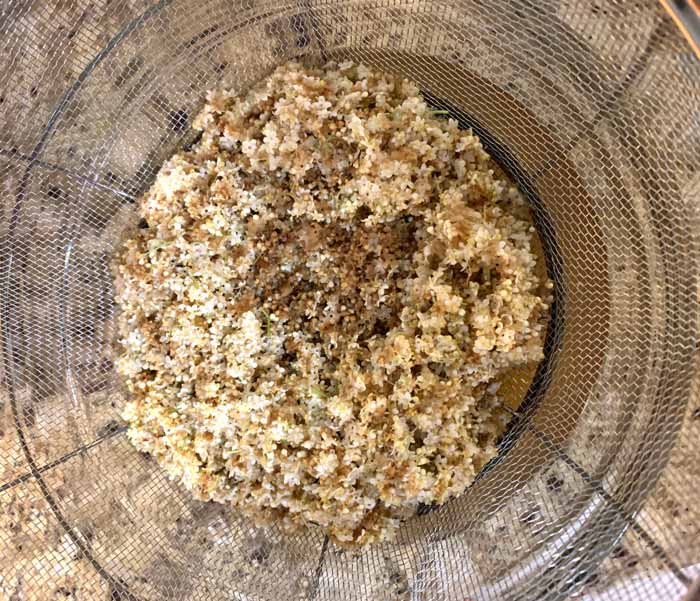
Then do a final straining of the liquid through a smaller-mesh strainer to removed any remaining flower pieces.

5. Mix new kombucha.
Use a GLASS container (such as a large mason jar – we used an 8 cup/64 ounce jar) to combine the following ingredients:
- a chunk of kombucha SCOBY,
- elderflower syrup
- kombucha (to lower the acidity and add more inoculant).

6. Add breathable cover and store at room temperature.
Cover the jar with a breathable material such as linen or a paper towel to make sure: a) the kombucha can breathe, and b) fruit flies or other critters can’t get inside and contaminate your kombucha.
Let your elderflower kombucha ferment for about 1 week at room temperature out of direct sunlight. Taste daily to track its flavor development. The longer it sits, the more acidic it gets. Also, since your SCOBY is used to living in sweetened black tea environment not elderberry syrup, the longer you wait, the more chance you have of your ferment going “funky.”
Strain and bottle your elderflower kombucha whenever the flavor is right where you like it. Yes, you can use this exact same process to make flower-infused kombucha with other edible flowers as well!

Elderflower kombucha
Ingredients
- 3 cups fresh elderflowers (~100 gm)
- 2/3 cup organic cane sugar (125 gm)
- 5 cups water (boiled)
- 1 cup pre-made kombucha
- 1 piece of kombucha SCOBY
Instructions
- Pour hot water over elderflowers. Then add sugar and stir until completely dissolved. Allow to come to room temperature, then refrigerate for 24 hrs.
- Strain and squeeze flowers. Add sweetened elderflower water/syrup to glass fermenting jar/container. Add kombucha plus piece of SCOBY. For this recipe, we used an 8 cup (64 ounce) mason jar.
- Cover jar with breathable fabric or paper towel held in place with rubber band or string. Taste daily. Let elderflower kombucha ferment for about 1 week. Strain, bottle, and refrigerate once it's reached desired flavor. Shorter = sweeter; longer = more acidic. This recipe yields about 6.5 cups of finished kombucha.
Kombucha storage… How long will kombucha last in the fridge?
Once bottled, this kombucha recipe will last for at least 3 months in your refrigerator. At least, that’s as long as we’ve ever stored our homemade kombucha before drinking it — and it still tasted great.
You do NOT want to store bottled kombucha at room temperature. It will continue to ferment and try to off-gas, meaning a huge amount of pressure will build up over time, potentially causing the bottles to explode.
Refrigeration arrests the fermentation process by slowing the metabolism of the microbes to a crawl, like a hibernating animal. So, please refrigerate your booch when it’s done!
Kombucha warnings:
Virtually no research has been done to empirically prove the touted health benefits of kombucha — certainly not enough to back up the health claims you often hear about kombucha. We drink kombucha because we love it, not because we’re convinced it has magical health benefits.
Here are two warnings to keep in mind if you make and use kombucha:
1. Make kombucha in glass — not metal, plastic, or glazed containers.
Kombucha becomes quite acidic, so make it in glass containers/jars. Otherwise you risk plastic, metals, ceramic glazes or other potentially dangerous compounds leaching into your kombucha.
2. Do not drink kombucha if you’re immunosuppressed.
Potent probiotics like kombucha can actually be dangerous for your health if you’re immunosuppressed. Following a stem cell transplant (which basically wipes out your immune system) The Tyrant’s sister actually got a lung infection from drinking kombucha.
So only drink kombucha if you’re healthy. Even then, don’t drink large glasses of kombucha daily. Use small amounts as an apéritif or digestif or to make mixed drinks.
KIGI,

Related articles you’ll want to sip on:
- Steam juicer: the fastest, easiest way to process elderberries
- Complete guide to growing elderberries
- How to make elderberry syrup
- How to make sparkling elderflower cordial
- Recipe: Raspberry-elderflower-honey sparkling cordial
- Hot-brewed yaupon holly and acorn flour tea – a rich, caffeinated coffee substitute
- 6 great teas you can make from plants you might already be growing
- Wild-fermented tea made with tea camellia or yaupon holly