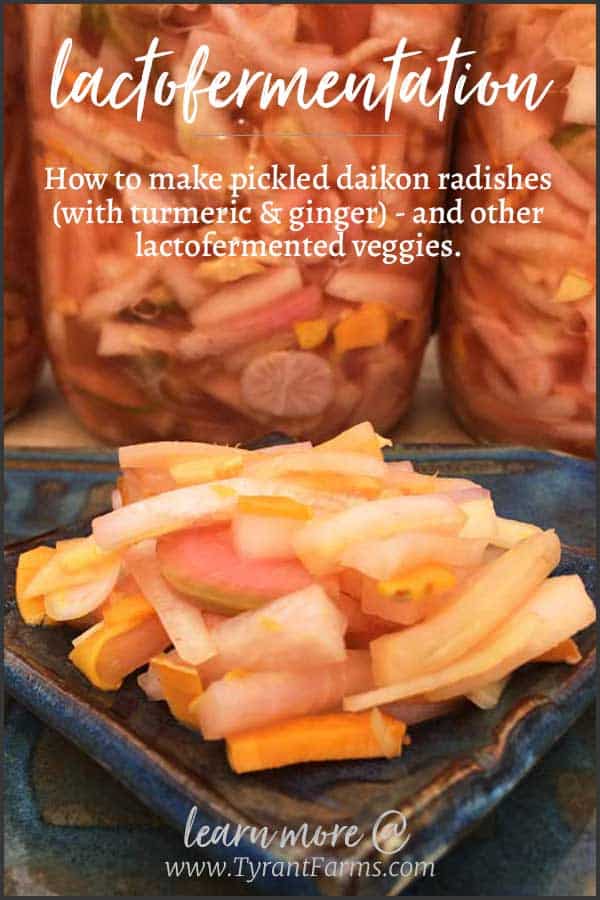
How to make pickled daikon radishes & other lacto-fermented veggies
Tyrant Farms' articles are created by real people with real experience. Our articles are free and supported by readers like you, which is why there are ads on our site. Please consider buying (or gifting) our books about raising ducks and raising geese. Also, when you buy through links on our site, we may earn an affiliate commission. Learn more
This pickled daikon radish recipe uses a fast fermentation process to turn radishes and other root veggies into a fresh, crunchy probiotic superfood.
Want to learn more about the process (science and “art”) of fermentation so you can ferment anything? Read this article all the way through! Prefer to skip straight to the pickled daikon radish recipe? Scroll on down to the recipe section.
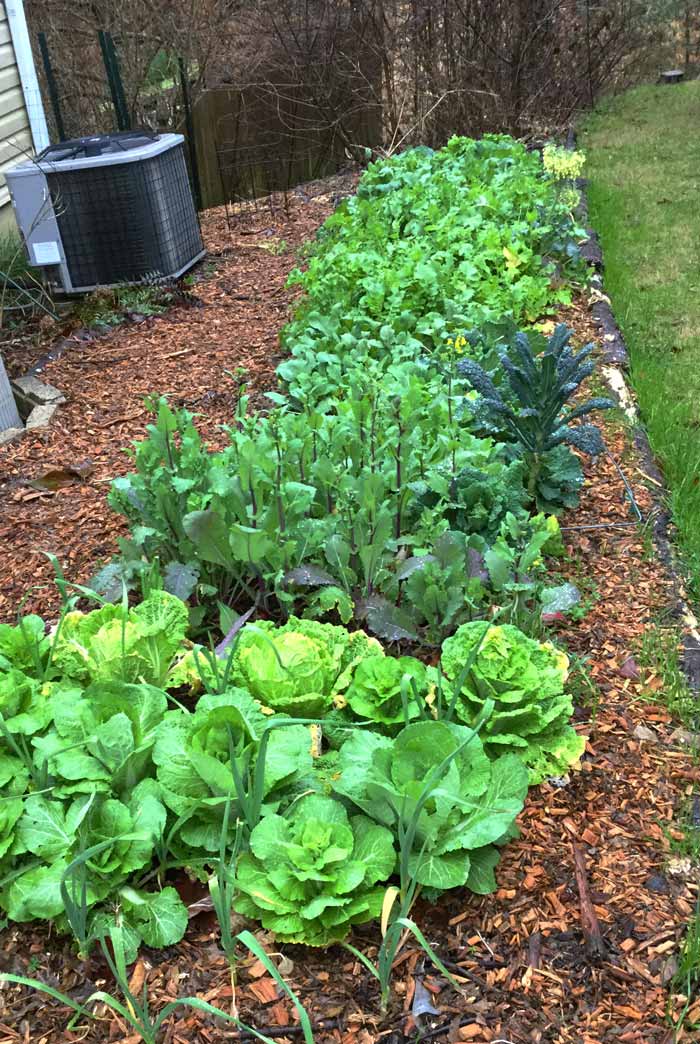
Last weekend, The Tyrant and I cleared out one of our side beds that was full of ‘Miyashige’ daikon radishes, ‘Tokyo Market’ turnips, Napa cabbages, and other cool weather crops we planted last fall. Our aim was to make room to plant a final round of cool weather crops before we plant our summer crops.
Between us and our ducks, we eat LOTS of veggies. Nevertheless, we recognize that the 50+ pounds of root veggies and cabbage we just harvested isn’t something we’re going to be able to eat over the next few weeks.
What to do?
The art of fermentation
As we’ve written about elsewhere, we LOVE fermented foods. One of our favorite garden/kitchen books is Sandor Katz’s The Art of Fermentation, which gives you the basic knowledge you need to ferment pretty much anything that’s fermentable, from daikon radishes to dairy to edible flowers to fruit.
We love fermentation because it’s a great way to easily preserve a giant pile of garden produce that might otherwise go bad.
Fermentation is also a way to turn up the volume on each vegetable’s health benefits since it:
- Improves nutrition by increasing the bioavailability and nutritional profile of the base foods while breaking down their natural anti-nutrient compounds (source);
- Turns ingredients into powerful probiotics by introducing trillions of beneficial microbes into your gastrointestinal system.
Fermented vegetables will also last longer in your fridge than the original vegetable would have. Their longer storage life is due to the fact that they’re inoculated with beneficial microbes, plus the food’s higher acidity level. These two factors prevent decomposing microbes from finding a vacancy in the previously unoccupied “veggie hotel.”
As the FAO says, “The lactic acid they [fermented foods] produce is effective in inhibiting the growth of other bacteria that may decompose or spoil the food.” Yes, fermentation was how many cultures stored food before canning and refrigeration.
The basic factors of fermentation
Once you understand the basics, fermented foods are incredibly easy to make. In fact, once you have experience, fermentation recipes become obsolete because:
- your ingredients are simply whatever excess veggies you need to make use of, and
- your “instructions” are the same basic fermentation process you’ve used before, with slight variations depending on the style of fermentation you’re after.
Fast vegetable fermentations
The word “tsukemono” is a Japanese word meaning “pickled things.” Tsukemono can be composed of virtually any fruit or veggie imaginable, from plums to eggplants to daikon radishes to ginger — or combinations of multiple “pickled things.”
One popular style of Japanese tsukemono is asazuke, a quick pickling method that can take anywhere between 30 minutes to a few hours.
Slow vegetable fermentations
On the slower end of the veggie fermentation spectrum is traditional sauerkraut, which we usually ferment for 4+ weeks.
No matter what time of year it is, our German fermentation crock is pretty much always in use. If we have lots of produce waiting in line, we’ll use fast fermentation methods like asazuke. If we have time to spare, we’ll lean more towards a sauerkraut-style fermenting method.
Neither fast or slow fermentation methods are right or wrong, good or bad. They’re simply different methods that you can put to use depending on your taste preferences and how quickly you want a finished product.
Warning: You do NOT want to ferment in metal or plastic containers – even plastic containers labeled as “food-safe.” The high-acid, microbe-rich environment is likely to cause leaching of compounds that you don’t want to ingest. Ideal containers are glass or glazed ceramics.
Fermentation basics
The basic factors you can control to speed up or slow down your fermentations (including pickled daikon radishes) are:
1. Surface area
Finely diced or grated ingredients vs. large chopped or whole ingredients makes a big difference in how quickly the ingredients ferment. Why?
More surface area equals more access for the lactobacilli. Lactobacilli are the primary genus of bacteria responsible for converting sugar into lactic acid in fermented foods. For pickled daikon radishes, we prefer matchstick-style cuts. (Watch this quick video to learn how to cut “matchsticks.”)

Takeaway: Smaller cuts are better for faster ferments. Larger cuts or whole veggies mean a slower fermentation process.
2. Salt
Salt serves multiple functions in fermentation. (We prefer pink Himalayan sea salt since it doesn’t have microplastics and it has some additional micronutrients.) First, salt pulls water out of the veggies and hardens the pectins, which makes the vegetables crunchy, rather than soggy.
Salt also makes the environment inhospitable for non-Lactobacilli bacteria, which means much longer preservation times. Lactobacilli strains (the primary probiotic strains in veggie ferments) are salt-tolerant “halophiles,” so they’re unaffected.
The quantity of salt is up to your taste and health preferences, but as a general rule, Sandor Katz recommends 3 tablespoons salt per 5 pounds of veggies. For people trying to avoid excess salt in their diets, fresh celery juice can be used as a substitute.
Takeaway: More salt means a slower fermentation process. Less salt or no salt equals a faster fermentation process – although there may be a higher risk of pathogenic microbe contamination.
3. Inoculant
If you’re making a slow ferment like sauerkraut or kimchi, don’t use an inoculant. However, an inoculant can be used to quickly kick-start the fermentation/pickling process. This might be a living vinegar or brine from a previous ferment that you liked.
Note that vegetable skins are naturally covered with Lactobacilli, so you don’t need to inoculate your ferments. If you’re using organic produce, we recommend that you keep the skins on your veggies before fermenting.
Takeaway: Adding an inoculant at the beginning of the process will speed up fermentation.
4. Sugar content
Many veggies such as beets, carrots, and parsnips are quite high in sugar content. Others, like daikon radishes, have a lower sugar content.
Since LAB (lactic acid bacteria) consumes the sugars in vegetables and turns them into lactic acid (the complex, tangy-tart flavors in ferments), higher sugar content leads to more active, faster ferments.
You don’t have to add sugar to your ferments, but a little coconut or cane sugar is like adding fuel to a fire.
Takeaway: For faster ferments, add a small amount of sugar or a veggie with a higher natural sugar content.
5. Temperature
Societies around the world — from Iceland to India — ferment various food products under a wide range of temperatures, from freezing cold to tropical heat. For typical Asian and European-style vegetable ferments, the ideal temperature range is 65-72° F (18–22° C).
Too hot, and you could drastically accelerate the fermentation process or get “funk” in your ferment by making the environment hospitable for unwanted bacterial strains. Too cold, and you could slow the fermentation process to a crawl (which is what happens when you intentionally refrigerate it).
Takeaway: For faster ferments, keep the temperatures between 70-72° F (21–22° C) unless a recipe/method calls for a different temperature.
6. Time
Every style of fermentation has a bell-shaped curve with time on the horizontal axis and ideal flavor on the vertical axis. The relative time to produce the best flavor may vary (wine is different than cheese is different from kimchi), but too short and too long of a fermentation process both produce undesirable results.
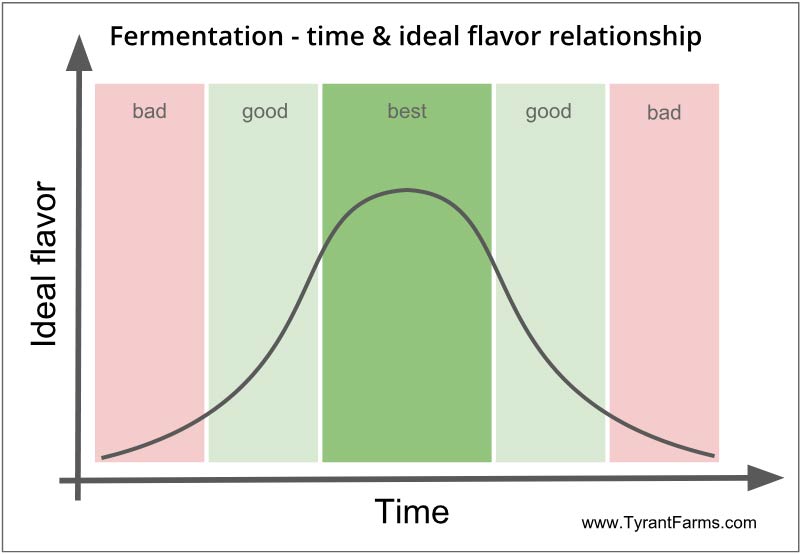
If you’re trying a certain style of fermentation for the first time, we recommend tasting the ferment periodically throughout. That way, you’ll get a deeper sense of how it develops, when you like it best, and you won’t stress about whether or not it’s “ready,” which is somewhat subjective.
Just be sure to use sanitized utensils when sampling!
Takeaway: Ideal fermentation time is not exact, but time changes the flavor of fermentations on a bell curve.
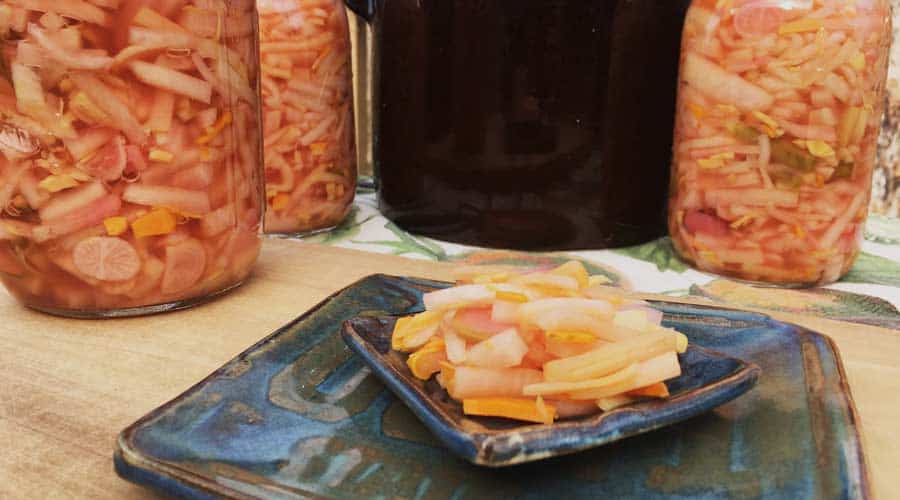
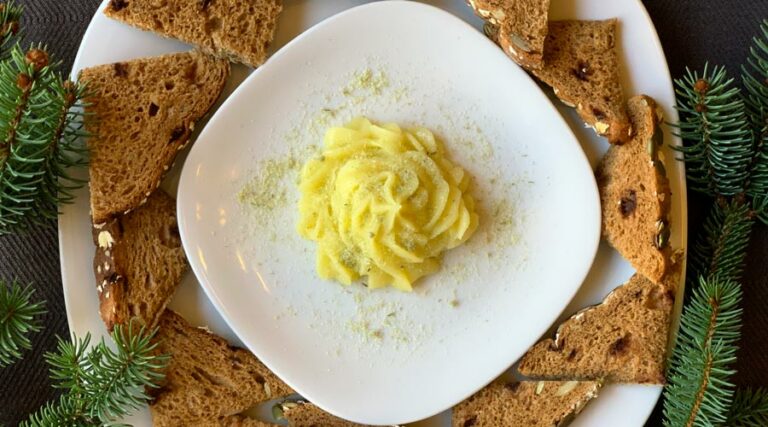
Recipe: Pickled daikon radishes with orange turmeric and ginger
Since we have loads of veggies coming in from the garden this time of year, we needed to make a quick fermentation that didn’t tie up our German fermentation crock for more than a few days.
We also have plenty of ginger and orange turmeric left from last summer, so we decided to add those to the ingredient list for extra nutrition and flavor.
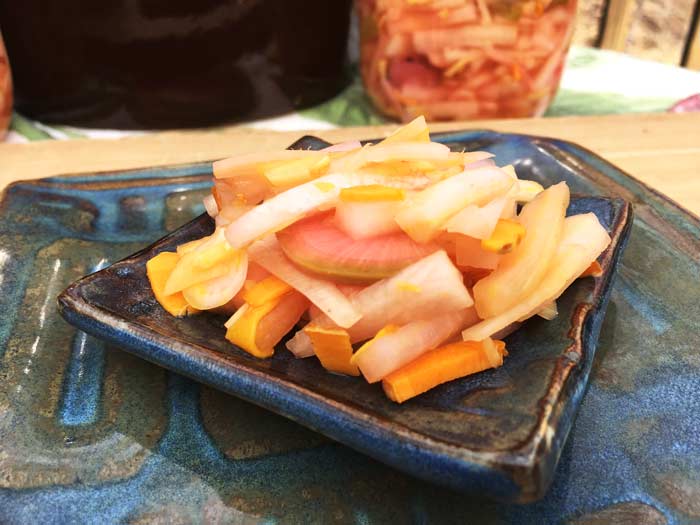
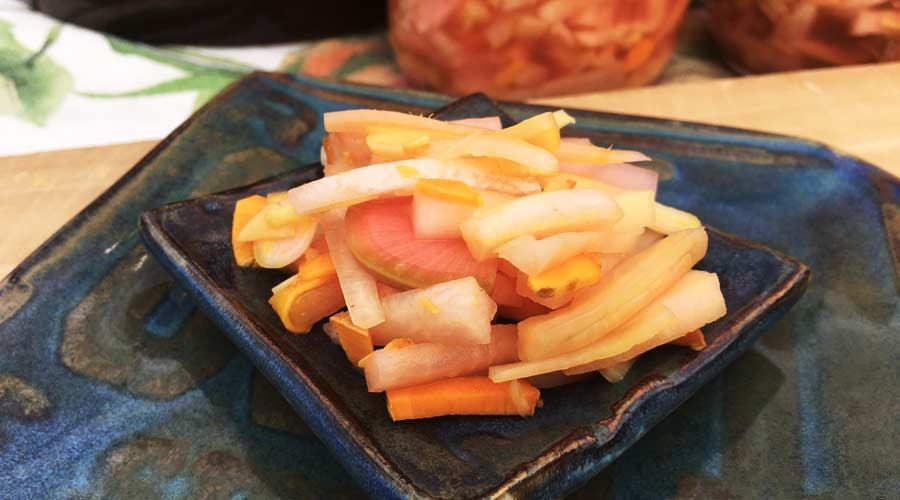
The results of this pickled daikon radish with turmeric and ginger recipe? Delightful! Crunchy veggies, tang, bite, spice, and lots of delicious nuance in each bite.

Pickled daikon radish with ginger & turmeric
Ingredients
- 3 pounds daikon radish (roots only), matchstick cut
- 1 pound watermelon radishes (roots only) or other colorful root veggies, cut into rounds, then quartered
- 1/2 cup living vinegar or brine (non-pasteurized vinegar or tasty brine from previous ferment)
- 2 tablespoons pink Himalayan salt
- 4 tablespoons coconut or cane sugar
- 4 tablespoons peeled turmeric, matchstick cut
- 4 tablespoons peeled ginger, matchstick cut
Instructions
- Rinse, but don't peel radishes. There are good strains of Lactobacilli on the skin surface that you want to cultivate in the fermentation process.
- Rough chop daikon radishes, then dice into matchstick style slices. Slice watermelon radishes (or other colorful root veggies) into thin rounds. If the rounds are bite-sized, leave as-is. If they're larger than a nickel, quarter them. The variations in shape and color add visual interest to the final ferment. Transfer all cut roots into a large bowl. Add salt, then let sit at room temperature for about 1 hour, stirring every 15 minutes or so. This draws water out of the roots to help make the final ferment crunchy.
- Drain root veggies through a colander to remove the salt water. Do NOT rinse. Then place roots back in bowl.
- Add the living vinegar/brine, sugar, turmeric, and ginger. Stir all ingredients until evenly mixed and sugar is dissolved.
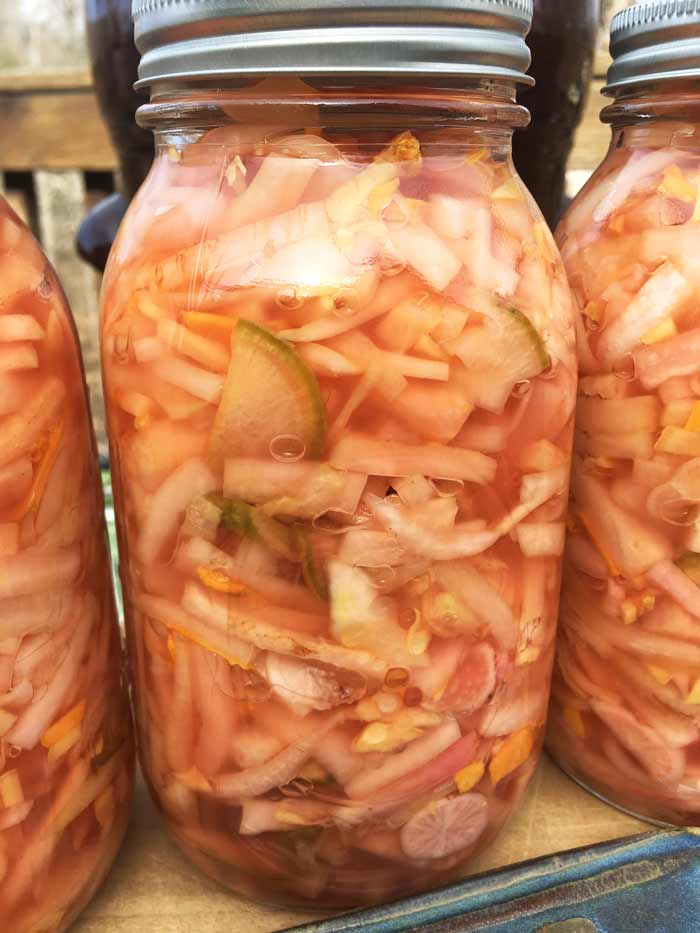
- Transfer mix to a German fermentation crock or other specialized fermentation container. Let stand at room temperature for anywhere from 1-3 days (we left ours for 3 days). Stir with sterilized utensil 1-2 times daily IF the ingredients aren't pressed below the water level in the fermentation container. If ingredients are below the level of the brine, stirring is unnecessary. Taste each time you stir (or daily) so you can see how the flavor and texture develop.
- Be warned that all plants in the Brassica family (which includes radishes) release a sulfur smell as they ferment! This doesn't mean the ferment is going bad, it means it's going well! Like a stinky cheese, the taste of your stinky ferment won't taste at all like its smell.
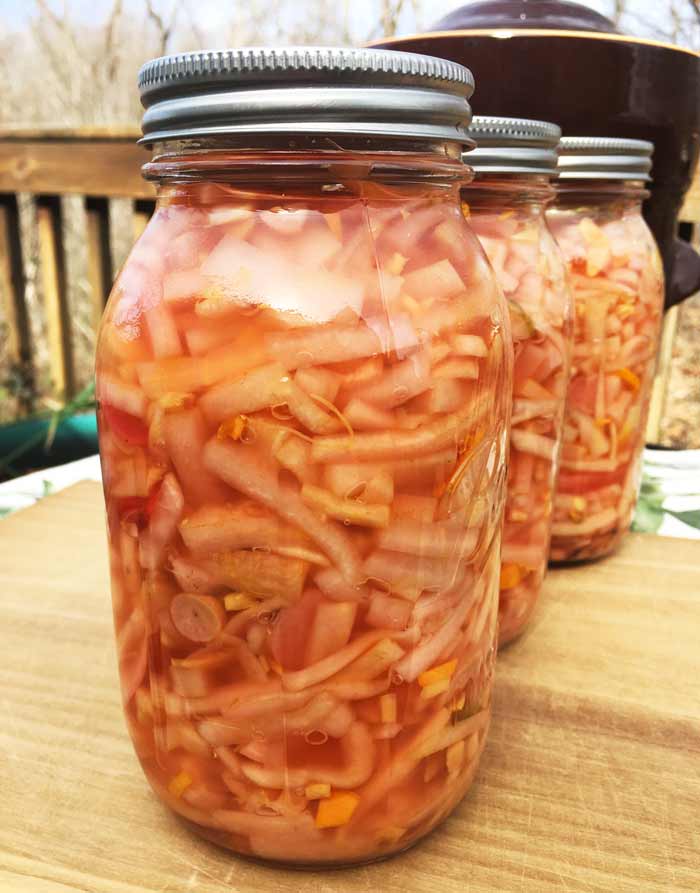
- When the taste is to your liking, transfer to sealed jars and store in fridge. Be sure to press ferment fully into jars and fill with leftover liquid so that fermented veggies are submerged in liquid brine inside the jars. Eat immediately or store in fridge for 6+ months.
Questions about pickled daikon radishes:
Is pickled daikon radish good for you?
Yes, especially lacto-fermented pickled radishes (like this recipe). As mentioned above, fermentation:
- improves the nutrition of food,
- breaks down anti-nutrients found in many raw veggies, and
- serves as a probiotic by introducing trillions of beneficial bacteria to your GI system.
What does pickled radish taste like?
This lacto-fermented pickled daikon radish recipe has a huge range of flavors: tangy, sour, spicy, peppery, and sweet. The taste of pickled radishes varies based on the fermentation process and ingredients used.
How do you preserve radishes?
We recommend a lacto-fermentation method that utilizes LAB (lactic acid bacteria) to preserve radishes rather than cooked methods. Lacto-fermented preserved radishes provide superior nutritional, flavor, and health benefits.
Does pickled radish expire/go bad? How long does it last?
Lacto-fermented pickled radishes can store for many months in a refrigerator. We’re comfortable saying 6 months in this article, but we have lacto-fermented radishes and turnips in our fridge that are over 1 year old and still perfectly delicious.
What does turmeric do to pickles?
Turmeric adds additional color and flavor to fermented pickles. It also adds additional nutritional benefits.

Is fermented turmeric better for you? Is eating pickled ginger good for you?
Turmeric and ginger have quite a few well-documented health and medicinal benefits, which is why we recommend people grow their own turmeric and ginger at home.
Fermenting turmeric and ginger likely makes them even better for you by making their nutritional compounds more bioavailable while also adding probiotics to your diet.
We hope you know more about how to make your own delicious and nutritious homemade ferments now. We also hope you have a chance to make and enjoy this lacto-fermented pickled daikon radish recipe!
KIGI,

Get fermenting with other articles from Tyrant Farms:
- Beginner’s guide to making sauerkraut w/ recipes
- How to make lacto-fermented fruit – with recipes
- How to make the best homemade milk kefir
- Fermentation: how to tend your microbial garden for better health
- How to make elderflower kombucha
- Easiest turmeric and ginger bug recipes
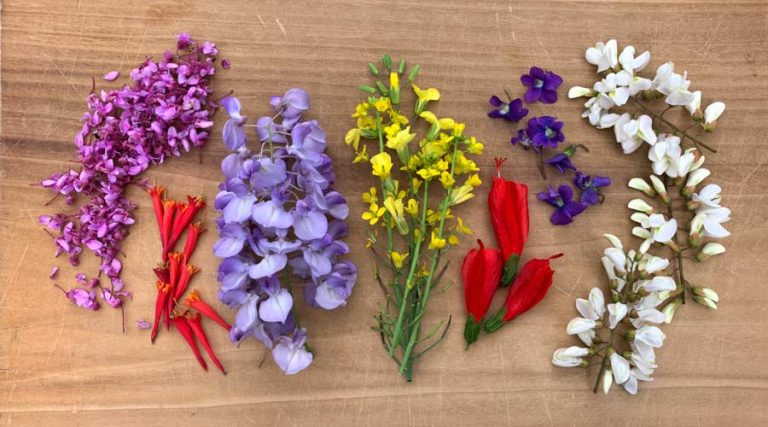
- Turning edible wild flowers into sparkling cordials
- Recipe: chickweed wine? Yes, and it’s really good!
- Tony & Andrea’s pumpkin champagne recipe
- Tepache recipe: how to turn pineapple skins into a delicious probiotic drink
- Florida betony and hibiscus pickles

Hi Aaron: You need to omit the vinegar in this recipe if you want it to ferment. Otherwise, it’ll just be a 3-day pickled recipe. With the addition of that much vinegar, the pH is apparently too low to allow the lactobacillus to act.
Thanks
Thanks Len. Modified a few things in the article/recipe to make it clear we’re referencing using either a living vinegar or brine from a previous ferment as the inoculant.
Dear AARON VON FRANK,
I am Vinney from Malaysia. I would like to ask, I have made my white carrots ( Radish) fermentation with just salt cause I want to create probiotic ( adding vinegar will kill probiotic right?) . It has been 4 days now and I saw there are bubbles but then it slowly disappeared on day 4. And I have tried the white carrots, not so much on sour taste but overall is fine….I need to keep ( ferment ) it longer like weeks to have more sour taste? Kindly Advise. Thank you for your attention.
Hi Vinney! Let’s start with your vinegar question: if you use standard commercial vinegar, it’s no longer a “living” product. That’s because it’s typically filtered to remove the mother culture and various particulates, then pasteurized. So what’s left is a shelf-stable high acid vinegar that *can* kill microbes in other fermentations you use it in IF it’s used in high enough volume/percentages. However, since most lactic acid bacteria tolerate high acid environments, it’s unlikely to kill all the LAB in and on your veggies. If you use a living vinegar (e.g. one that hasn’t been pasteurized), you’ll essentially be inoculating your new veggies with your existing vinegar culture. While this kickstarts your fermentation, it’s not always a good thing as far as final flavor and texture are concerned since it throws off the normal microbial progression. (Sort of like starting a fire with gasoline versus wood.)
This is an asazuke-inspired recipe, which is somewhat of a cross between pickling and fermenting. It’s very fast, but might not have the same probiotic punch of a longer 30+ day ferment like sauerkraut.(Hard to say without a science lab to analyze and compare.)
As for how long to ferment your radishes: that’s completely subjective, meaning it’s up to you to decide based on the texture and taste of the radishes. One note: the smaller the radish pieces have been cut, the less time it will take to ferment them. It’s also normal to see more off-gassing/bubbles during the first few days as the fermentation initiates, then it slows down as the ferment matures. Again, the best way to know when your radishes are done is to taste a small bit of them each day. When their taste and consistency has developed to a point where you love them, consider them done.
Hope this helps and please let me know if you have additional questions. Cheers from America!
This was my question also. I’m on day two of the ferment. Letting it go at least another day but I’m su surere that there won’t be enough liquid to cover the veggies when I’m ready to jar it up. Any suggestions? I feel that maybe I shouldn’t have drained it.
Hi Kim! So sorry for our delayed response. Hurricane damage had us without power until yesterday. Ideally, you wouldn’t have drained the liquid that came out of your veggies when you were starting the fermentation process, since that liquid would have made a good brine. Under the circumstances, you could just top up the jar with a 50-50 mix of rice vinegar and water with enough salt to replace whatever you may have poured off. Hope this info isn’t too late to help you.
Hi there Aaron,
The adding of the water/liquid is not very clear to me!
It says, quote:”…IF the ingredients aren’t pressed below the water level in the fermentation container.”
But not anywhere I find, when to add what water?
Do I add brine or just pure water, or is it the liquid from the vinegar?
Thank you,
Mark Sikkema
Hi Mark! Sorry that’s unclear in the instructions. You actually don’t add any water to this fermentation recipe. The liquid comes from the remaining water in the veggies + the vinegar. The veggies should be well-packed in the jars (not loose) so that the liquid easily covers them. Please let me know if this makes sense or if you have other questions.