Container Gardening Questions Answered!
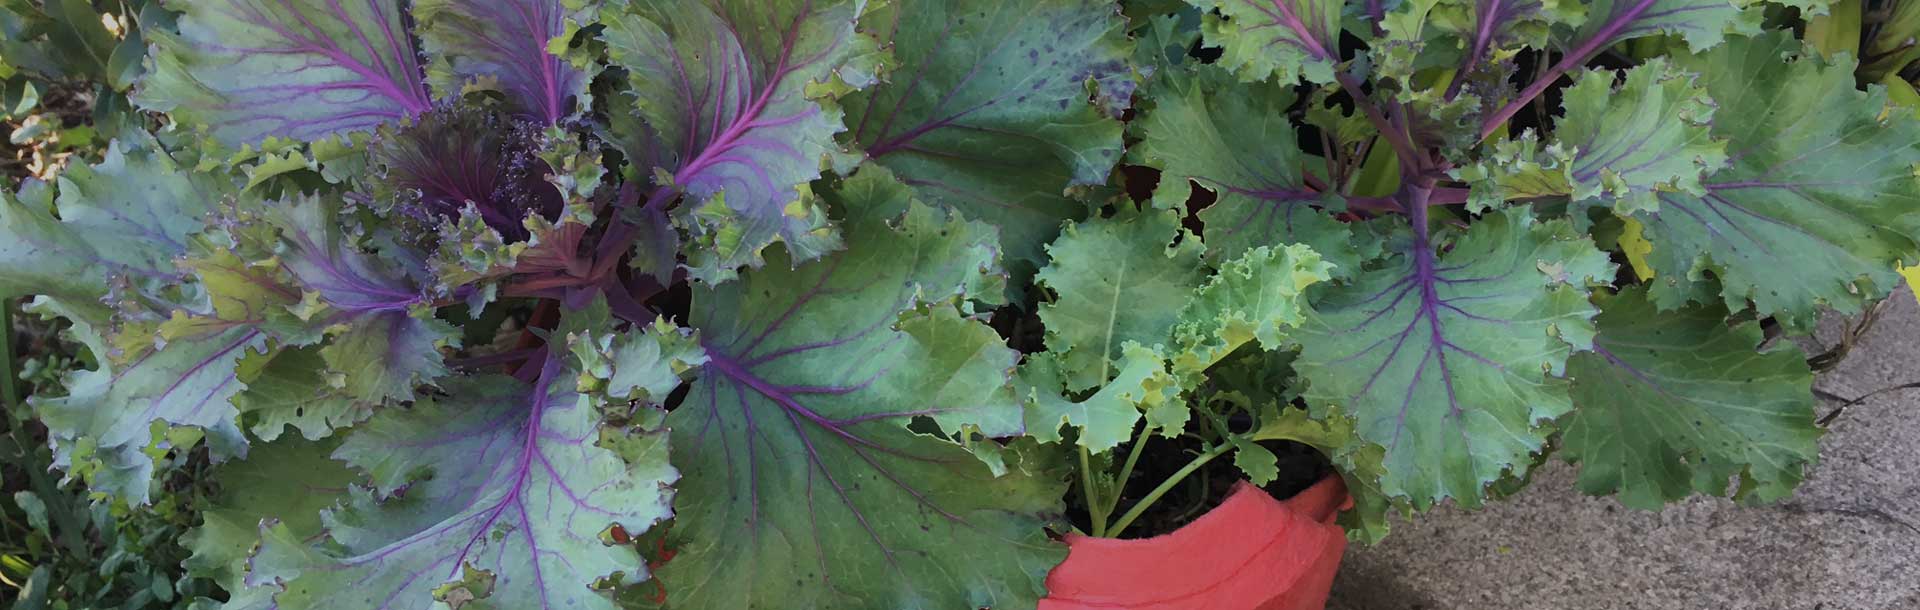
We recently received a list of container gardening questions from a new gardener – our answers may be helpful to you as well!
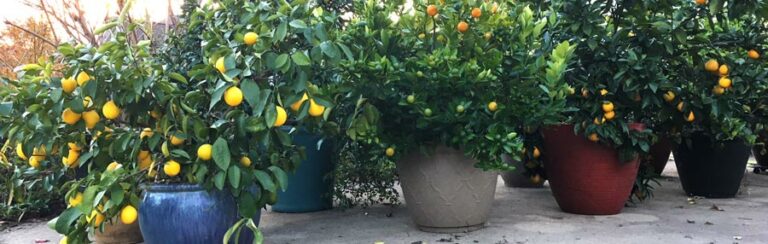
We recently received a list of container gardening questions from a new gardener – our answers may be helpful to you as well!
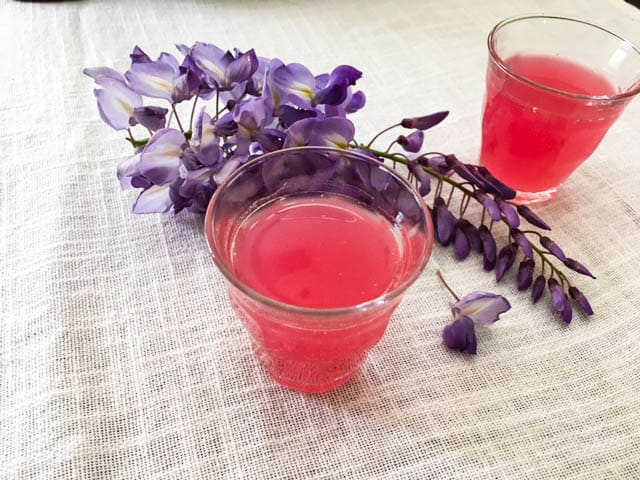
Wisteria flowers are edible, delicious, and nutritious. They’re great eaten raw but you can also turn them into an amazing fermented sparkling cordial.

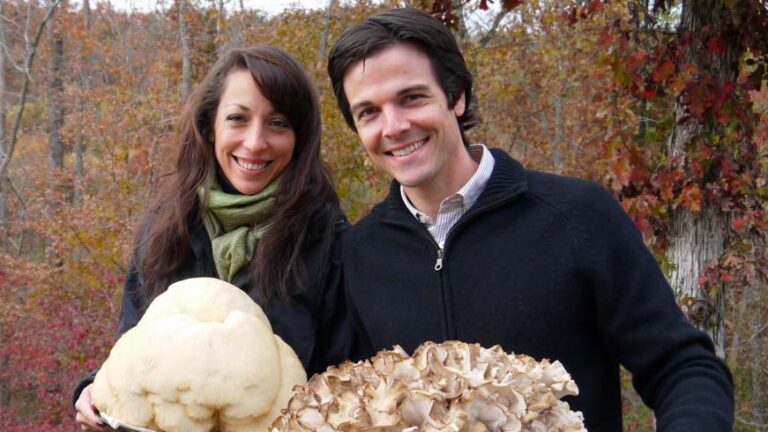
Morel mushrooms are fruiting! We’ve seen some of our biggest harvests ever this year, and the morel recipes we’ve been making have been incredible.
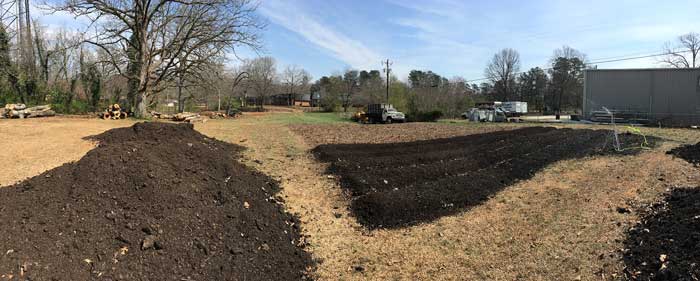
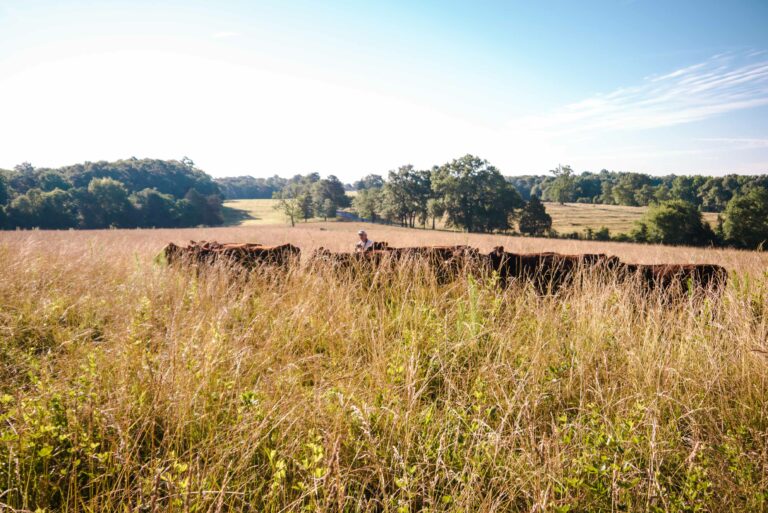
In collaboration with That Gardening Guy, we’re starting a no-till farm for Oak Hill Cafe, a farm-to-table restaurant in Greenville, SC. We’ll be sharing what we learn along the way!

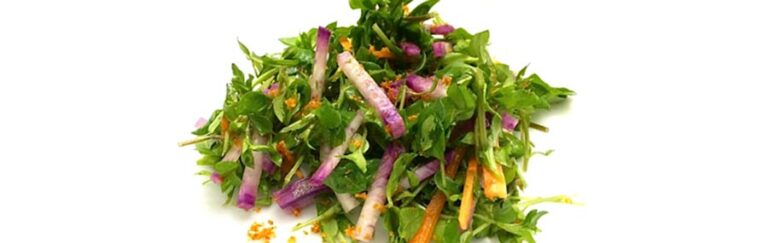
Both wild and domesticated sorrel are delicious lemon-flavored treats. Here’s a sorrel soup recipe for the veggie that packs more Vitamin-C than citrus!
I’ve successfully used these 10 practical approaches and tips to completely avoid getting sick for well over a decade. You can use them too.
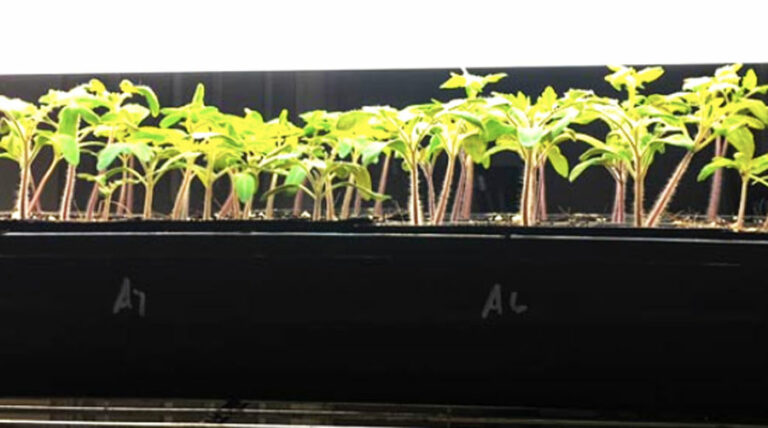
These DIY grow lights are affordable, easy to set up, and can produce hundreds or even thousands of dollars in edible plants each year!
Looking for a good chickweed recipe? Find out how to grow and use this culinary and medicinal “weed” in the kitchen.
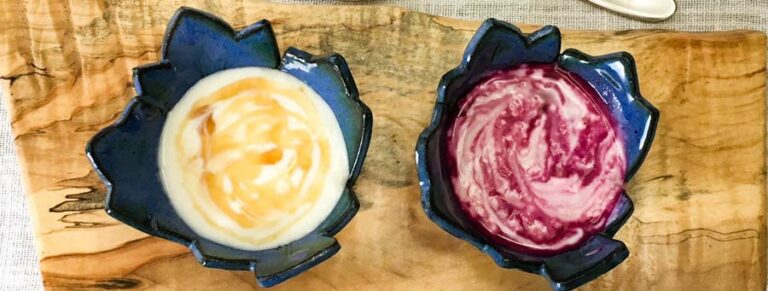
Milk kefir has up to 8x more probiotics than yogurt and is ridiculously easy to make. Come find out how!

When we needed a pot moving device for our citrus, there was only man for the job: John Robertson of Pecan Dale Farmstead.
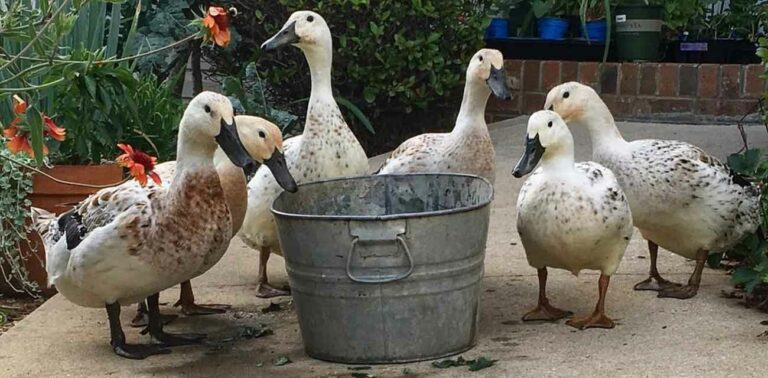
Got ducks? Thinking about getting ducks? Here’s helpful information about the nutrition they need and where to find organic duck feed.
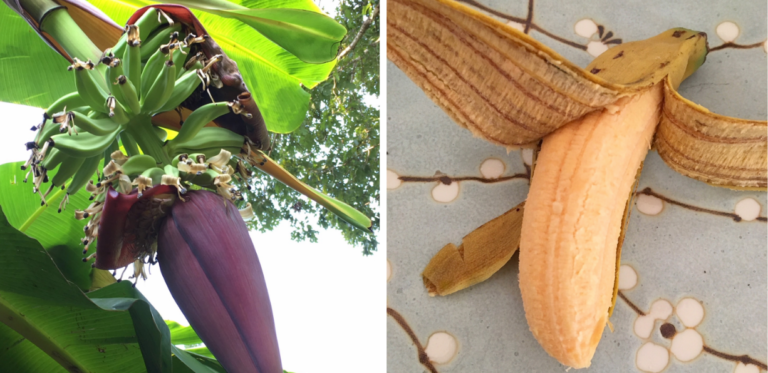
Want to grow your own organic bananas in a non-tropical ag zone? We’ve done it successfully, and we’ll teach you what we learned along the way.
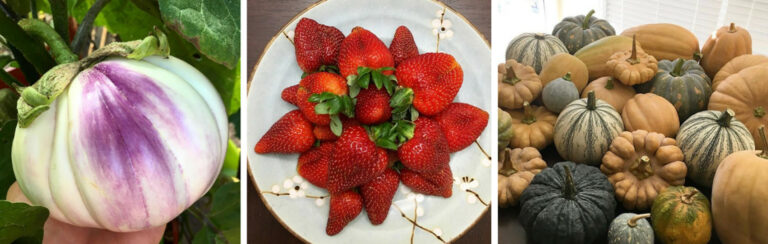
These 5 organic farming facts might surprise you… and change what you put on your plate. We’re plant and science geeks who spend far more of our time than the average person getting our hands in the soil and reading research literature on food systems and farming practices. As such, we often cringe when we…
A root pouch costs way less than a pot, and produces plants with healthier roots and higher yields. Patio and container gardening just got easier!
Although the scientists we interviewed asked to remain anonymous, the ideas and information they shared about our food system urgently need to be heard.