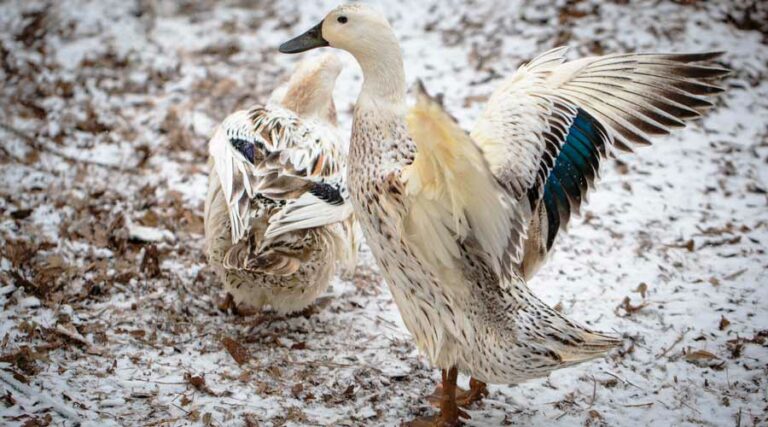
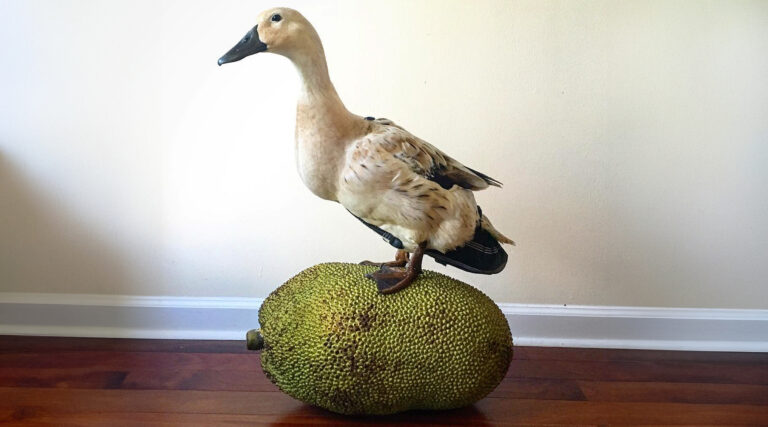
The fascinating history of Welsh Harlequin ducks
Find out about the fascinating history of Welsh Harlequin ducks, a remarkable heritage breed revered for their personalities, beauty, and egg production.
Find out about the fascinating history of Welsh Harlequin ducks, a remarkable heritage breed revered for their personalities, beauty, and egg production.
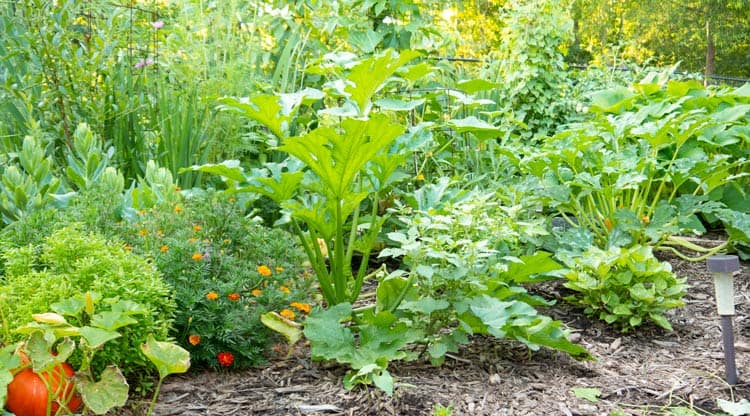
Trying to figure out how to start a garden? Here are our top-10 tips to get you started if you’re a new or beginning gardener.
You have a responsibility to protect your backyard poultry. Here are 17 simple tips to keep your ducks and chickens safe from predators, which abound in both urban and rural environments.
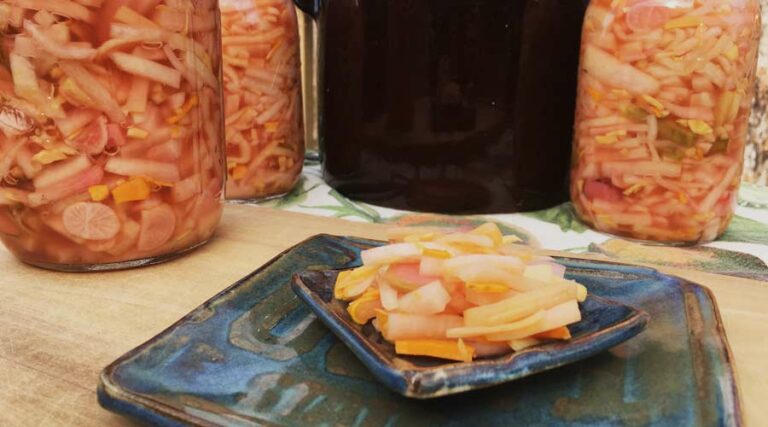
Learn the basics of how to lacto-ferment any vegetable using both fast & slow fermentation methods. Plus, get our pickled daikon radish recipe with ginger and orange turmeric!
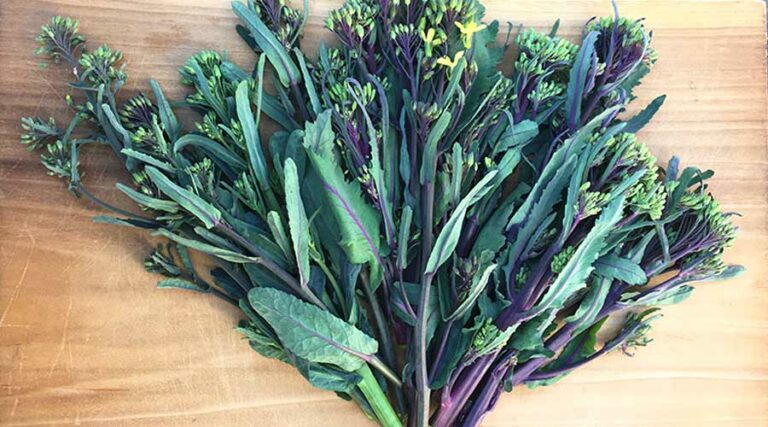
Kale florets (aka kale buds or kale flowers) are the bolting, flower stalks of kale plants. Not only are they beautiful, but they’re also delicious when eaten raw or cooked. Here’s how to grow your own kale florets plus a simple 5-minute kale floret recipe!
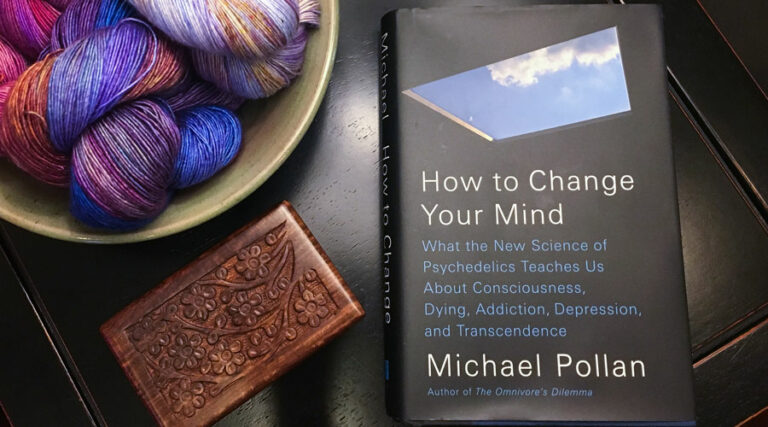
Michael Pollan’s latest book, How to Change Your Mind, changed my mind about psychedelics and their potential to improve and heal human beings. For that, my wife and I are forever grateful.
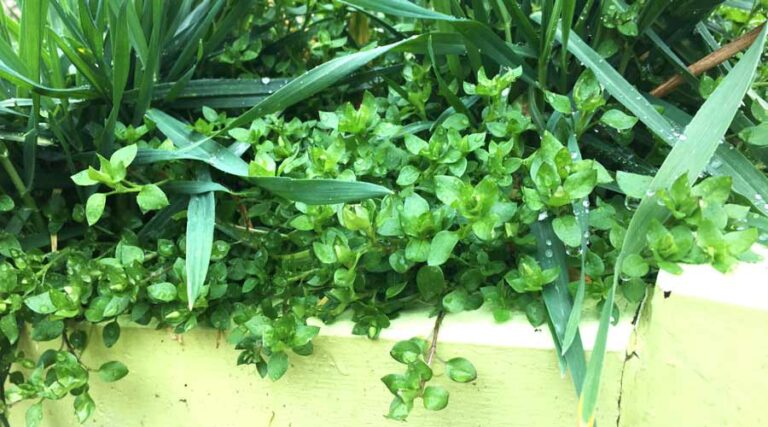
Chickweed season is here! Learn how to ID, use, and eat common chickweed (Stellaria media), a vitamin and mineral-rich medicinal vegetable/herb that grows wild in all 50 US states.
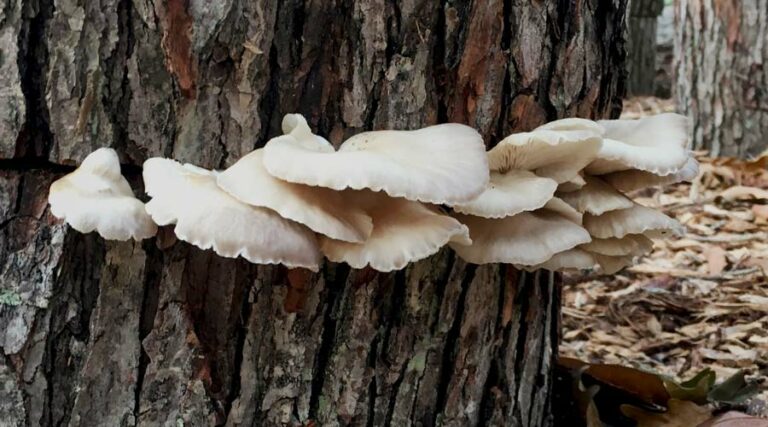
Here are our top recommended medicinal and gourmet mushrooms you can easily grow at home! Includes helpful tips and purchase links.
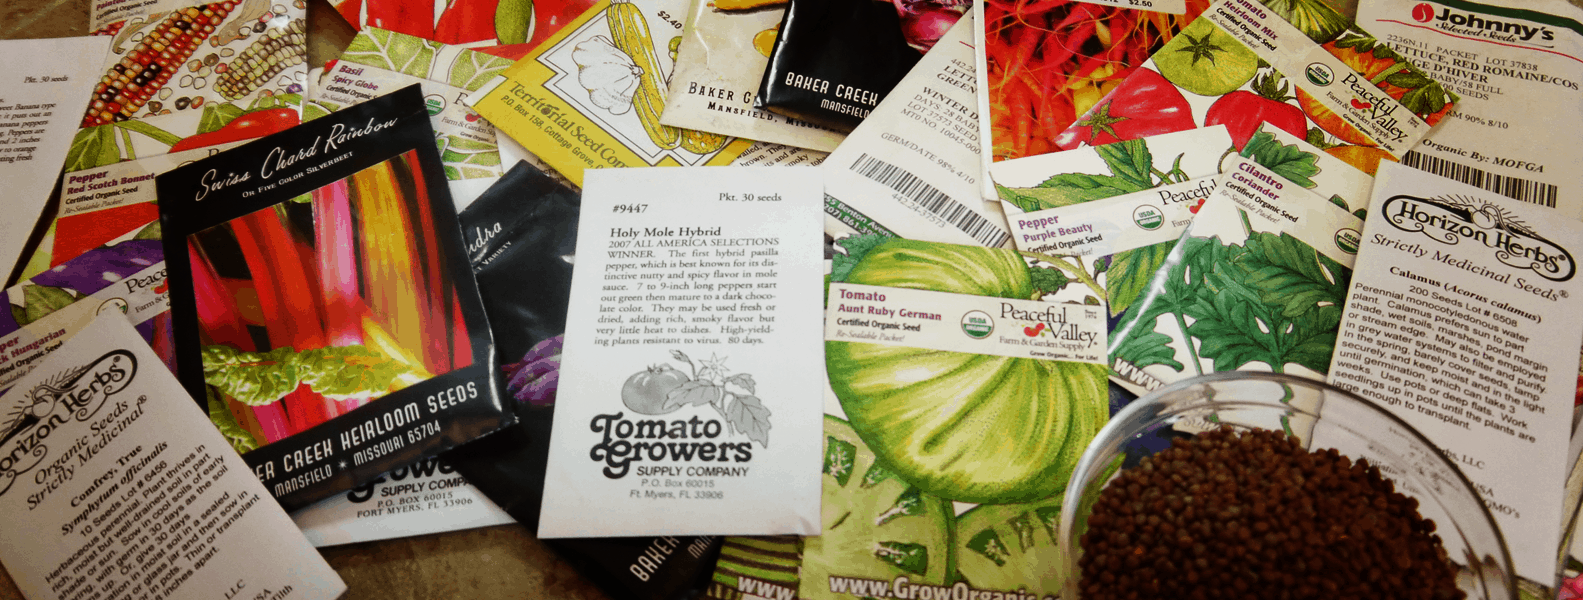
Certified organic, heirloom, open-pollinated, GMO, hybrid… what does it all mean? Where should you get seeds and nursery plants? In this article, we’ll try to clear up confusion and provide helpful recommendations.
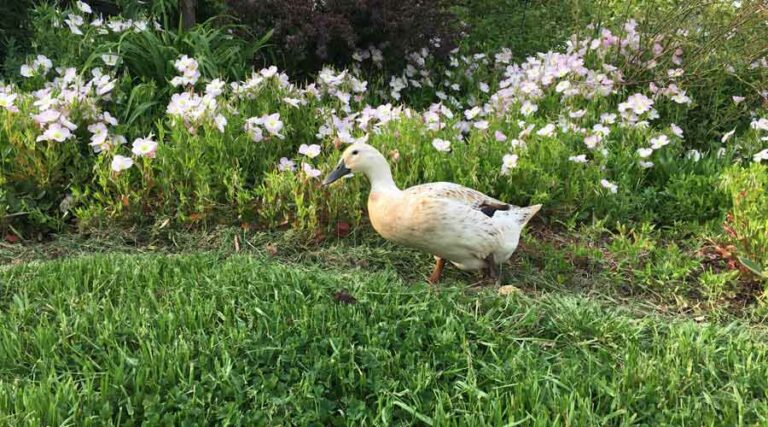
How can you tell which of your ducks are laying eggs or are about to lay eggs? Here’s a simple DIY test you can use to find out for certain.
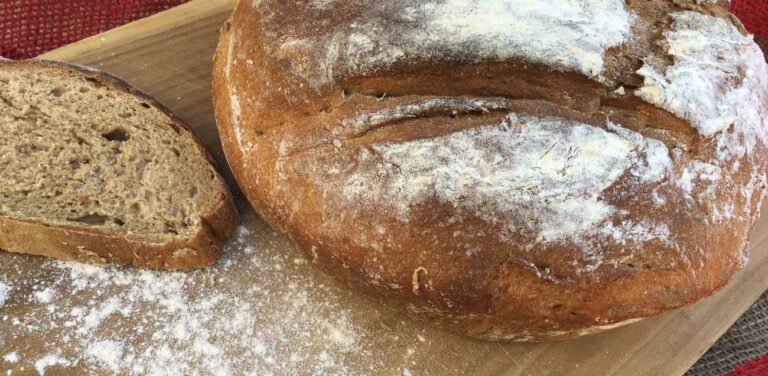
We’re bread snobs, but this 5 minute artisanal bread recipe more than satisfies our need for delicious, healthy homemade bread.
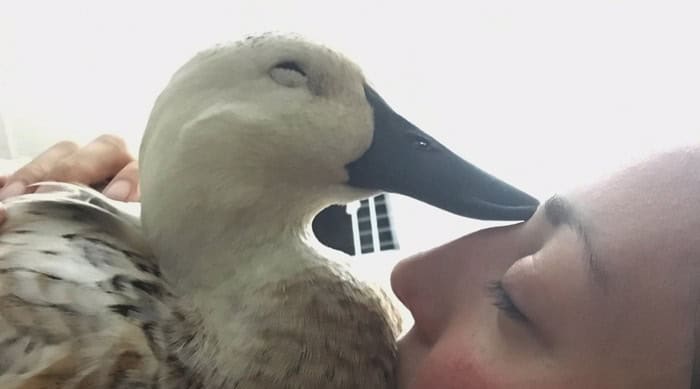
Svetlana the duck was the smartest, sweetest duck we’ve ever had. On Friday, October 26 she took her last breath. This article is intended as a memorial to honor her life and help others who may be experiencing grief from the loss of a beloved pet or family member.
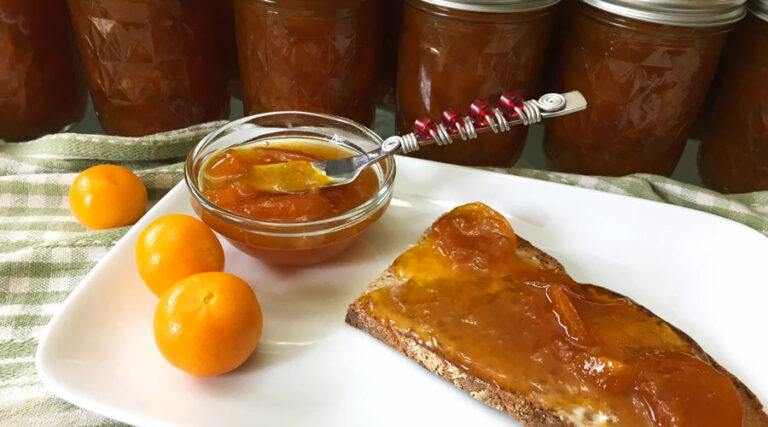
This calamondin marmalade recipe uses fresh calamondin oranges and tender “baby ginger” to produce the most flavorful marmalade you’ll ever eat.
ButcherBox Review: If you care where your food comes from and want convenient access to high quality meats at a good price, ButcherBox will be a great fit.
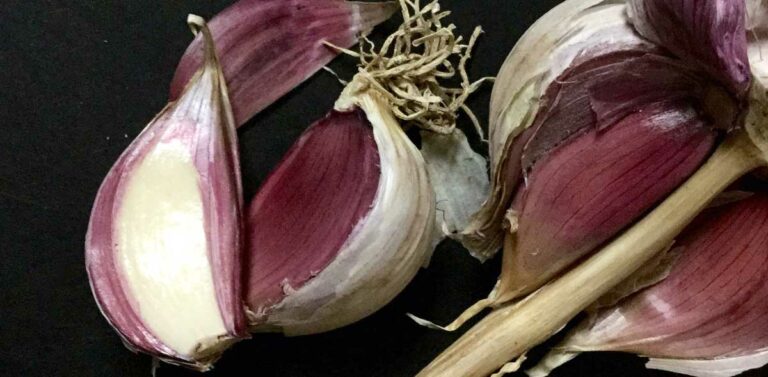
Learn how and why to grow delicious heirloom, organic hardneck garlic so you can enjoy your own homegrown garlic year round!