Is it possible to be self-sufficient? No, and that’s ok.
Is it possible to be self-sufficient? If you’re very unlucky, then yes. However, we think there are better goals to aim for than self-sufficiency.
Is it possible to be self-sufficient? If you’re very unlucky, then yes. However, we think there are better goals to aim for than self-sufficiency.
What is fermentation? Understanding the connection between your food, gut microbes, and brain can drastically improve your diet and health.
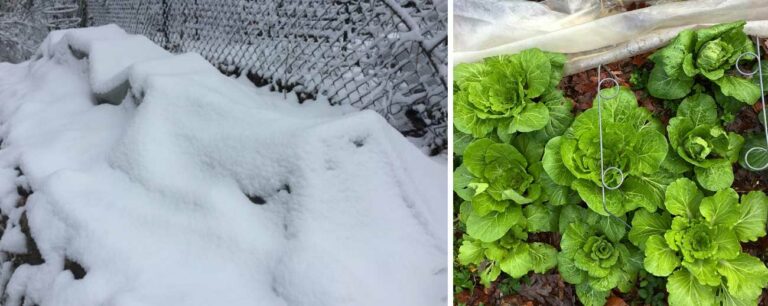
Winter gardening: get your own fresh, organic veggies year round. Here’s the information you’ll need to get growing!
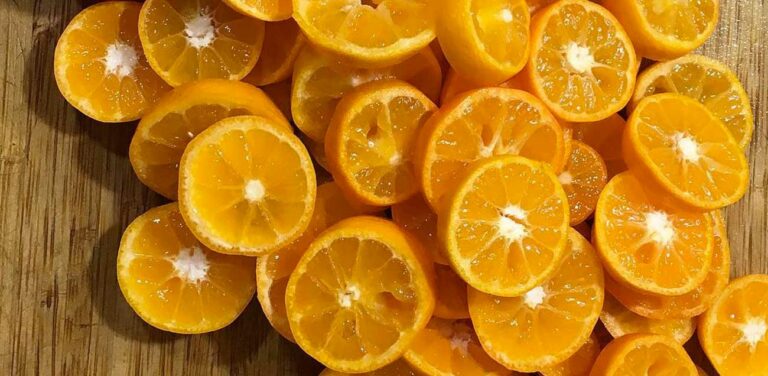
Want to walk out your front door, or into your living room, and pick your own organic citrus? Learn how to grow citrus in pots, organically.
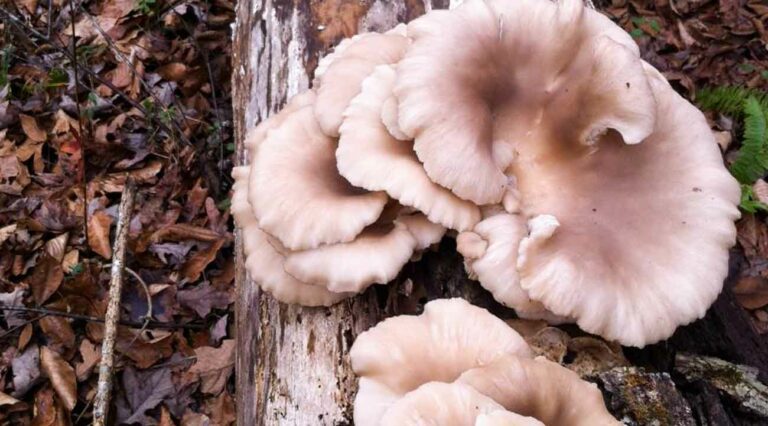
What do fossil fuels, mushrooms, Exxon, and Elon Musk all have in common? Read this fungi tale to find out…
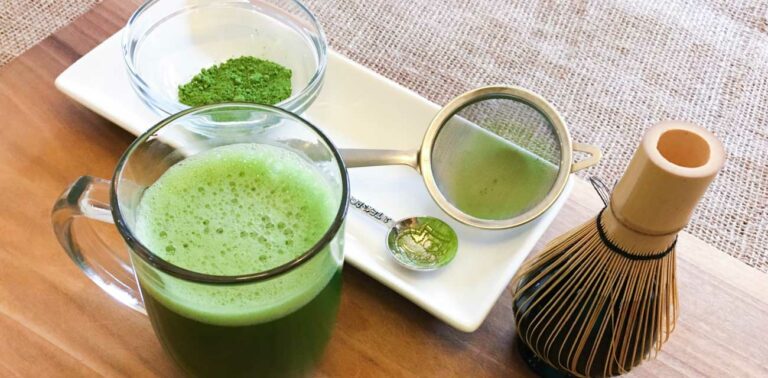
What if there was a drink that gave you a better energy boost than coffee without the bad breath? Oh, and it could fight cancer too. Meet matcha…

Fall or winter blues have you down? You might be low on Vitamin D. Here’s how to boost your mood with food while avoiding vitamin supplements.

All about duck health – a collection of helpful tips, resources, and information for your backyard waterfowl.
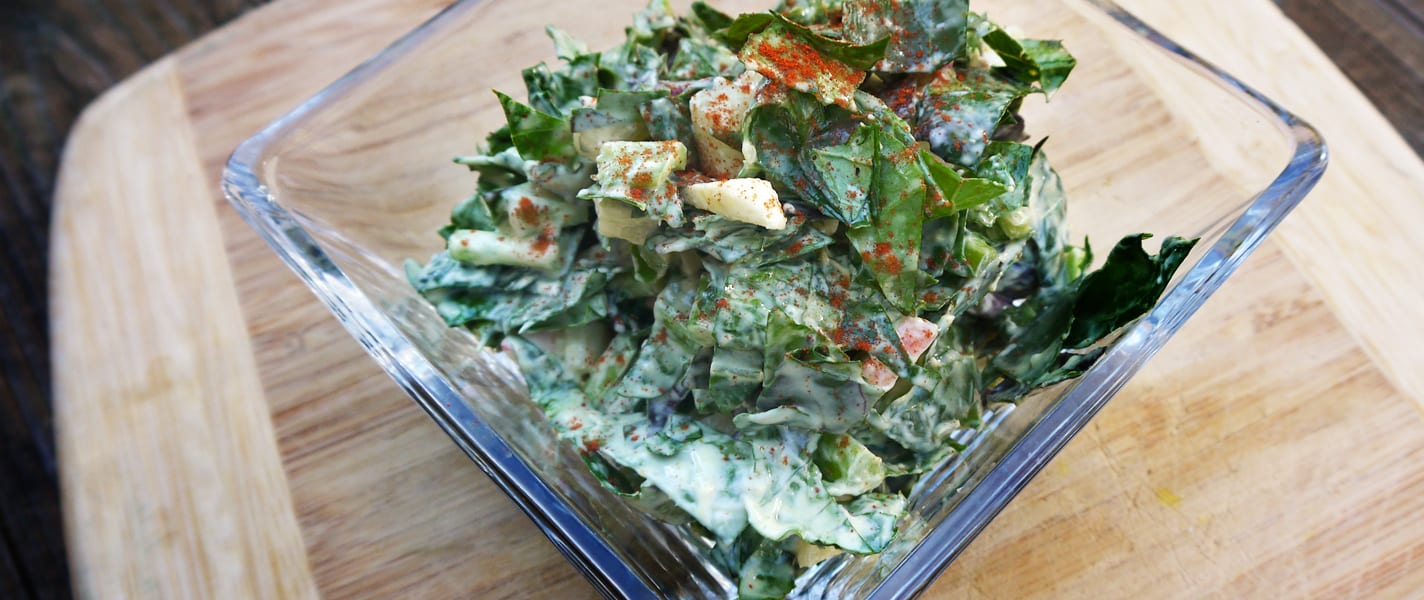
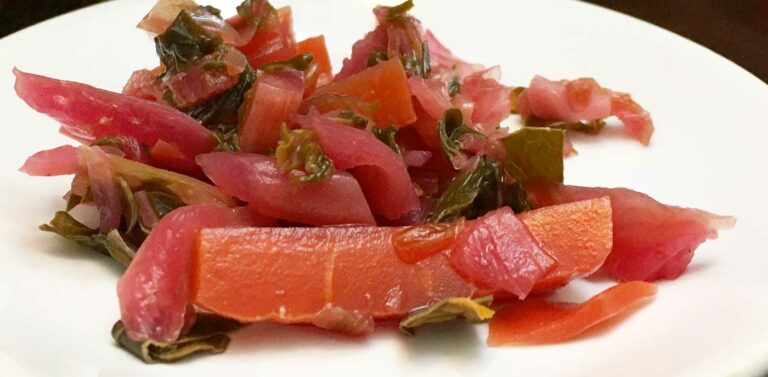
This slaw recipe has become one of our go-to ways to enjoy greens. It’s easy, super nutritious & tastebuds-swooning kind of yummy. Here’s how to make it…
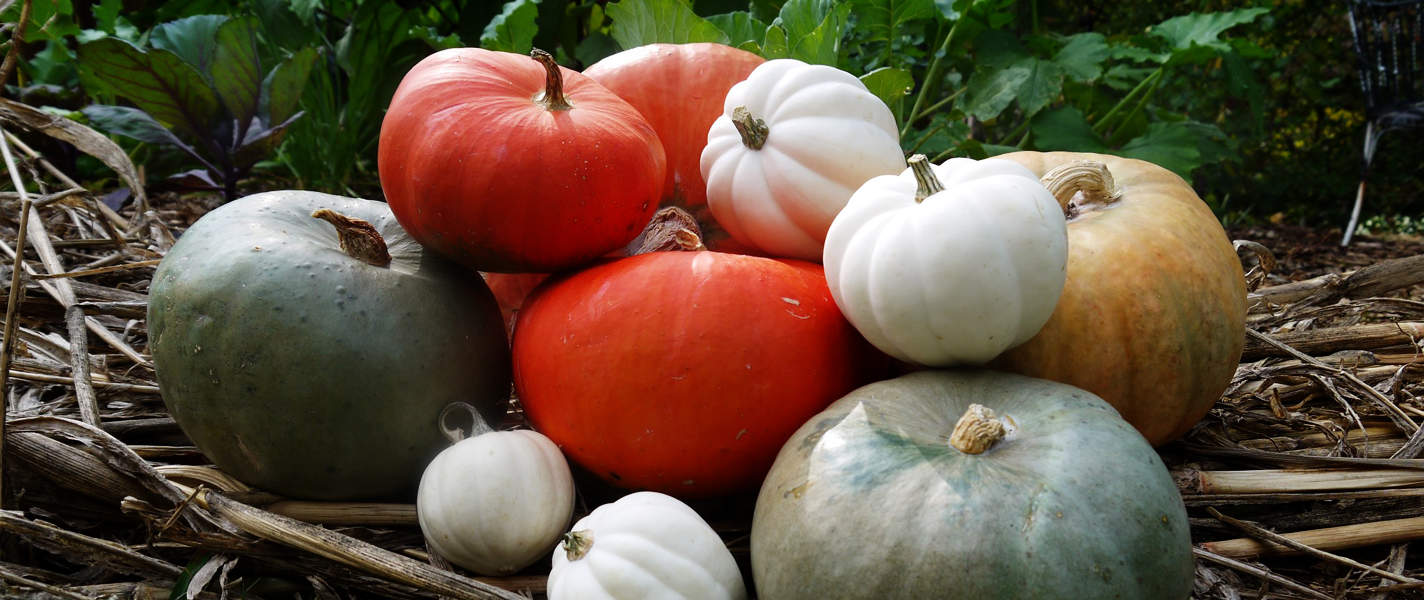
What edible plant can weigh over 2000 pounds and is 7000 years old? The pumpkin! Take a look inside the incredible, edible pumpkin & its ancient folklore.
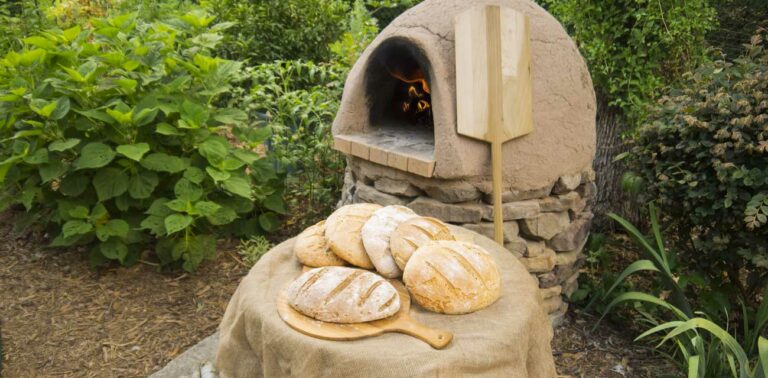
Learn all about how to cook different types of food in a wood-fired cob oven in order to make the best food you’ve ever eaten. (Part 2 in our cob oven series.)
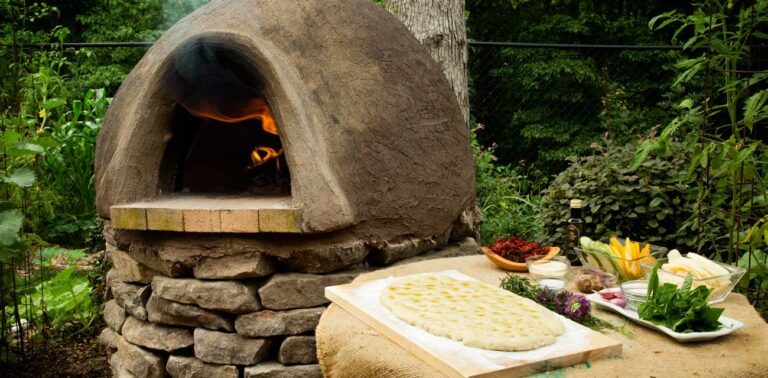
A comprehensive step-by-step guide showing you exactly how to make a wood-fired oven from cob, so you can make amazing wood-fired meals at home.
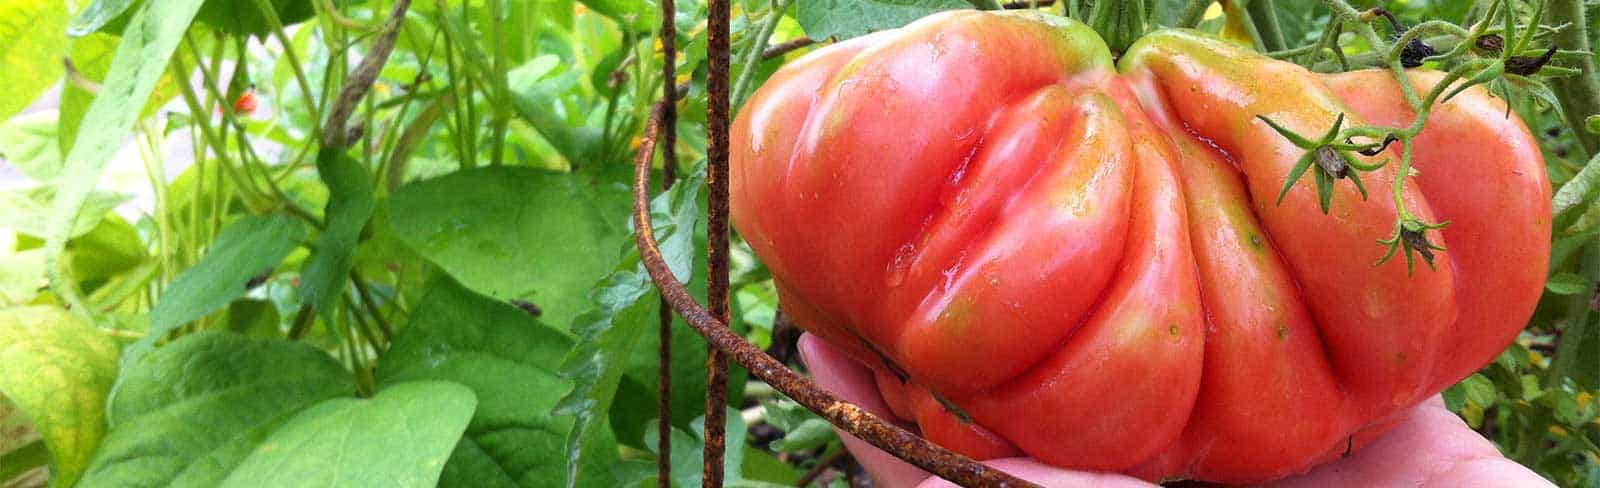
Want to extend your tomato growing season and get another big round of tomatoes before first frost? Find out how to use tomato suckers from your plants to get a second round of tomatoes.
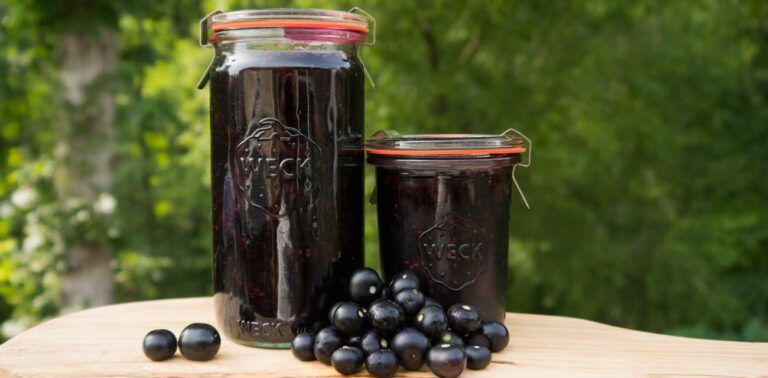
Garden huckleberries are a rare nightshade family fruit. Garden huckleberry preserves offer a delicious blueberry-grape flavor that will have you swooning!
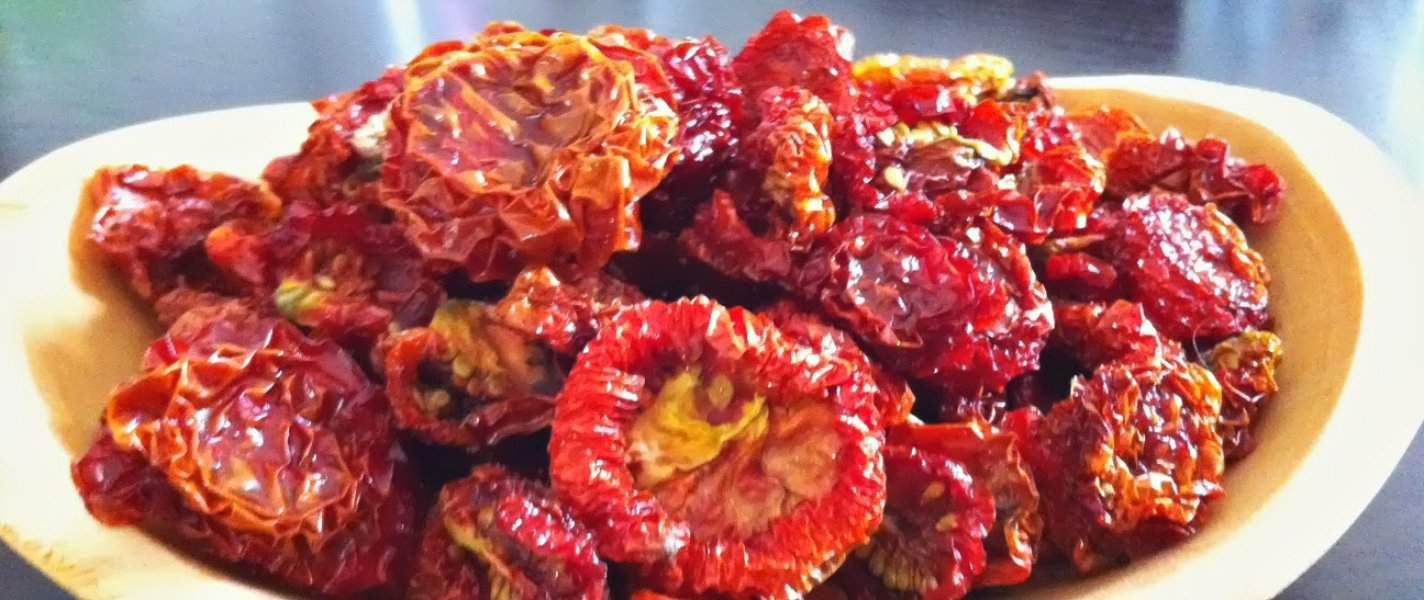
Trying to figure out what to do with all your extra tomatoes? Here’s how to easily make your own soft and chewy sun-dried tomatoes!