Why and how to grow ground cherries in your next summer garden
Ground cherries might just be the most delicious garden fruit you’ve never heard of. Find out how to grow them organically in your next summer garden.
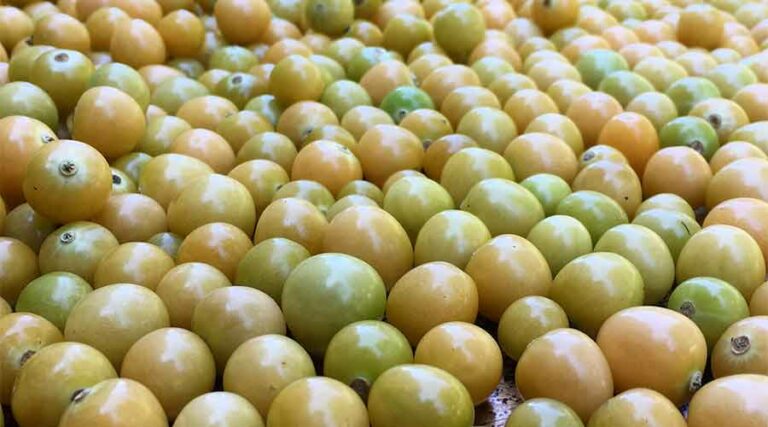
Ground cherries might just be the most delicious garden fruit you’ve never heard of. Find out how to grow them organically in your next summer garden.
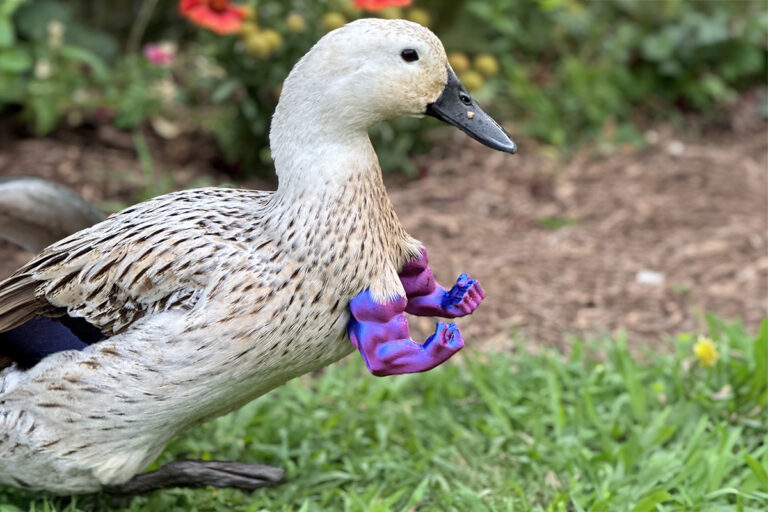
These nine amazing duck facts will give you newfound respect and admiration for these amazing animals. Quack your friends up with your newfound knowledge.

Buddha’s hand citron candy: turn one of the most interesting fruits you’ll ever see into one of the most delicious candies you’ll ever taste!

A list of helpful, useful, and fun must-have products for first year babies and their parents, ranging from potentially life-saving devices to toys!

Trying to figure out how to find mistletoe to add some holiday cheer to your home? We’ll help you find mistletoe, but earning a kiss for your efforts is up to you…
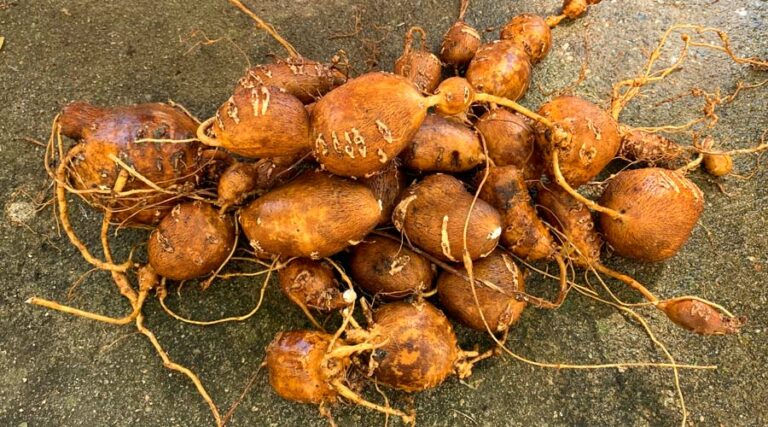
Find out how to grow American groundnuts and use them in your kitchen. This medicinal native root crop was beloved by Native Americans and helped save early European colonists from starvation.
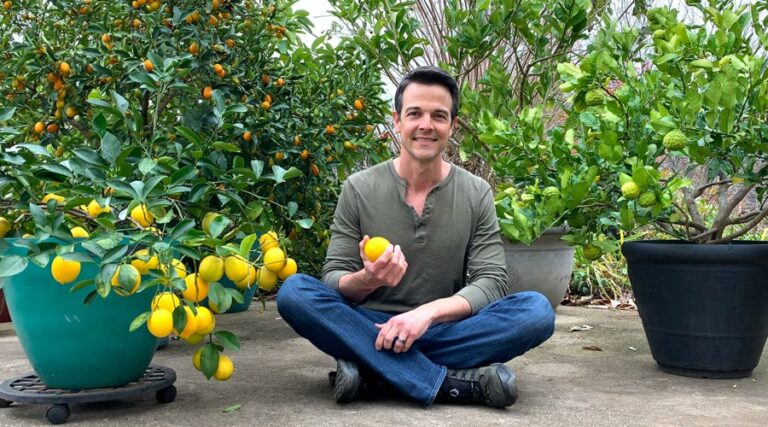
Just because you don’t live in a warm climate doesn’t mean you can’t have a potted citrus garden. Come on a video tour to find out how!
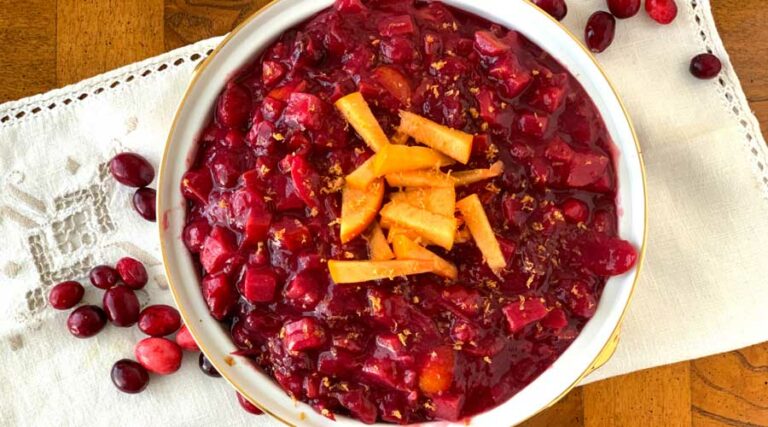
A delicious chunky sugar-free cranberry relish featuring persimmons, fresh citrus (preferably kumquats), maple syrup, red wine, and spices. The perfect holiday dish!
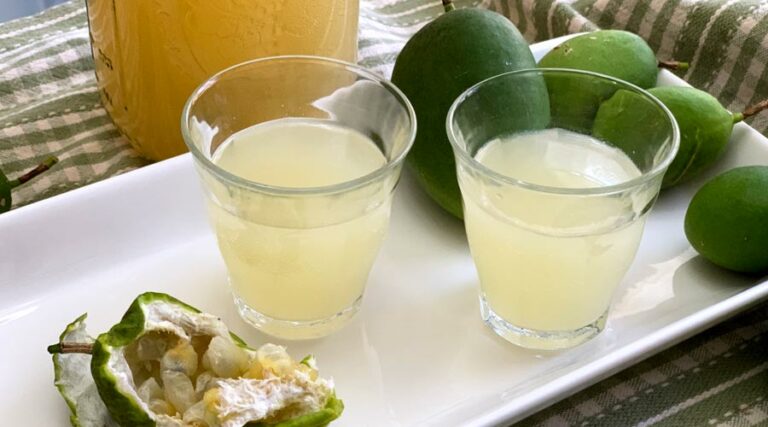
Find out how to turn southeastern United States’ native passion fruit (Passiflora incarnata) into a delicious, lightly fermented, sparkling cordial.
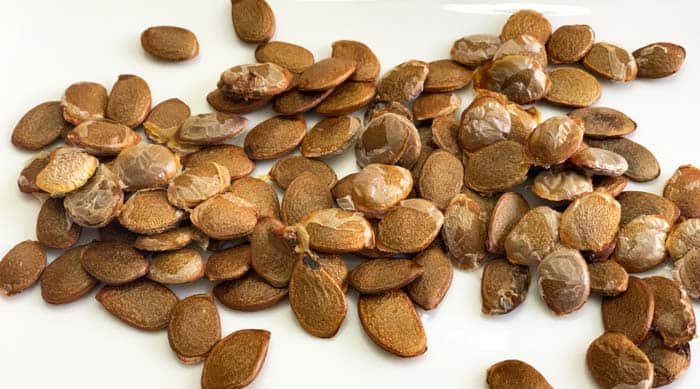
American persimmon trees (Diospyros virginiana) are famed for their fall-ripening fruit, which are technically berries. However, the seeds also have culinary uses — with a few important caveats. In this article, you’ll find out how to use American persimmon seeds in the kitchen.
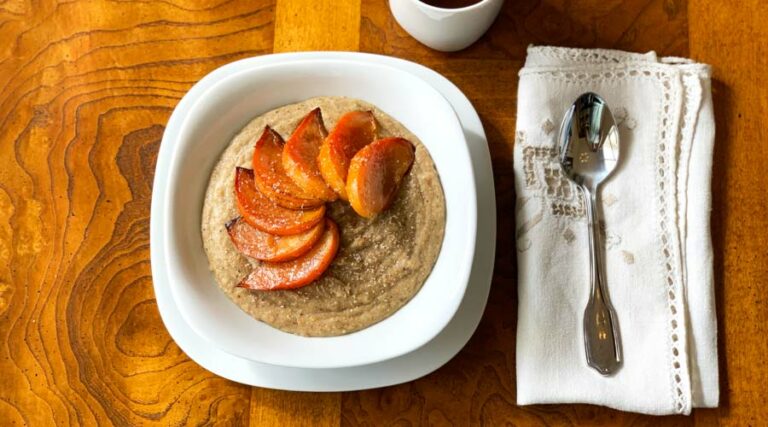
Chestnut breakfast porridge is one of the simplest recipes you’ll ever make — only two ingredients! Find out how to make this naturally sweetened porridge (no sugar added) and how to dress it up with fall-fruiting Japanese persimmons & nutmeg.

Learn how to make pizza in a wood-fired cob oven (plus tri-tip steak) in this simple, step-by-step video tutorial.
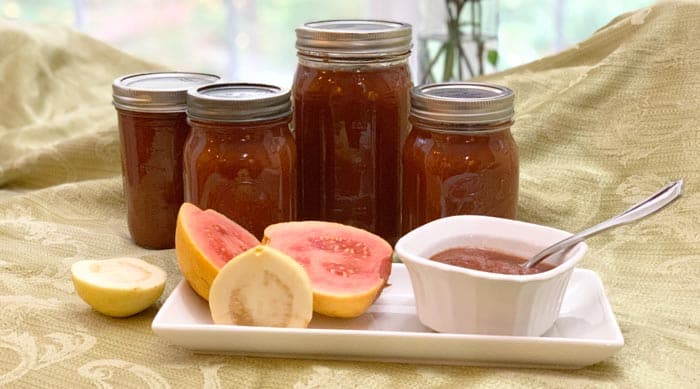
This guava butter recipe makes a tropical-flavored sweet and savory spread you can eat as-is or use to amp up other dishes. Put guava butter on yogurt, milk kefir, oatmeal, toast, grilled meats, or other well-paired dishes.
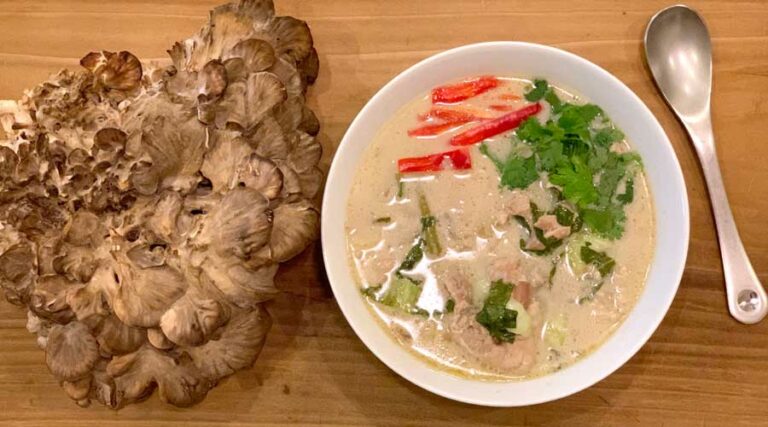
A maitake mushroom soup recipe inspired by Thailand’s famous tom kha gai soup; featuring lemongrass, limes, and coconut milk.
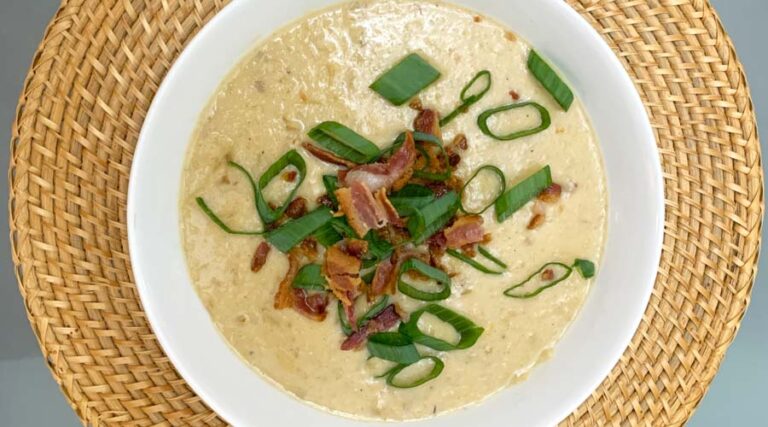
Lion’s mane mushroom chowder: a rich and savory chowder based on the classic New England clam chowder, but with forest food (mushrooms) instead of seafood.