How to eat and process pawpaw fruit (Asimina triloba)
Trying to figure out how to eat or process pawpaw fruit? These simple instructions will help you enjoy N. America’s largest and arguably best-tasting fruit!
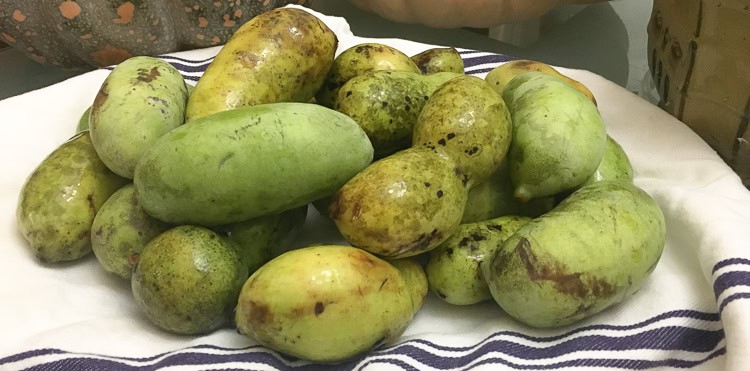
Trying to figure out how to eat or process pawpaw fruit? These simple instructions will help you enjoy N. America’s largest and arguably best-tasting fruit!

Oven-baked okra is a faster, better, and healthier way to make okra vs fried okra. Use this recipe for a taste that’s even better than fried okra!
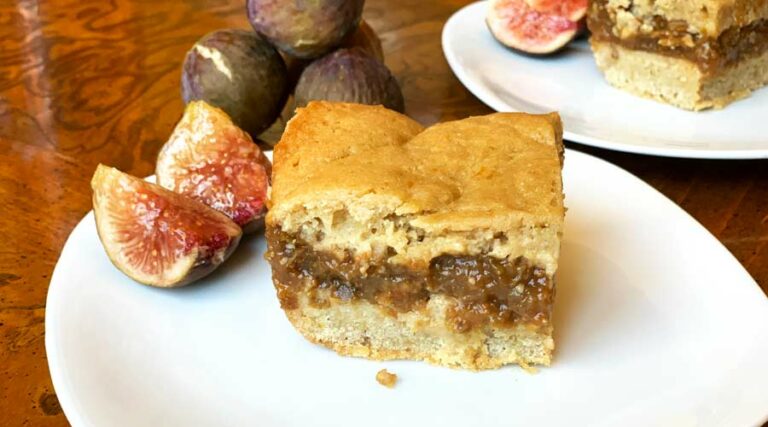
Part fig newton part cobbler, “fig nibbler” is a delicious, healthy fig dessert with only 1 tbsp maple syrup per serving. Can be made with either fresh or dried figs!
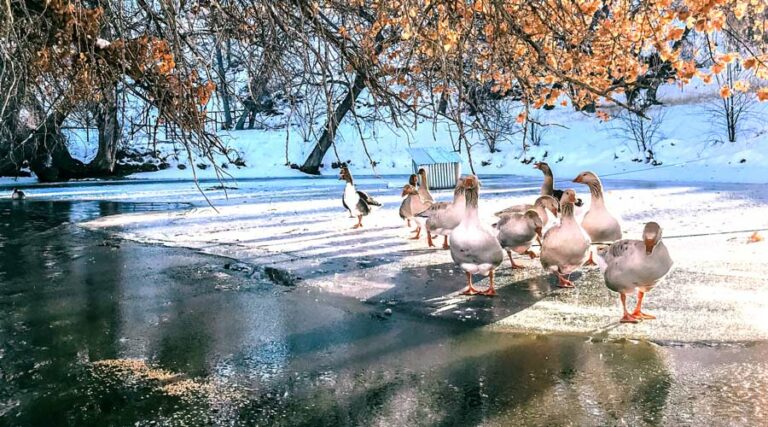
Trying to find out what to feed geese throughout all four seasons of the year? Get answers to all of your geese feeding questions here!
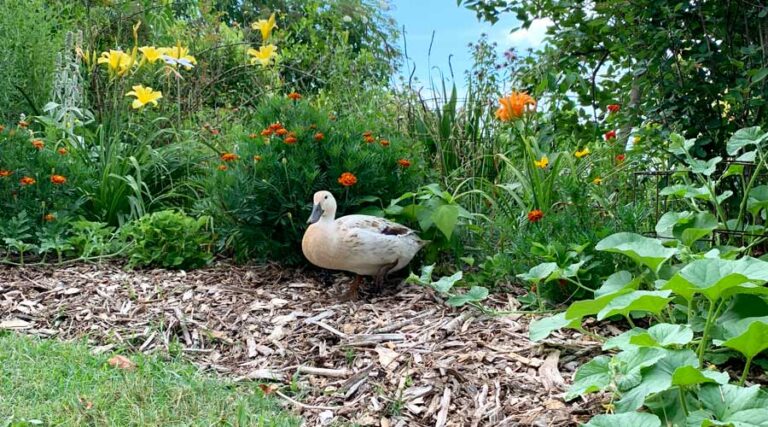
Thinking about raising ducks? Here are 11 things you should know BEFORE you get ducks in order to know what to expect and how to prepare.
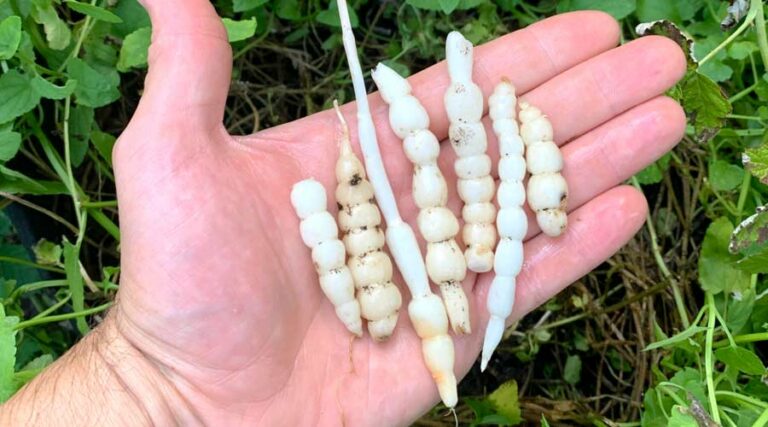
Friend or weed? Florida betony (Stachys floridana) is a mint family plant with delicious edible tubers that may have medicinal benefits!
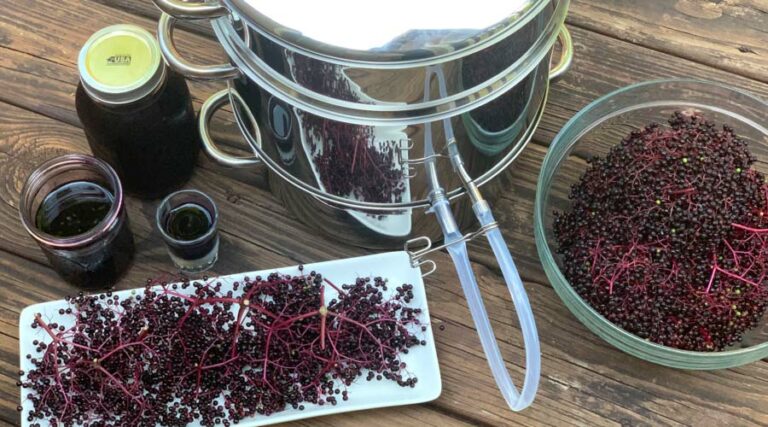
What’s the easiest and fastest way to process elderberries? Steam juicing. Find out how to cut elderberry processing time from hours to minutes.
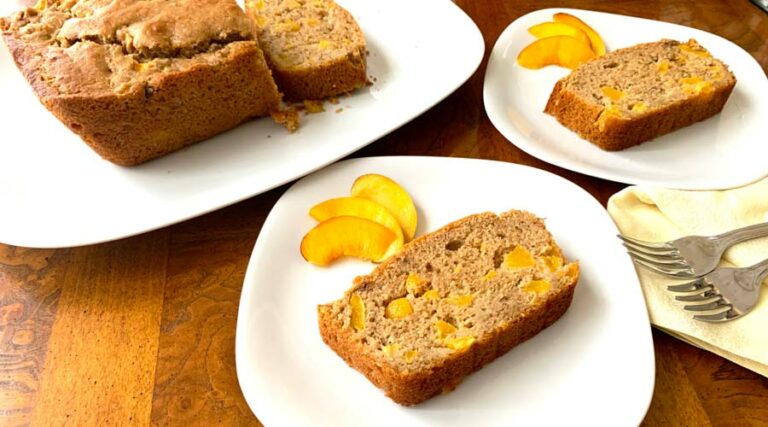
You’ll love this wholesome peach quick bread (or breakfast bread), made with fresh peaches, buttermilk, whole wheat and almond flour!

Reflections on our food system and beyond from people with a unique perspective (foragers, gardeners, science & technology enthusiasts).
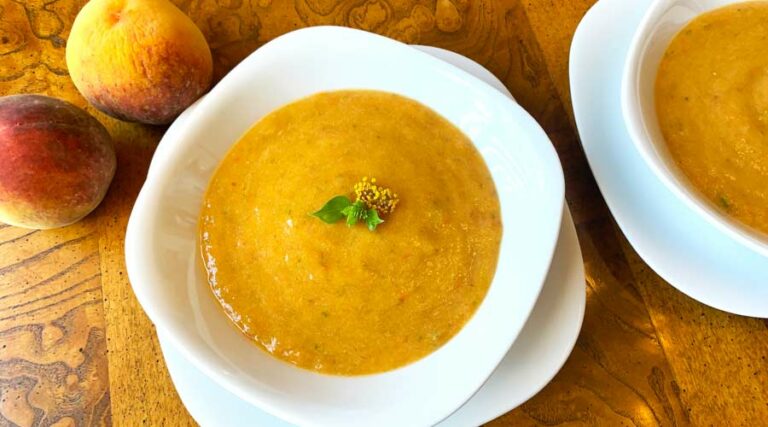
Peach gazpacho is a chilled summer soup that’s a slightly sweet, peachy spin on the traditional tomato-cucumber version. Tastes like summer in a bowl!

What can ducks teach you about human brains, civilization, and how to function better within an increasingly politically polarized landscape?
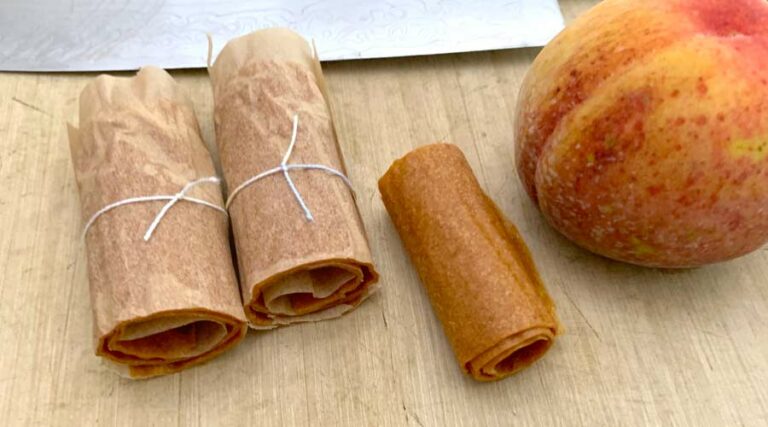
We tested lots of recipes and methods to show you the best way to make the perfect peach fruit leather (and use up lots of peaches)!
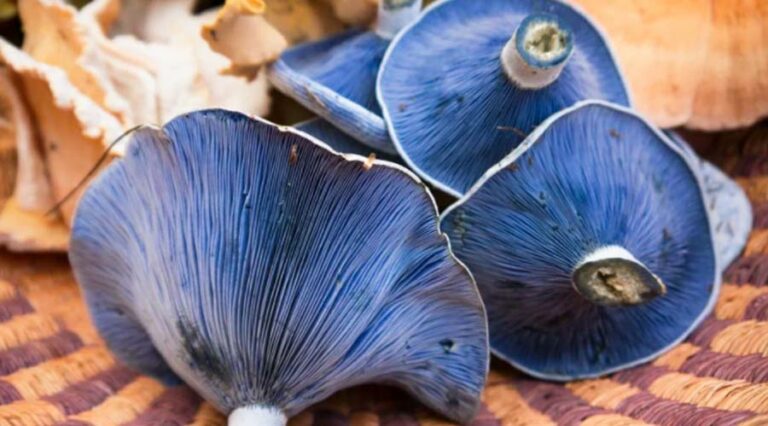
Indigo milk cap mushrooms (Lactarius indigo) are gorgeous EDIBLE bright blue mushrooms. Here’s how to find, ID, and eat them!
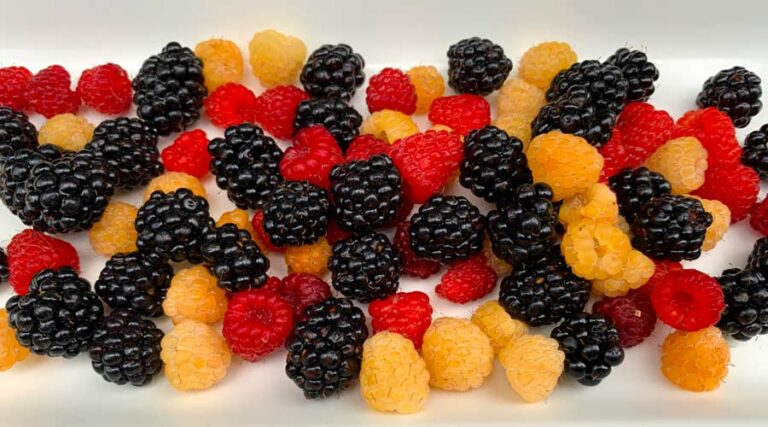
Want to grow your own organic blackberries and raspberries in the Southeast US? Here are our top six tips to help you do it!
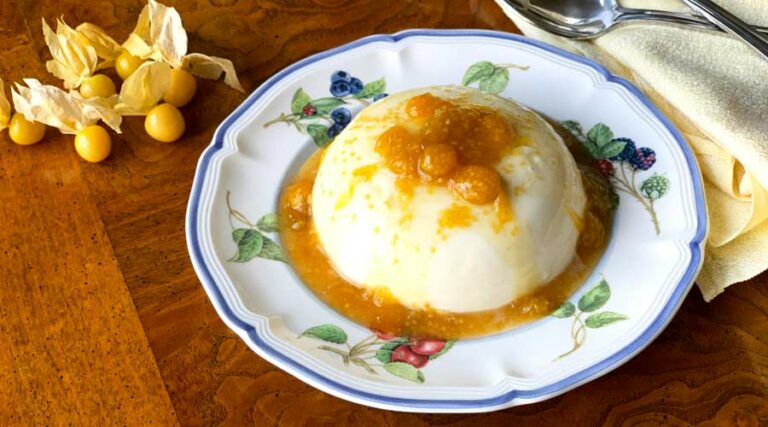
Panna cotta with ground cherry bourbon sauce is one of the best and easiest make-ahead desserts you’ll ever eat! Here’s how to make it…