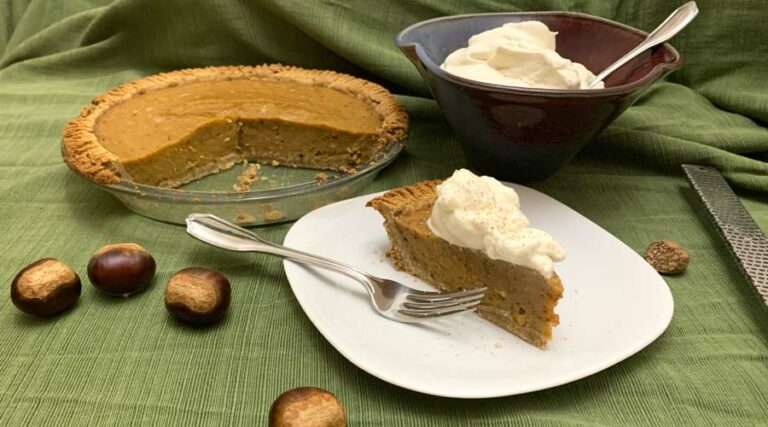
American persimmon pie w/ chestnut flour crust & maple whipped cream
This American persimmon pie recipe (aka “Tyrant’s Tree Pie”) is made with a chestnut flour crust and served with maple whipped cream. Three trees in one pie!
This American persimmon pie recipe (aka “Tyrant’s Tree Pie”) is made with a chestnut flour crust and served with maple whipped cream. Three trees in one pie!

Want to reduce pollution from your yard? We asked the experts at Greenville County Soil & Water Conservation District to share proven tips you can use to make your yard safer and cleaner — and help reduce local water pollution in the process. Come find out how!

Lion’s mane mushrooms are a gourmet and medicinal mushroom with proven brain-boosting benefits. Here’s a simple, delicious lion’s mane soup recipe you can make with fresh or dehydrated lion’s mane mushrooms.
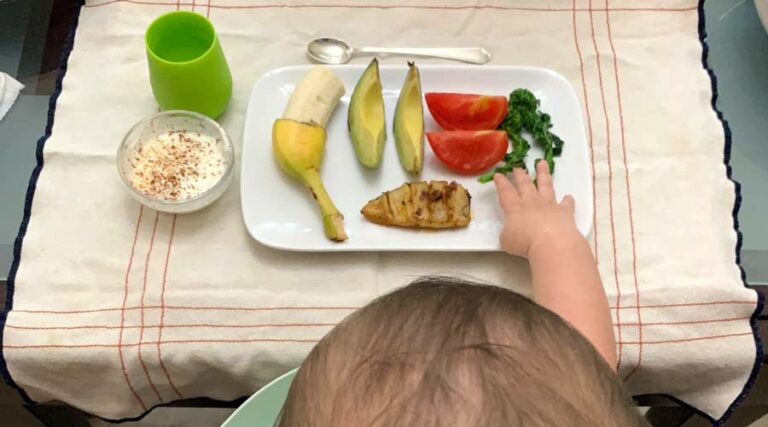
Baby-led weaning (BLW) introduces solid foods to your baby in a way that can help establish a healthy, life-long relationship with food. Here are our top 10 BLW tips to help other parents interested in baby-led weaning.
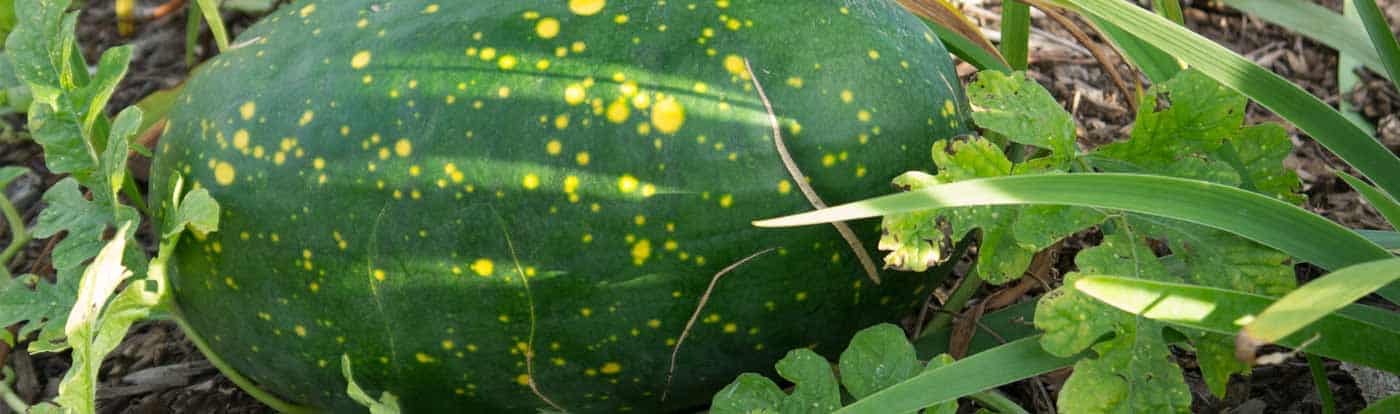
Trying to figure out how to keep rodents off of your melons? Here’s a DIY approach that is 100% effective.
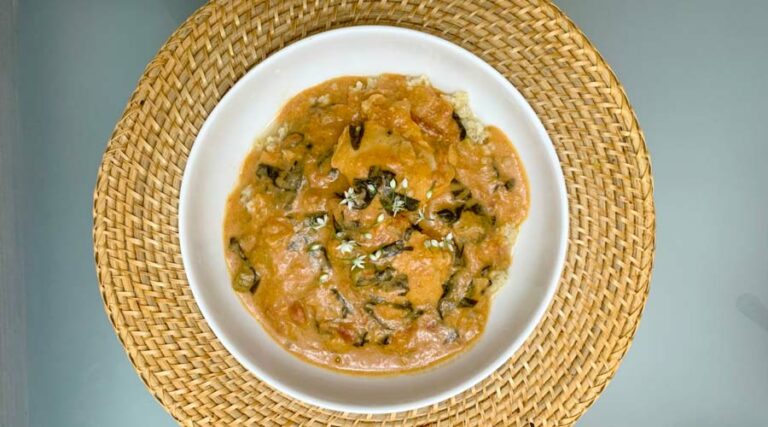
Malabar spinach is a vining, heat-loving green that produces huge quantities of edible leaves. Use it to make our delicious African groundnut stew recipe!
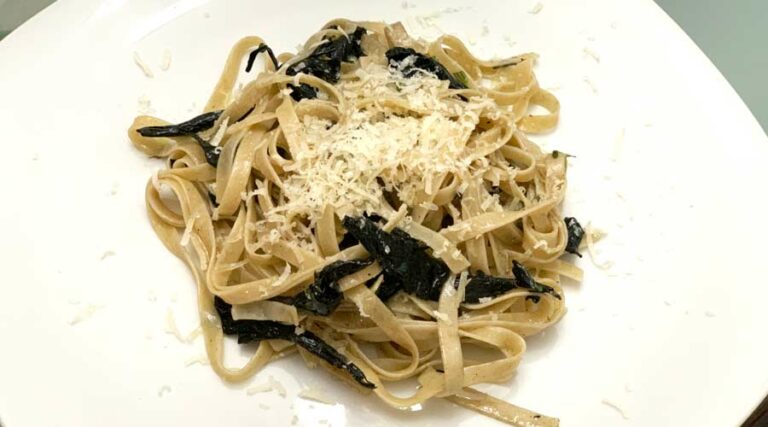
A simple but incredibly delicious black trumpet mushroom pasta recipe. Made with eastern US Craterellus fallax or related species.
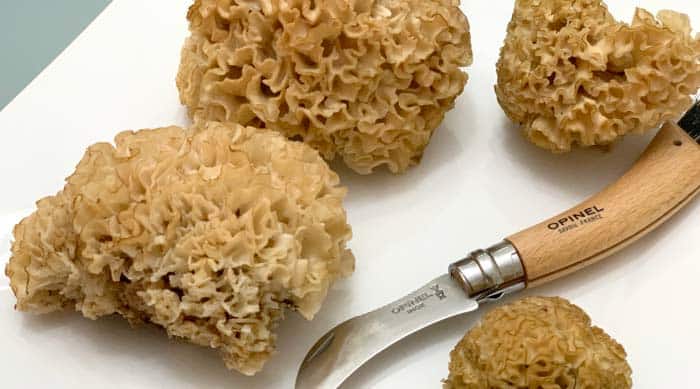
Cauliflower mushrooms are easy-to-identify choice edible mushrooms that can be found around the world. Here’s how to find, identify, and eat them!
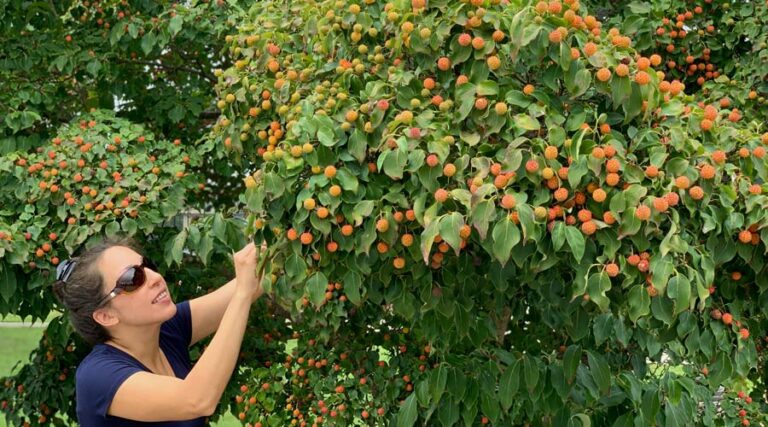
Asian Kousa dogwoods (Cornus kousa) are a beautiful tree that also produce a tasty edible fruit. This article details everything you need to know to grow, ID, and eat Kousa dogwood fruit!
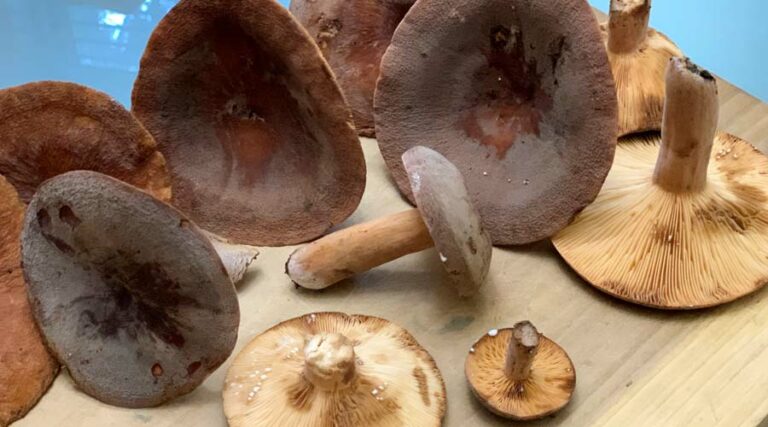
Corrugated milk cap mushrooms (Lactifluus corrugis) and Bradley milk caps (Lactifluus volemus) are two closely related species of edible wild mushroom. Discover how to find and ID them!
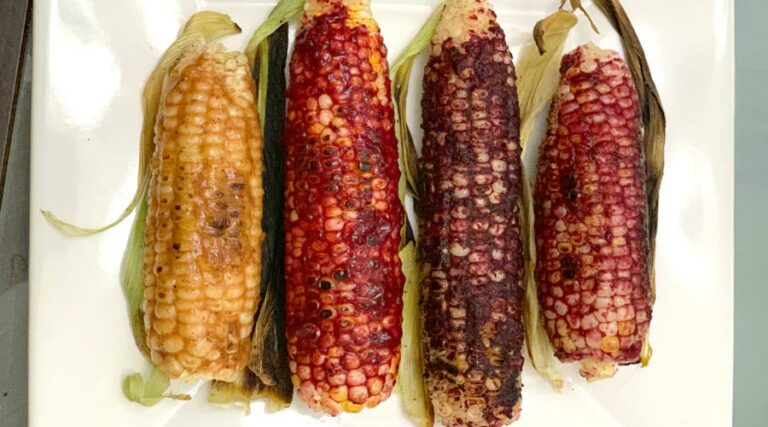
Find out how to make cast iron corn on the cob on your stovetop! And if you want to take it up a notch, use lacto-fermented fruit rubs before serving.
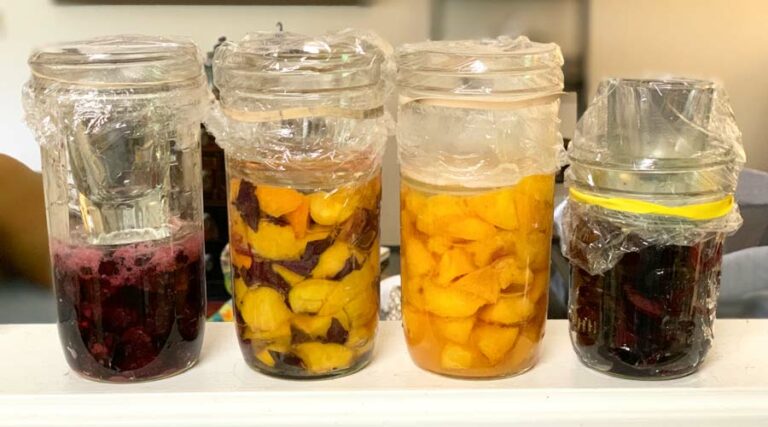
Find out how to make lacto-fermented fruit, a secret ingredient used by the world’s top restaurants and chefs. Plus, get our lacto peach with basil & honey recipe!
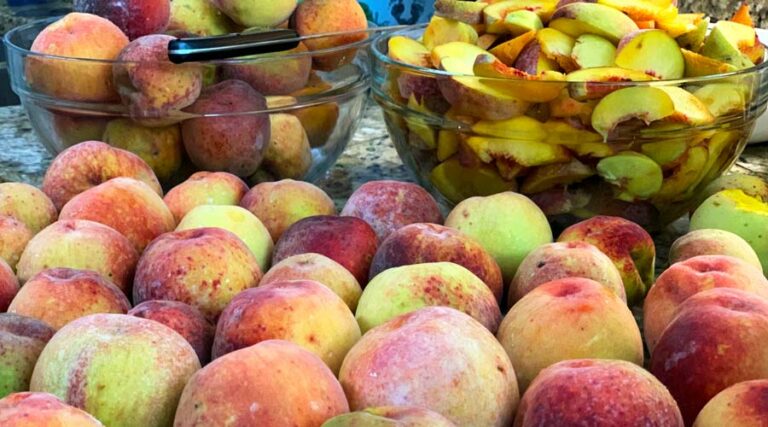
A detailed guide about how to grow organic peaches in the southeast with evidence-based solutions provided by two Clemson University peach scientists, Dr. Guido Schnabel and Dr. Juan Carlos Melgar.
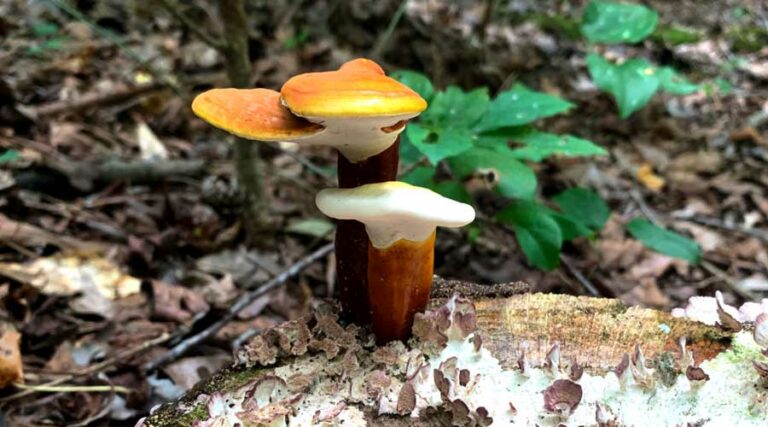
Learn how to find, ID & use reishi mushrooms. Reishis have been used medicinally in Asian cultures for thousands of years, and grow wild in North America.

Find out how to easily herd your ducks to get them to go wherever you want, whether that’s putting them up at night or getting them out of a garden bed.