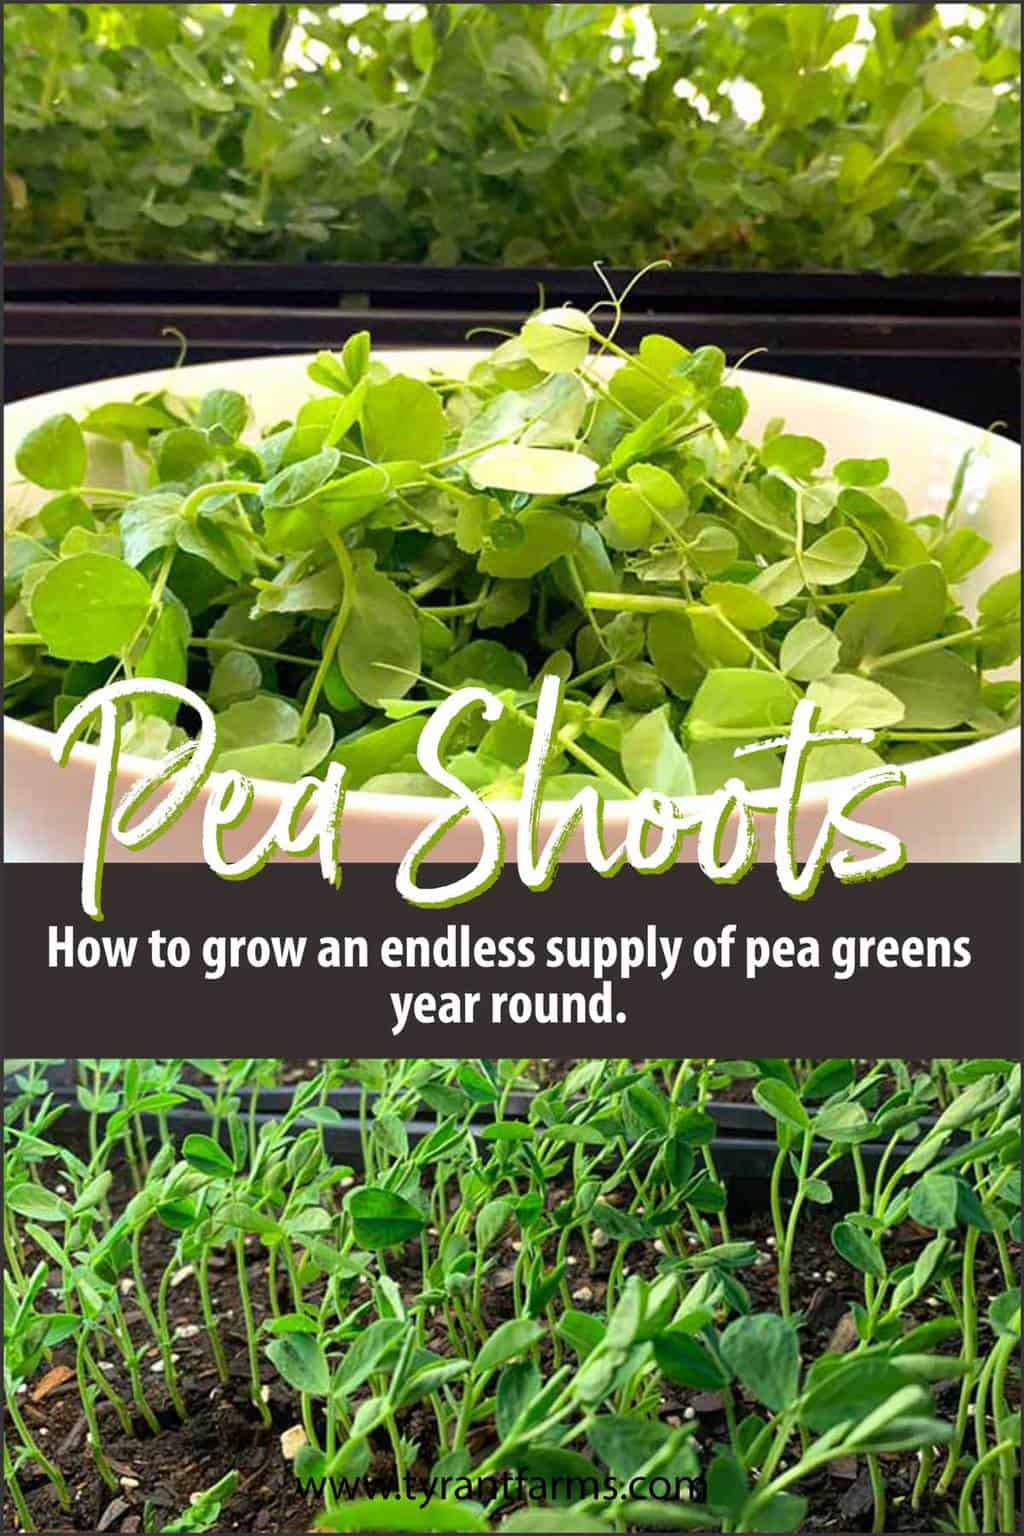
How to grow an endless supply of pea greens indoors

Tyrant Farms' articles are created by real people with real experience. Our articles are free and supported by readers like you, which is why there are ads on our site. Please consider buying (or gifting) our books about raising ducks and raising geese. Also, when you buy through links on our site, we may earn an affiliate commission. Learn more
Find out how to grow an endless supply of cut-and-come-again pea greens indoors!
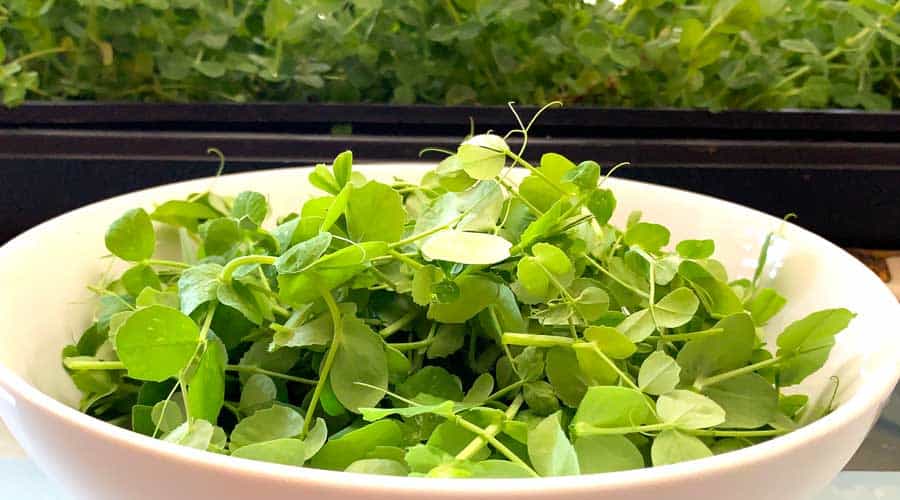
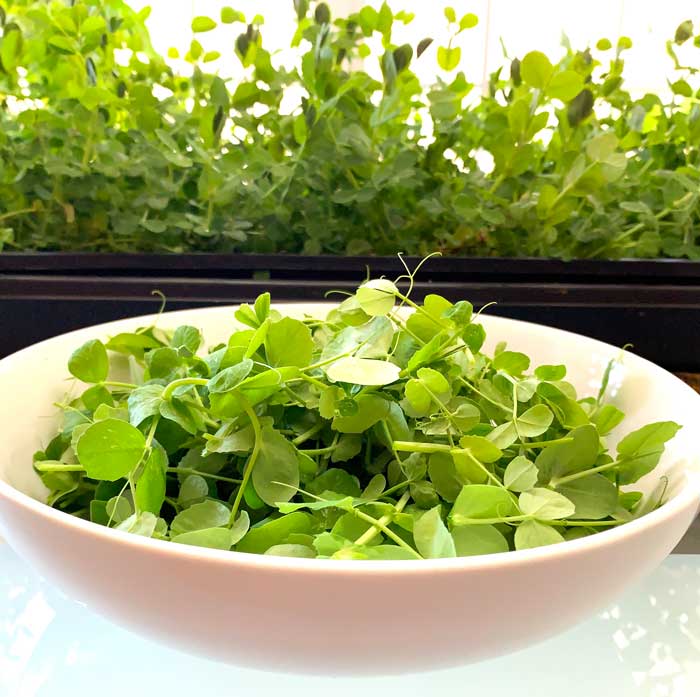
You’ve probably grown pea plants in your garden for their sweet and crunchy edible pods, but there’s another part of the plant that also offers delicious rewards: the tender young growth tips, aka pea greens.
In case you’ve never had them before, pea greens have a soft, silky texture and a flavor that’s almost identical to sugar snap peas: sweet and delicious. They’re also high in protein relative to other greens.
What’s the best variety of pea to grow for pea greens?
We don’t remember the exact year when we first discovered edible pea greens, but we’ve loved them ever since.

While you can eat the greens of any edible pea plant, our favorite pea variety for producing edible greens is ‘Austrian Winter’ peas. Why?
- They’re incredibly cold-hardy, tolerating temps down to about 10°F (-12°C) uncovered — although the plants don’t put on much growth until temps are regularly above freezing.
- They produce abundant quantities of large, juicy growth tips.
- They’re very fast growing.
These features also explain why Austrian Winter peas are often used by farmers as a nitrogen-accumulating cover crop and by hunters to attract deer to certain spots.
Austrian Winter peas don’t produce a great fresh-eating pod/seed. They’re better dried and made into soups than for fresh eating.

Can you grow pea greens indoors?
Yes, you can grow pea greens indoors!
We grow huge amounts of pea greens outdoors in our garden from fall through spring. The plants die as soon as temps get warm.
However, over the past few years we’ve also grown lots of pea greens indoors in seedling flats — including in the summer when it’s far too hot to grow them outdoors. The advantage of growing pea greens indoors in the winter is that they grow much faster than they would outdoors when temps regularly drop below freezing, which slows their growth.
So, even if:
- you don’t have a garden or access to outdoor space, or
- it’s too hot or too cold to grow pea greens outdoors,
you can still grow pea greens indoors relatively easily.
How to grow pea greens indoors
Step 1: Assess your indoor lighting situation.
The first thing you’ll need to do is figure out whether you have enough natural light to grow pea greens indoors without a grow light system. (Here’s how to make your own simple, affordable DIY grow light system.)
If you have a sunny, south-facing window that gets at least 6 hours of direct sunlight, you can probably grow pea greens in front of the window. Just keep in mind two things:
- Temps – Peas like cool temperatures (sustained temps above 75°F is too hot), so you’ll need to make sure the pea flats don’t get too hot in front of your window. You can do this by moving the flats further away from the window and/or “watering” them with ice cubes daily.
- Filtered light – Modern energy-efficient windows filter out a lot of the light spectrum needed to grow healthy plants. Even if a spot in your house gets blasted with sunlight all day, your energy efficient windows/window coatings may filter out too much of the full light spectrum to grow healthy pea plants indoors.
This is why we use a DIY grow light system to grow our pea greens indoors. Yep, it’s the same grow light system we use to start our seedlings as well.
Step 2: Get materials.
Materials you’ll need to grow pea greens indoors:
- Heavy duty, BPA-free seedling trays
- Seedling tray mesh inserts
- Austrian Winter pea seeds
- Organic potting soil
Step 3: Get growing.
Austrian Winter peas are quite easy to grow indoors in seedling/microgreen flats. Here’s how:
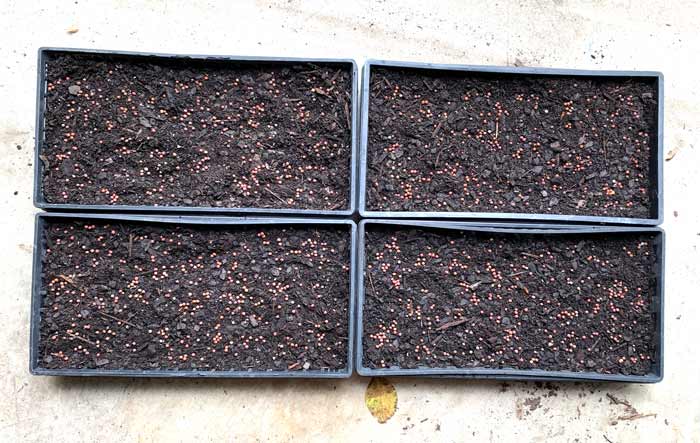
a. Place your plastic mesh inserts into each seed tray where you intend to grow pea greens.
b. Fill each tray with *pre-dampened potting soil up to about 3/4″ below the lip. (*Pre-dampen the soil otherwise you’ll make a mess and have difficulty getting the hydrophobic soil to absorb water inside the trays.)
c. Densely place pea seeds on the surface of the soil. We just scatter them on, rather than putting them in rows/lines.
d. Cover the pea seeds with another 1/2″ of dampened potting soil.
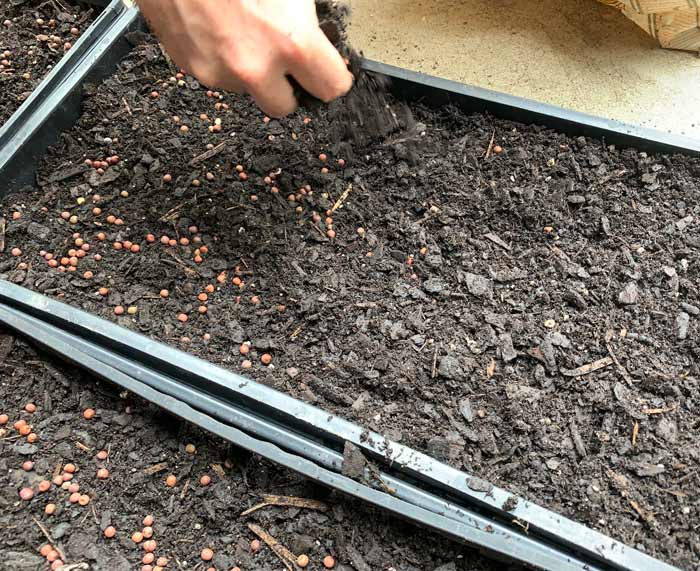
Then give everything a light hose down to make sure there’s good soil-to-seed contact. It’s best to do this outside!

e. Over the next 5-7 days, keep the soil mix damp, not wet, to aid in seed germination without causing anaerobic conditions that could cause roots and plants to rot.
f. Voila! You should see pea shoots start to sprout through the soil surface in about 7-10 days, so long as your indoor temps are around the standard 65-72°F indoor house temps. Keep your grow lights about 2-3″ overhead, and adjust them as-needed as your peas grow.
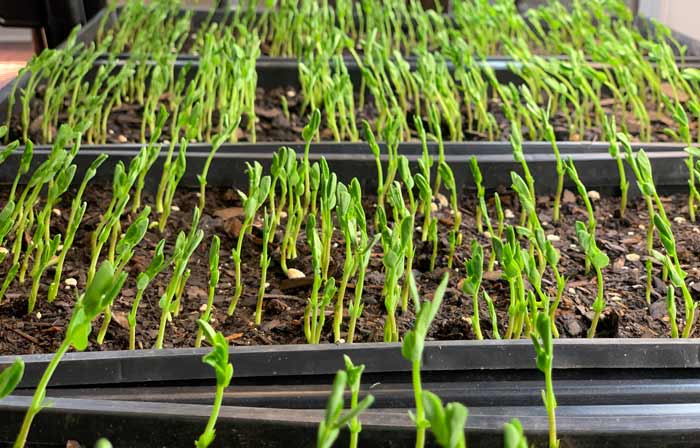
Once the pea seeds have germinated, immediately move the flats under your grow lights or in front of a sunny window. Continue to water as-needed to ensure the soil stays slightly damp, not wet, as the pea plants grow.

Step 4: Harvest your pea greens, again and again.
One of the other nice things about pea greens is you can get multiple harvests off of the same plants.

How many times can you harvest pea greens as a cut-and-come-again veggie? The flats of pea greens photographed in this article have been growing for 6 months and have been harvested at least 5 times!

To harvest your pea greens, simply trim off the top few inches of growth with a sharp pair of scissors. The plants will put on new growth and be ready to harvest again within a few weeks.
Through a symbiosis with certain soil bacteria, peas harvest their own nitrogen from the atmosphere, so the plants grow their own nitrogen fertilizer. Over long periods of time, you may want to use an organic liquid fertilizer like emulsified kelp to make sure your pea flats have other vital nutrients and minerals they need to continue to produce healthy growth.
How to use pea greens
A few ways to use your pea greens:
- as a garnish to fancy up the visual appeal of a dish;
- as a supplemental feed for backyard or pet ducks and chickens;
- as a standalone salad or added to a salad mix.
While a lot of our pea greens go directly into our kitchen, the majority of them go to our flock of spoiled Welsh Harlequin ducks, which means they also go indirectly into our kitchen via duck eggs.
We hope you use the information in this article to grow piles of fresh pea greens indoors, year round. Enjoy!
KIGI,

Can you use regular sugar snap peas as well?
Hi Angela! Yes, you can use any type of edible peas for this process. There might be differences in bulk prices to consider though. Bulk snap pea seeds are likely to be more expensive than sugar snaps, and since you’re growing them for the greens not the pea pods, that consideration may be a higher priority.
Great! Thank you. I got sugar snap peas yesterday, about half a pound so I will try growing them for their greens
Right on! The flavor of pea greens varies pretty widely by variety/cultivar. Our favorite thus far is Austrian winter peas, which are sweet and taste almost exactly like sugar snap peas (even though Austrian winter pea pods aren’t a good fresh-eating pea, they’re better for dried peas). However, we’ve never sampled a pea green that didn’t at least taste good, regardless of variety. Hope your sugar snaps are delicious!
What is the purpose of the plastic mesh inserts? Maybe I’m not picturing them correctly …
Good question that wasn’t clearly addressed in the article. Sorry about that. You don’t have to use inserts, but it makes it easy to lift the entire root mass and plants out of the trays in the event you accidentally overwater. We also put our trays outside when weather permits and have unexpected rains, wherein removing the plants and letting the root systems dry out becomes important.
Thank you!