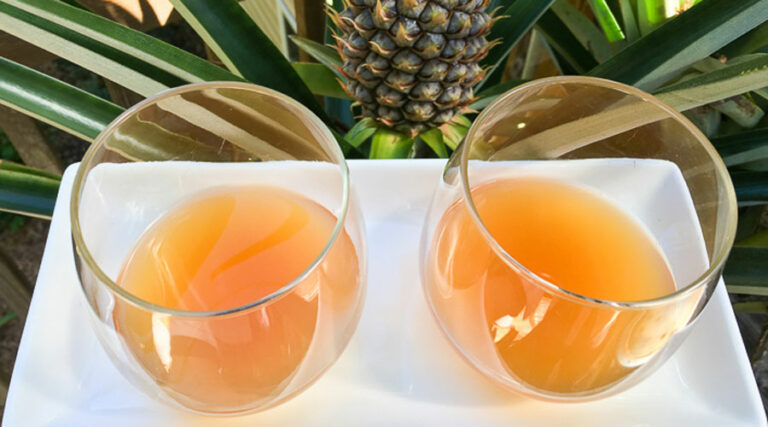
Tepache recipe: how to turn pineapple skins into a delicious probiotic drink
This pineapple tepache recipe uses pineapple skins to produce a delicious, refreshing probiotic beverage that tastes like pineapple kombucha.
This pineapple tepache recipe uses pineapple skins to produce a delicious, refreshing probiotic beverage that tastes like pineapple kombucha.
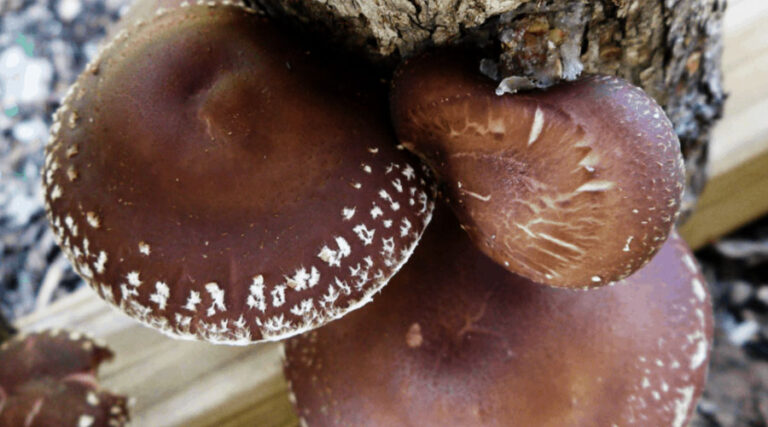
Find out how to grow shiitake mushrooms — a delicious gourmet mushroom with scientifically proven health benefits.
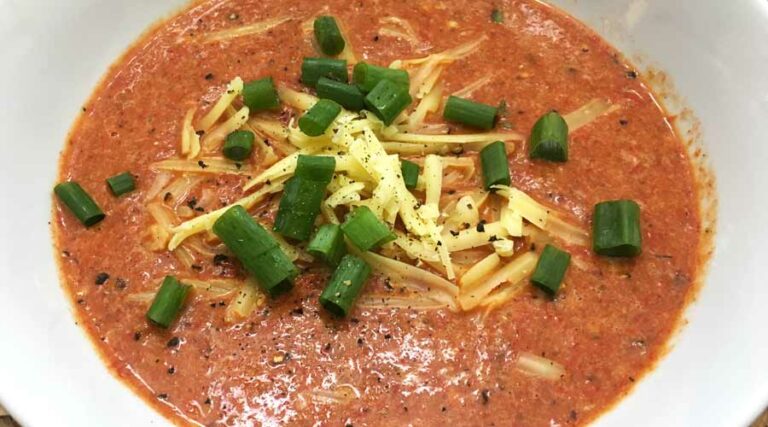
Red Shishito pepper soup is an easy and delicious way to use up a big harvest of ripe, red shishito peppers, or other thin-skinned, sweet red peppers.

Learn how to find, identify, grow, and cook chicken of the woods mushrooms (Laetiporus spp.), the mushroom with a taste and texture like chicken.
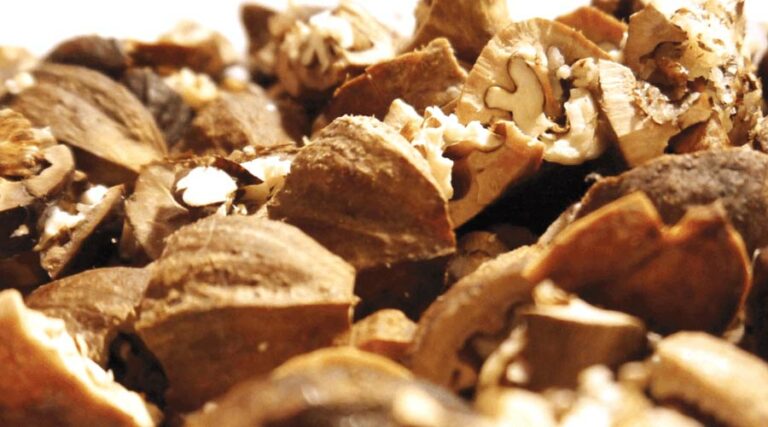
A simple hickory nut recipe you can make without separating the nutmeat from the shell. You’ll enjoy this seasonal drink each fall!
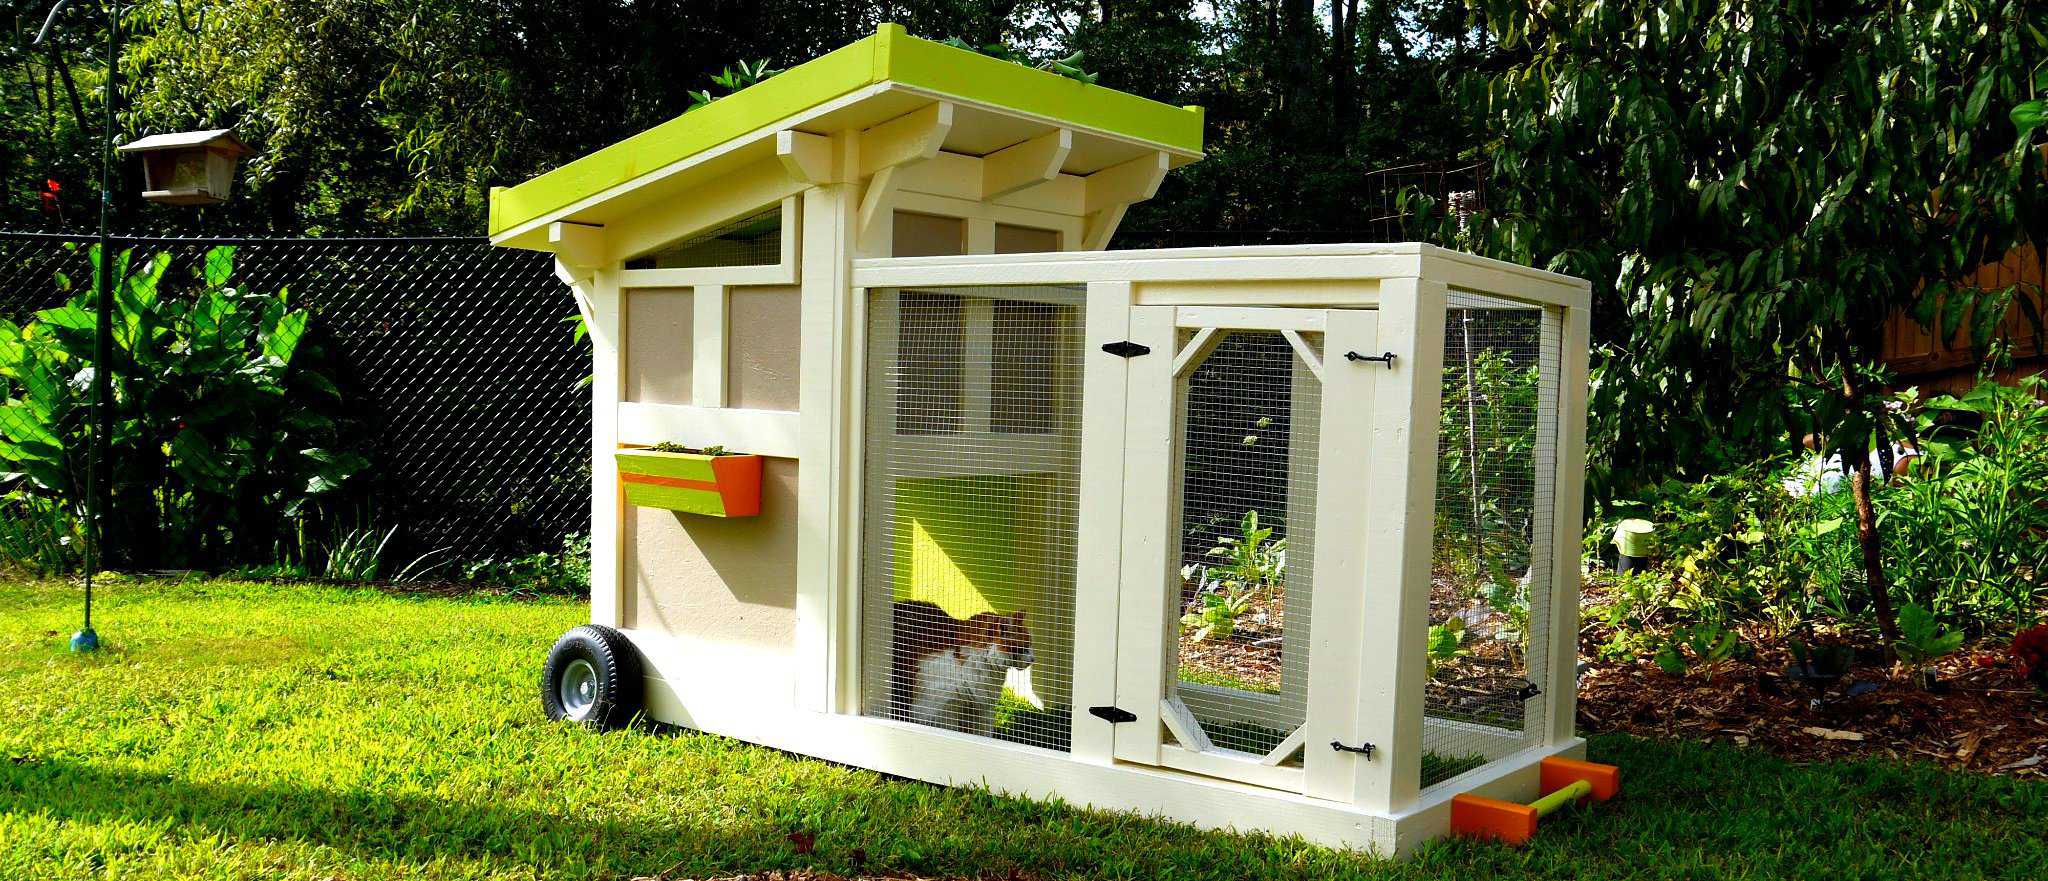
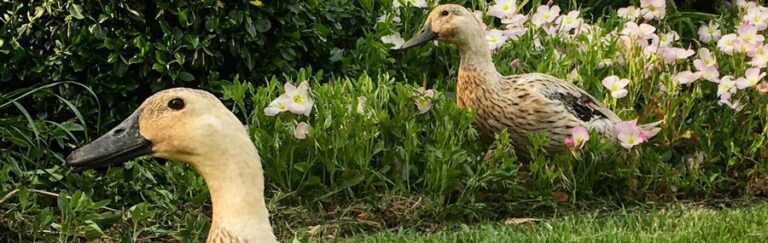
Before getting ducks, we had to figure out how to build them a safe, secure, and attractive duck house. The result: The Quacker Box. Read the story of how we built it and learn how to build your own duck house too!
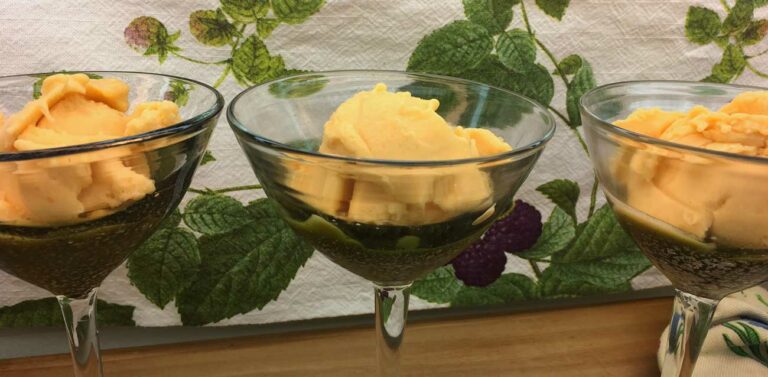
Pawpaw passionfruit sorbet is a delicious dessert made from native fruit: pawpaws (Asimina triloba) and passionfruit (Passiflora incarnata).
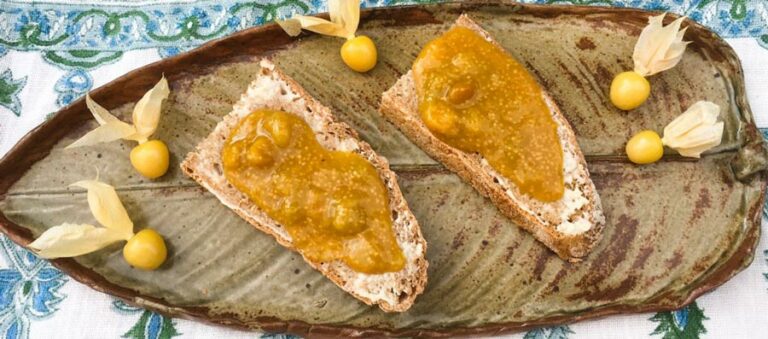
If you’re lucky enough to have a bunch of ground cherries available, you’ll want to make this delicious ground cherry preserves recipe!
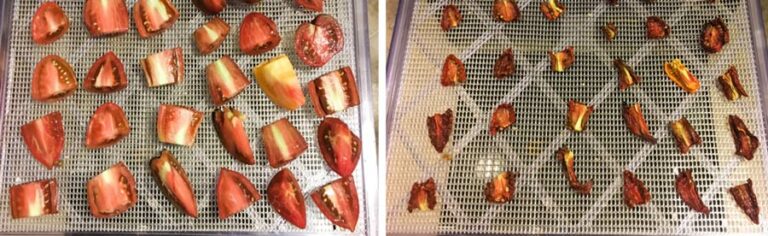
Have you ever wondered what percent of a tomato is water? We pulled out our scale and dehydrator to get the exact number.
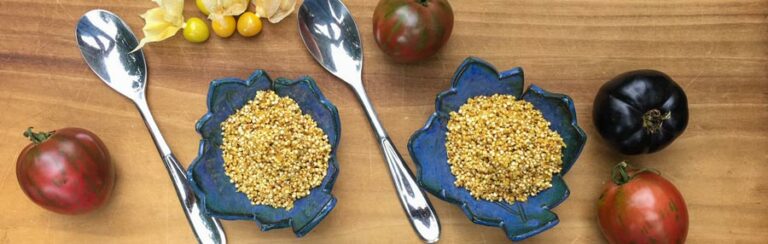
This popped quinoa recipe only has four ingredients and takes 10 minutes to make. It’s perfect for a delicious, high protein snack or side dish.
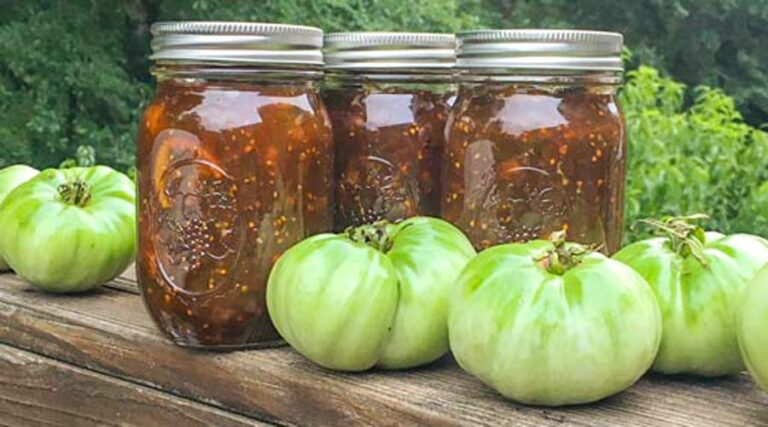
Our green tomato marmalade recipe took years to perfect and is the best way to use up lots of unripe green tomatoes. You’ll love these sweet & smoky preserves!
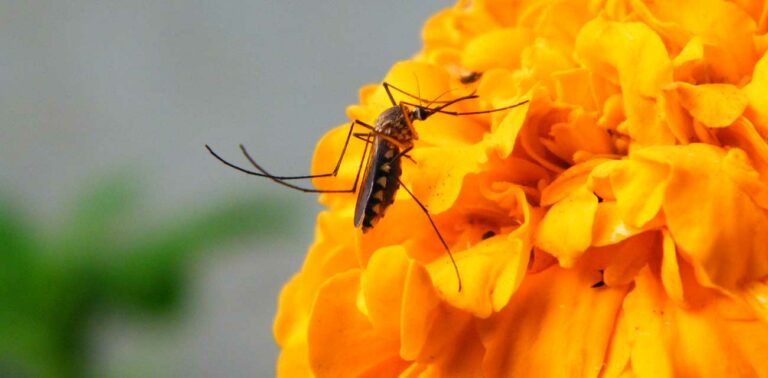
Want to safely get rid of mosquitoes in your yard using methods that don’t harm people, pets, or wildlife? Find out how!
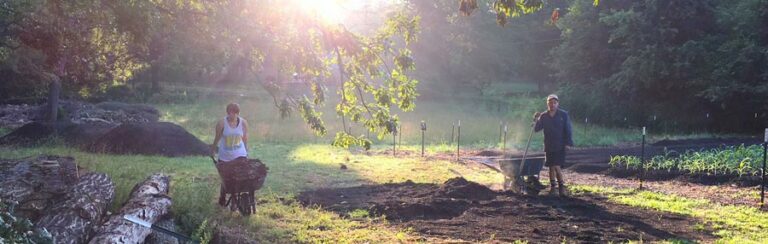
Sorry we’ve absent for so long! Between the Farm at Oak Hill Cafe, family tragedies, and regular work, making time to write has been a challenge.
Joan Axthelm asked about our garden hygiene approach, specifically how we avoid eating pathogens or contaminated food from our garden. Here are our answers!
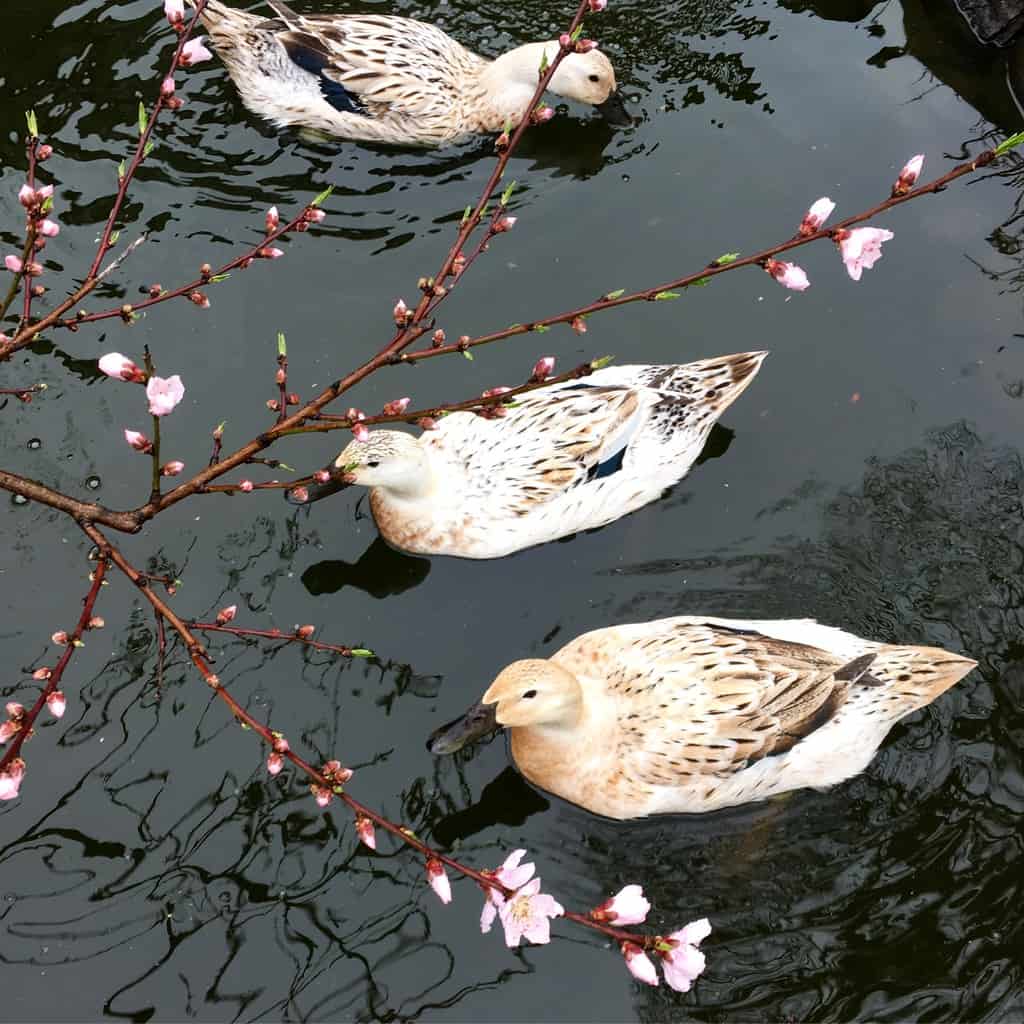
A commenter asked some great, detailed questions about our DIY backyard pond we built for our ducks, so we answered them in this article.