How to poach duck and goose eggs to perfection
Use the 8 tips in this article to perfectly poach duck and goose eggs, which are larger and more delicious than chicken eggs.
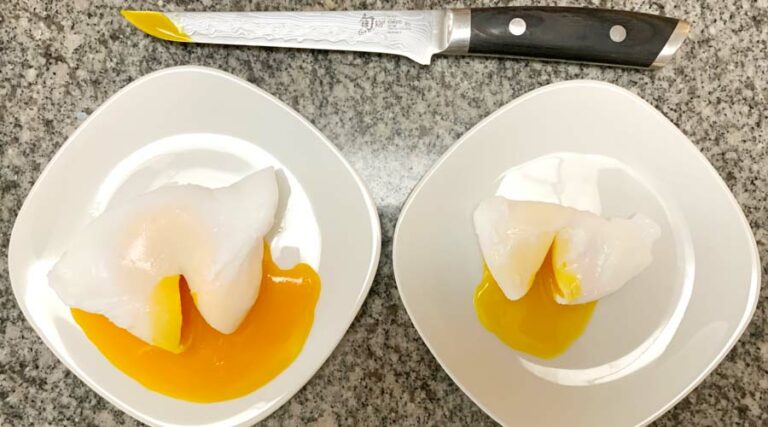
Use the 8 tips in this article to perfectly poach duck and goose eggs, which are larger and more delicious than chicken eggs.
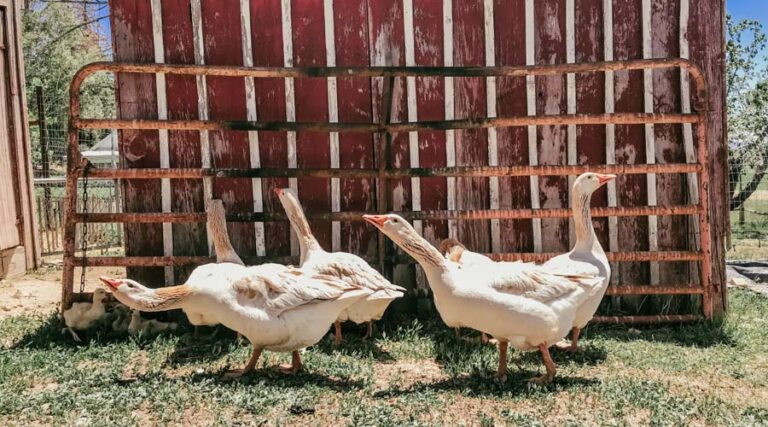
Male or female geese or both… Want to get geese, but not sure which sexes or ratios you should get? This article will help you decide!

See a bald-faced hornet nest develop from start to finish AND see a nest dissection! Also find out more about how how these insects function.
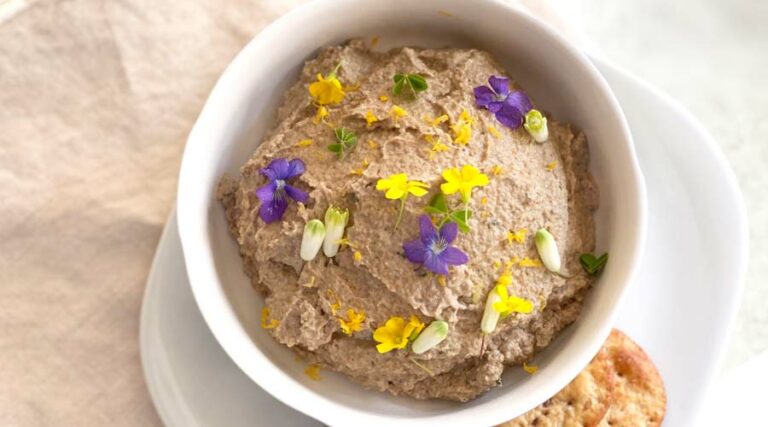
Morel mushroom pâté is a delicious, easy-to-make morel mushroom recipe full of rich, earthy umami flavors that will have you craving more!
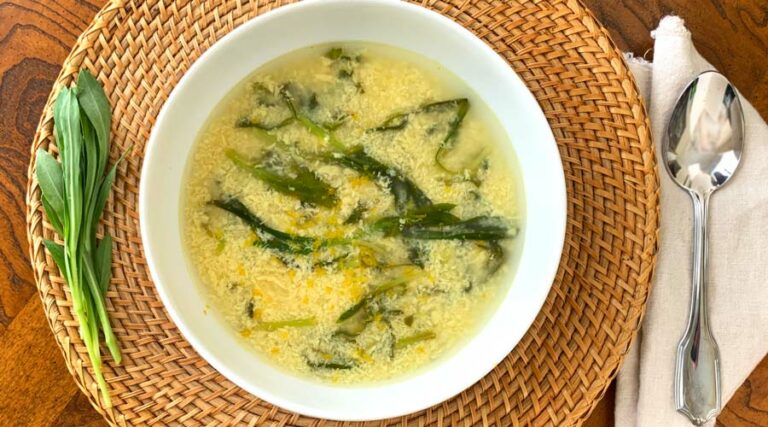
Discover how to make stracciatella, Italian egg drop soup. Fresh eggs, good broth, and Parmigiano-Reggiano are all you need to get started!

Morel mushrooms with stinging nettle pasta & poached duck eggs is beautiful and delicious, plus it can be made surprisingly quickly!
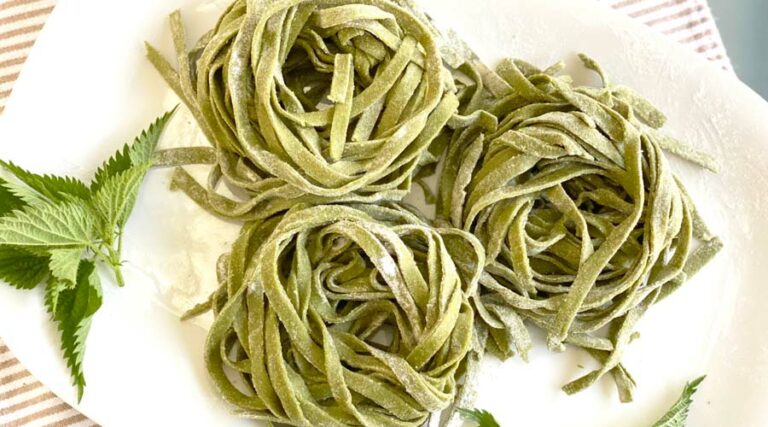
Find out how to make a colorful, delicious, and wholesome pasta recipe: duck egg stinging nettle noodles with organic white whole wheat flour!
A silky smooth, delicious Thai-inspired kudzu/kuzu pudding recipe flavored with makrut lime leaves (aka Thai lime), coconut, and honey.
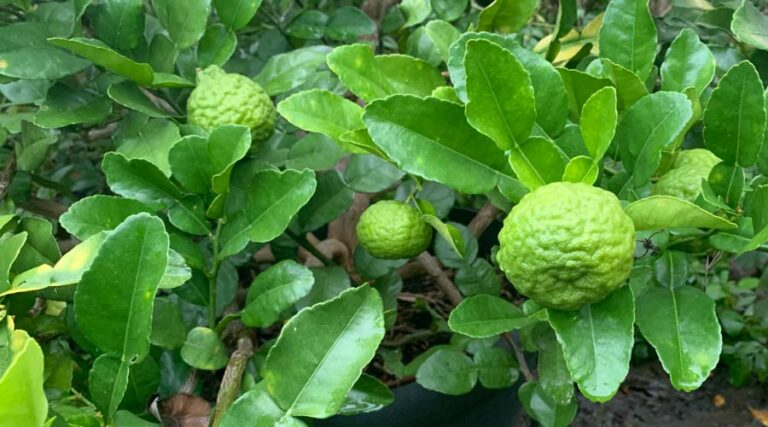
Find out how to grow and use all edible parts of a makrut lime tree (Citrus hystrix), from leaf to flower to fruit!
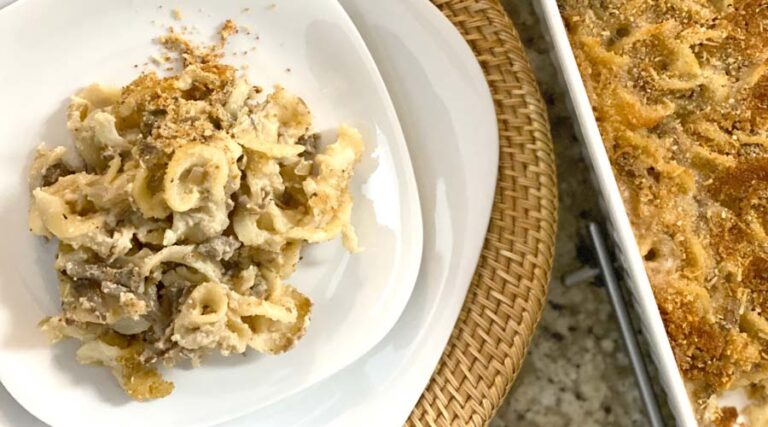
Find out how to make lion’s mane mushroom mac and cheese, a rich and savory dish that lets the subtle lion’s mane mushroom flavor shine!
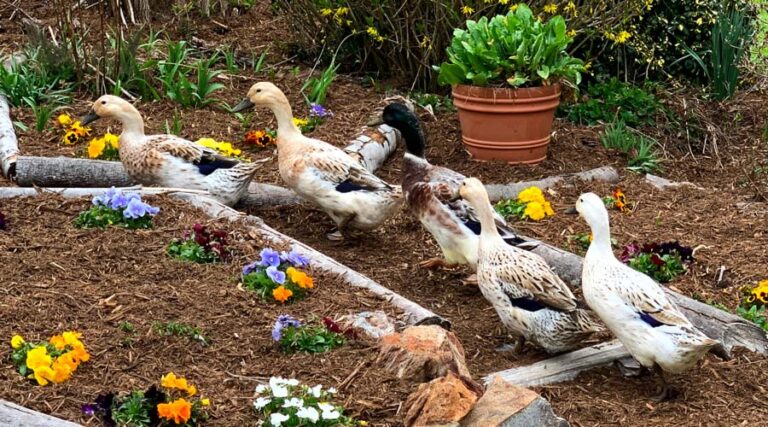
What’s it like to have duck eyesight and see the world through the eyes of a duck? Check out these nine duck eyesight facts to find out!
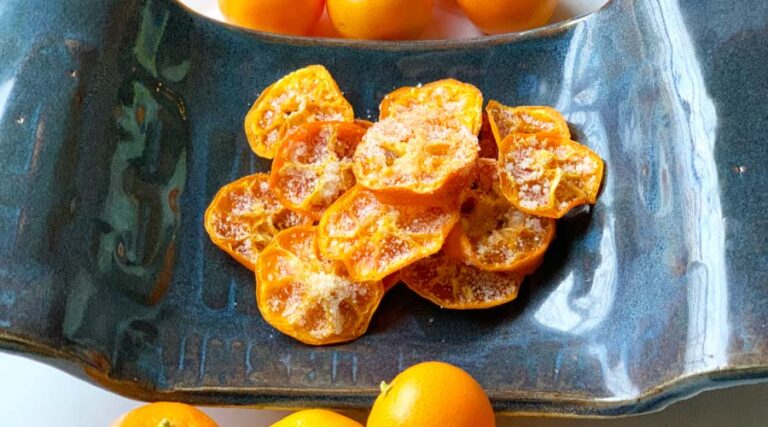
Calamondin candy is a simple, 2-ingredient dehydrator recipe that lets you easily preserve lots of calamondin fruit for months or years.
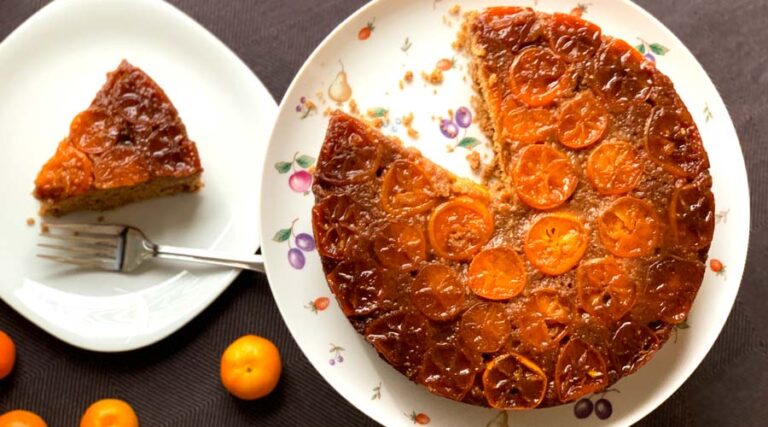
Calamondin and ginger upside down spice cake made with fresh-grated ginger and calamondin fruit is a ginger and citrus-lover’s dream!

Learn all about calamondin fruit (which go by many names), including how to grow, propagate, and use them in foods and beverages!
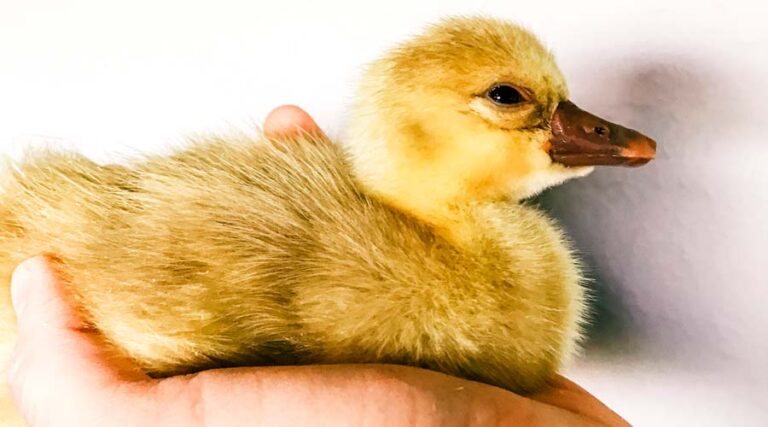
What are the pros & cons of getting adult geese vs goslings? Find out which is best for you and what to plan for when you bring them home!