Week 40 pregnancy update: symphysis pubis dysfunction (SPD) & nursery completion
Tyrant Farms' articles are created by real people with real experience. Our articles are free and supported by readers like you, which is why there are ads on our site. Please consider buying (or gifting) our books about raising ducks and raising geese. Also, when you buy through links on our site, we may earn an affiliate commission. Learn more
It’s a bit of a mind bender to know that the next parenting article we write will be when we’re actual parents. Neither of us can quite comprehend what it will be like to navigate the world whilst an adorable screaming, pooping, vomiting hybrid version of us becomes the focal point of our existence.
Pregnancy lasts 40 weeks?
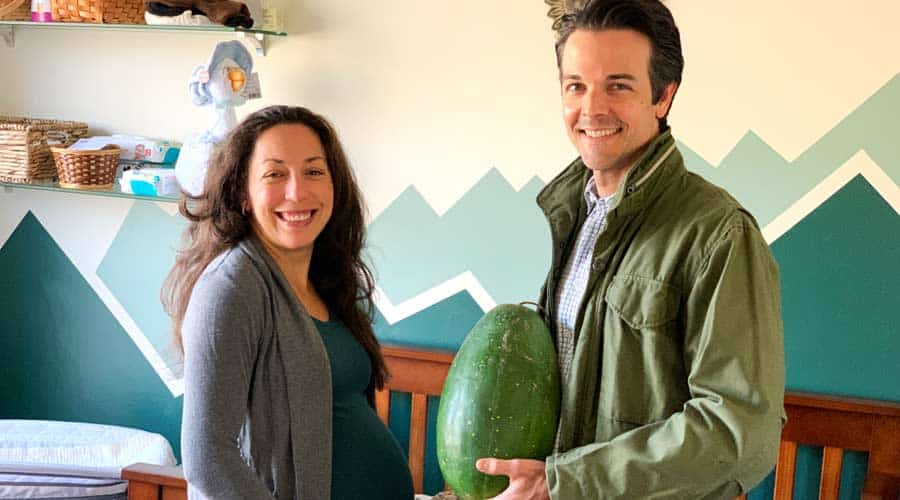
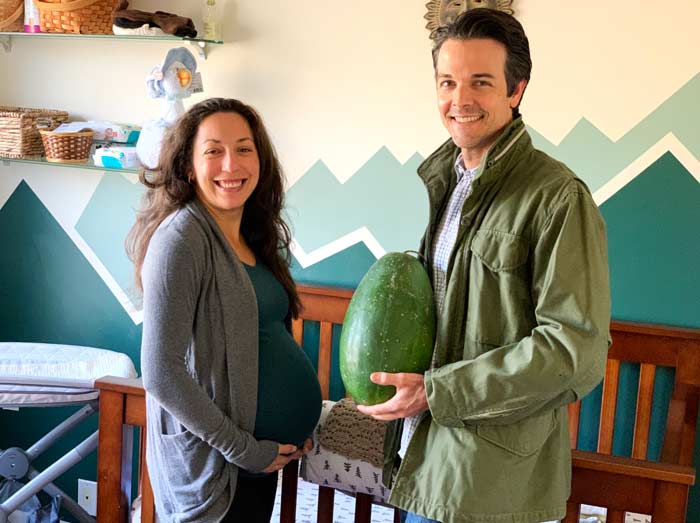
We’re at the tail end of Week 39 of our pregnancy, and The Tyrant is VERY ready to be done with this stage of the process. To me, as a dumb brute, this whole 40 week process has been eye-opening at every turn.
For starters, I’ve learned that “9 months” of pregnancy is actually 40 weeks, which to me equals 10 months. If this is news to you too, this time discrepancy has to do with all the extra days beyond 28 days in any given month multiplied by 9, ergo 40 weeks.
Getting to witness and read about the all the pains, medical conditions, sleeplessness, and other tortuous aspects of pregnancy has been enlightening too. Not to mention how these symptoms change and morph at different stages of pregnancy.
My guess is that if it weren’t for the profound love that parents feel for their children at the end of the whole debacle plus the human mind’s ability to filter out or forget all the bad stuff along the way, there would only be a small fraction of the ~7.5 billion people on earth. And I’m now convinced that women — not meshed graphene — are the strongest substance on earth.
A salute and standing ovation to all you mothers out there – you’re tough cookies.
Symphysis pubis dysfunction (SPD)
A new pregnancy issue that popped up for The Tyrant over the past month or so is symphysis pubis dysfunction (SPD). Once again, this was something I’d never heard of before.
The connective tissue that joins the two sides of the pubic bone together is the symphisis pubis. During pregnancy, women produce the hormone relaxin, which serves to loosen joints, allowing the pelvic region to widen as-needed for a miniature human to pass through.
Sometimes, this process can result in extreme pain in the pelvic region which also spreads to the back and legs. And that’s what The Tyrant has been experiencing — despite being extremely fit and muscular and being within a normal pregnancy weight gain range.
SPD then dominoes into another common pregnancy problem: difficulty sleeping (or sleeping well).
How do you treat symphysis pubis dysfunction (SPD)?
Since prevention isn’t an option and taking pain medication isn’t advisable during pregnancy, there aren’t too many treatment methods available for SPD. Nope, KT tape doesn’t relieve SPD pain – we’ve tried. Acupuncture and pelvic support belts are the primary recommended methods of SPD pain management.
The Tyrant tried a pelvic support belt and found it bulky and uncomfortable. Rather than acupuncture, we’ve been doing two-a-day 45-60 minute massage sessions, which has meant:
- my massage skills have improved considerably,
- my hand/grip strength has improved considerably, and
- we’re using more extra virgin olive oil than usual.
Massages don’t fix the pain, they just buy The Tyrant time between massage sessions where she can feel better and get better sleep.
Nurseries and nesting
We want Sebastian to grow up feeling a close connection and love for his home bioregion here at the base of the Appalachian Mountains on the outskirts of Greenville, SC. We can’t wait to introduce him to his backyard duck flock; the magical forests, streams, waterfalls, and hiking trails; and all the other flora and fauna that reside here.
As such, we wanted his nursery/bedroom to be an environment full of fun and educational connections to this place we call home. While he likely won’t be spending much time in his nursery until many months down the road, we wanted to go ahead and get his room set up so it’s one less thing we have to worry about later.
His baby/early childhood library is now nearly fully stocked and his shelves are full of fossils, artifacts, gems and minerals that The Tyrant and I have collected over the years (many from my childhood thanks to my parents’ tutelage).

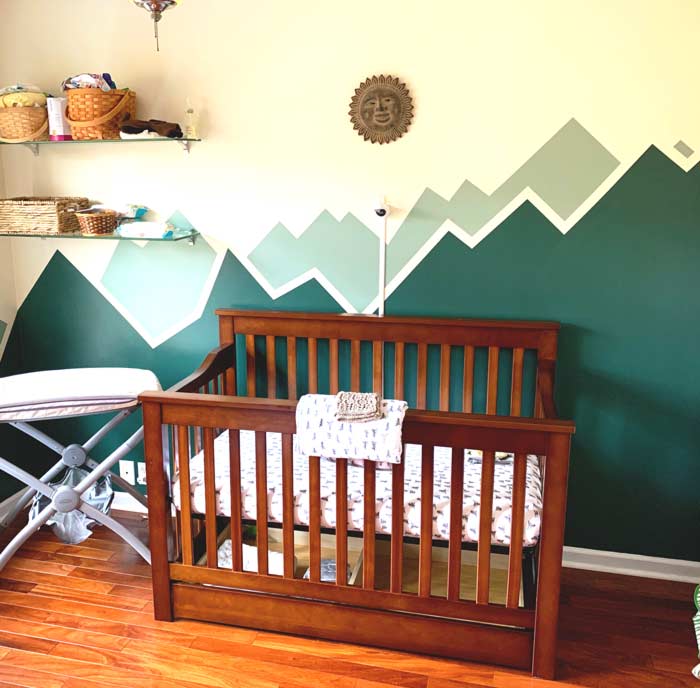
We also painted his walls in an abstract mountain motif, which some people have requested how-to instructions for after we shared the picture on our social media channels…
How to paint mountains on a nursery wall
Here’s a simple step-by-step guide if you’d like to paint a similar mountain motif in your child’s nursery or bedroom:
1. Pencil the rough outline on your wall.
Using a pencil, lightly draw in the shape of the mountains on your wall. Two or more layers of mountains (rather than just one) adds nice dimensionality to the appearance. “Layers” = foreground and background mountains.
Your outline doesn’t have to be perfectly straight since the paint tape you’ll be using in the next step will help straighten things up.
Keep in mind the height of your crib or other objects that will end up going in the room before doing your outline. For instance, if your mountain tops are 3′ tall, a crib is likely going to hide them.
2. Paint tape the top of each mountain outline.
Using quality paint tape + scissors, tape the top of each mountain outline on the wall. You’ll want to use scissors to cut the tape ends in straight angular lines before laying down the next strip.
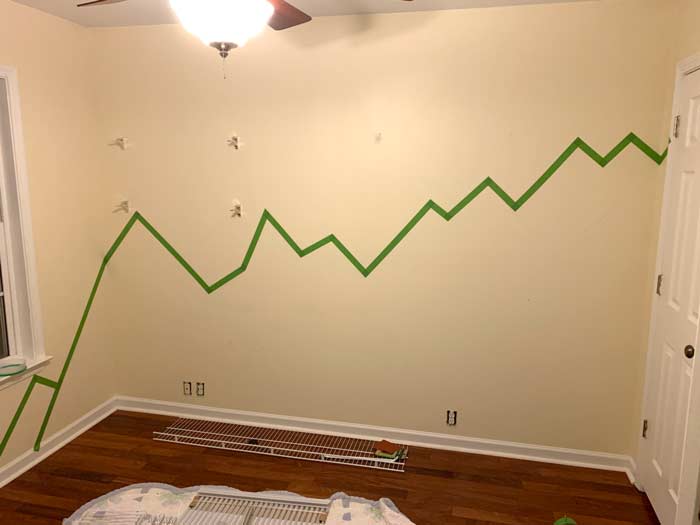
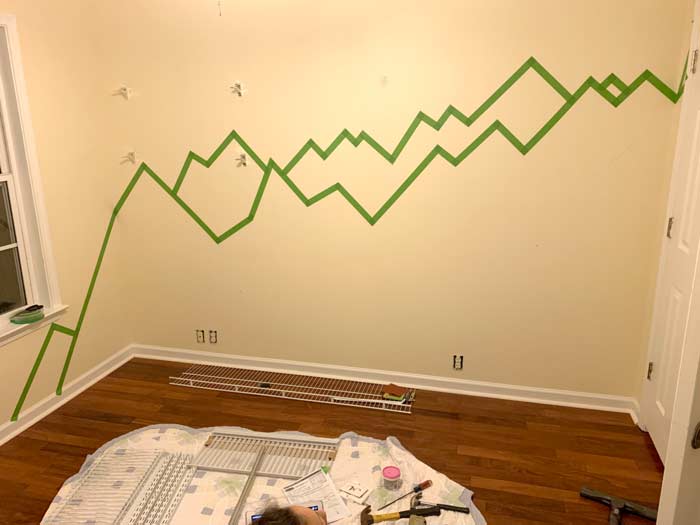
You’ll also want to remove any outlet covers so you don’t get paint on those.
3. Select your paint.
You can technically select your paint before you even get started on this project or do it now. For each layer of mountains, you’ll need a different color of paint. So for our two mountain layer wall painting, we got two colors of paint.
How much? What colors? For our ~12 feet of walls, we got two quarts of paint: one a darker shade of grey-blue-green and the other lighter. The darker color is for the front mountains and the lighter color is for the back mountain layer.
Get no or low-VOC paint to minimize off-gassing for you and/or baby.
Also recommended: if you don’t already have it, get a pint of your base wall color paint for touch up and to paint over your pencil marks once you remove the paint tape. Our walls started off as Vanillin (an off-white color) no-VOC paint from Sherwin Williams, and thankfully we had some left in our garage.
4. Paint 2-3 layers.
Paint as many layers as necessary until you have a solid color on each layer with no streaks coming through. We did three layers of paint on each mountain.
If you’re a good painter, you don’t have to paint tape your baseboards. If not, you may want to tape your baseboards before getting started to make sure you have clean lines with no spatter or drips.

5. Remove paint tape and touch paint.
Once your paint has dried, remove your paint tape.

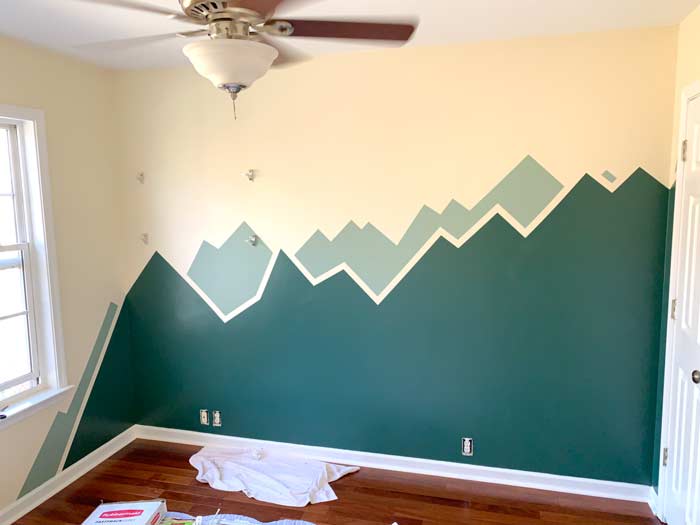
Using a small brush, paint over the pencil lines that were underneath the paint tape outlining your mountains.
All done! Now you have a mountain theme painted on your walls. Insert one baby to complete the project.
More soon from the other side of the birthing experience!

Other parenting articles you might enjoy:
- Pregnancy update, week 28: Doula, lamaze, books, and back pain
- How to be a manly husband and father
- Pregnancy update, week 23: marginal cord insertion, kicks & back pain
- 14 strange pregnancy symptoms I had no idea existed (a guy’s perspective)
- The birth story of Sebastian Gordon von Frank
- Our breastfeeding nightmare: overcoming a tongue-tie (ankyloglossia)
- Top 17 products for first year babies
and more parenting articles from Tyrant Farms.