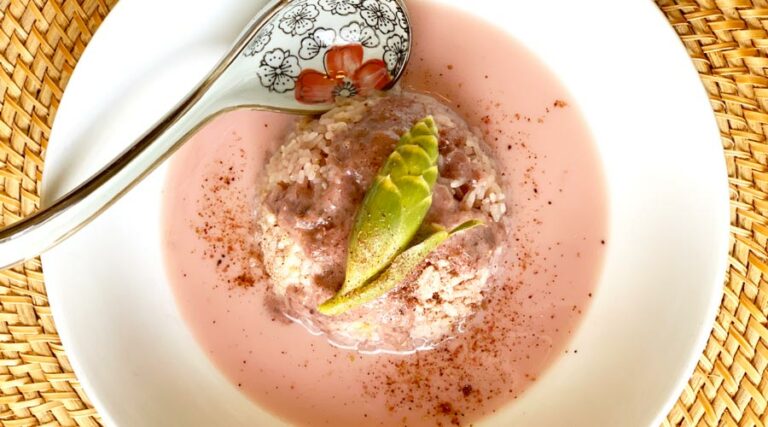
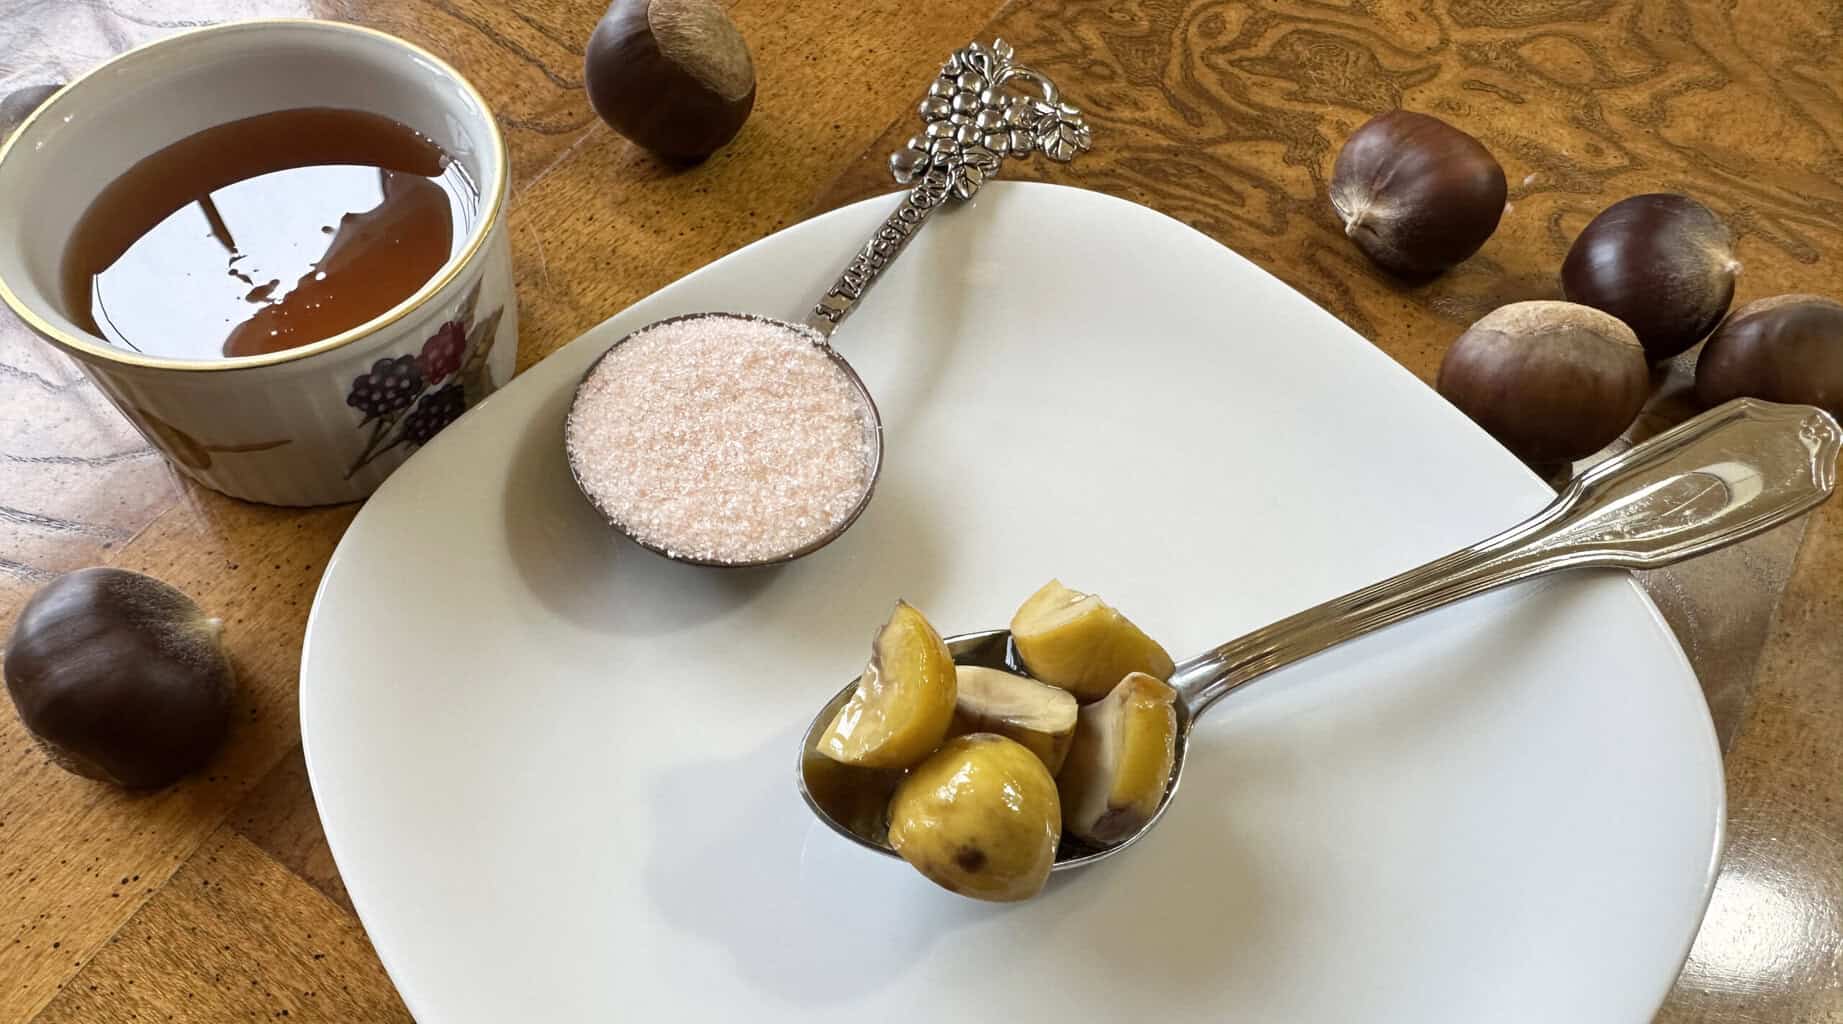
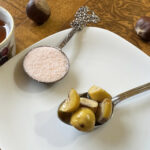
Honey-fermented chestnuts
Tyrant Farms' articles are created by real people with real experience. Our articles are free and supported by readers like you, which is why there are ads on our site. Please consider buying (or gifting) our books about raising ducks and raising geese. Also, when you buy through links on our site, we may earn an affiliate commission. Learn more
The chestnut trees we planted in 2013 now produce far more chestnuts than our family can consume in a year. That means we’ve been selling our excess to the fabulous Topsoil Restaurant just down the street from us in Travelers Rest, SC, AND experimenting with new ways to use the chestnuts we keep for personal use.
Since we love consuming fermented foods and beverages, we recently decided to do some chestnut fermentation experiments. We’re very glad we did because we’ve come up with some awesome fermented chestnut recipes we think you’ll also love, like these honey-fermented chestnuts!
(Also be sure to check out our natto chestnut fermentation recipe.)
Two recipes in one:
There are actually two fermented chestnut recipes for you to choose from here depending on which flavors you’re chasing. Our suggestion: if you’ve got chestnuts to spare, make both versions to see which one you like best — or if you like them both equally!
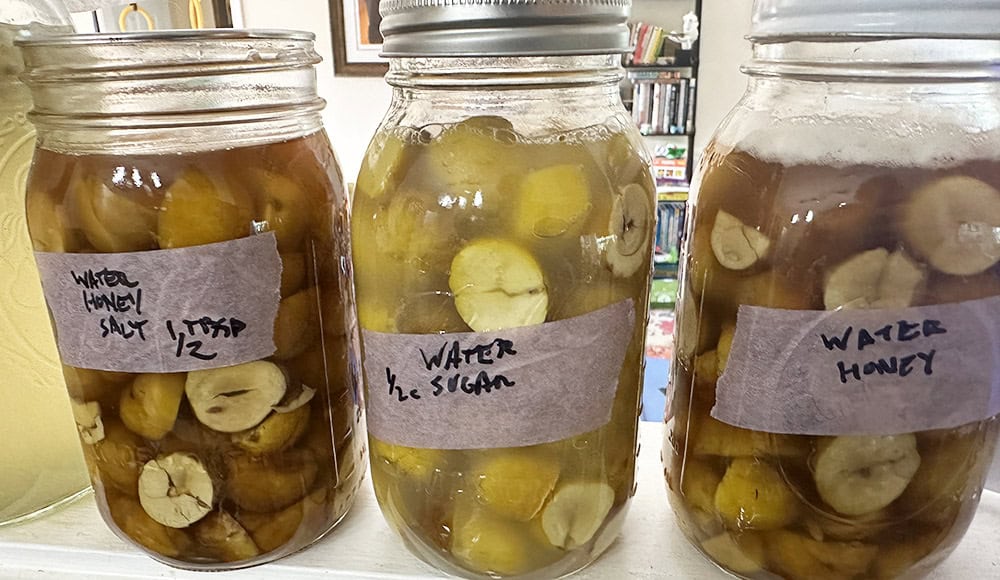
- Honey + water – The honey water version of this recipe (with no salt) creates a tangier, less sweet flavored ferment. It’s probably better served with or made into savory dishes like chestnut hummus or dip. This ferment also gets bubbly faster, within 24-48 hours.
- Honey + water + salt – The addition of salt to the ferment makes a significant difference. First, the higher salinity means this ferment takes longer to start getting bubbly, which happens around Day 5. Second, it ends with a sweeter, more nuanced flavor that would lend itself wonderfully to desserts. For instance, you could puree some of the chestnuts and brine together, then whip in cream (or a cream substitute) to make a simple fermented chestnut pudding / mousse.
Personally, we like the flavor of #2 (salt added) better than #1 (no salt), but both versions have unique characteristics and usage potential. I love mixing both versions into a bowl of yogurt for breakfast.
Critical ingredient: unpasteurized honey
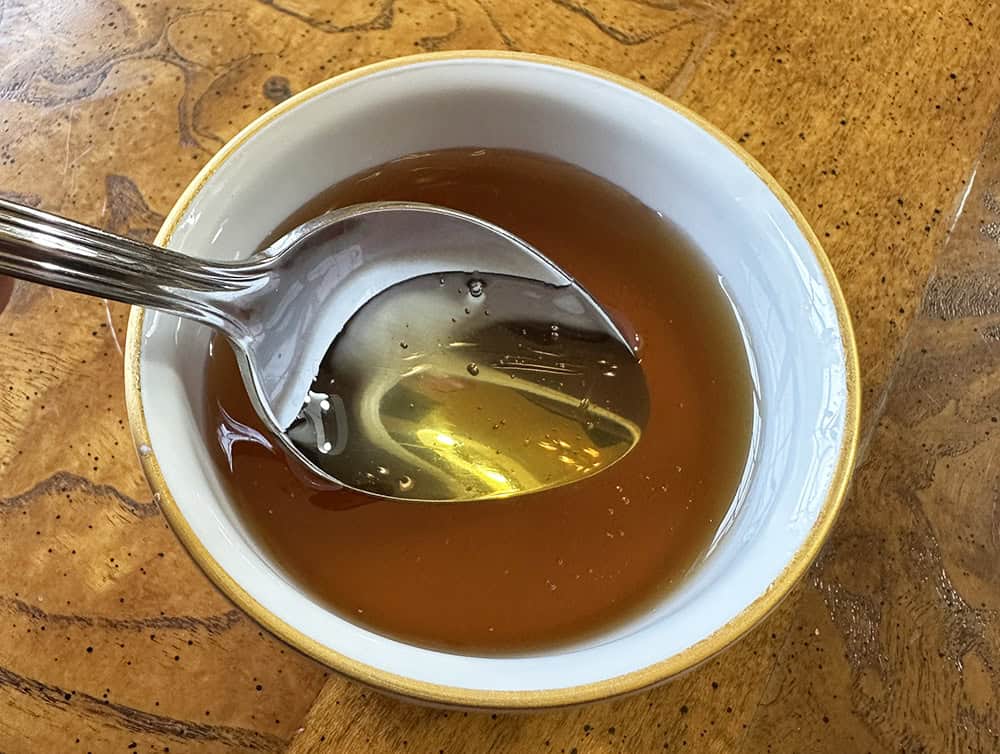
Our honey-fermented chestnut recipe is a “wild fermentation” (you don’t need to buy an inoculant) that utilizes yeasts and lactic acid bacteria (LAB) naturally present in unpasteurized honey. Bees inadvertently collect these living beneficial microbes from flowers while foraging — and in the case of LAB, it also gets into the honey via the bees’ own gut flora.
The living microbes present in unpasteurized honey are critical for the fermentation process utilized by this recipe. Unfortunately, many brands of honey sold at grocery stores are pasteurized and therefore sterile, ergo they will NOT work for this recipe.
So make sure you get a high quality unpasteurized honey before you make this recipe, ideally from a local beekeeper! We’re thankful to have beekeeping neighbors a stone’s throw from our house who make sure we always have a steady supply of hyper-local unpasteurized honey.
How it works: the process of honey-fermenting chestnuts
A jar of honey has unique properties which keep it from ever going bad. One such property is honey’s low moisture content. However, if honey goes above 18.6% moisture content, it will begin to ferment.
In this recipe, you’re going to be adding water to your honey in order to intentionally cause the honey to ferment. Fermentation does NOT mean spoilage; rather you’re going to be intentionally cultivating the unique yeasts and lactic acid bacteria in your honey and using these probiotic microbes to ferment your chestnuts as well.
Keys to success:
In addition to using unpasteurized honey, here are eight other keys to successfully make honey-fermented chestnuts:
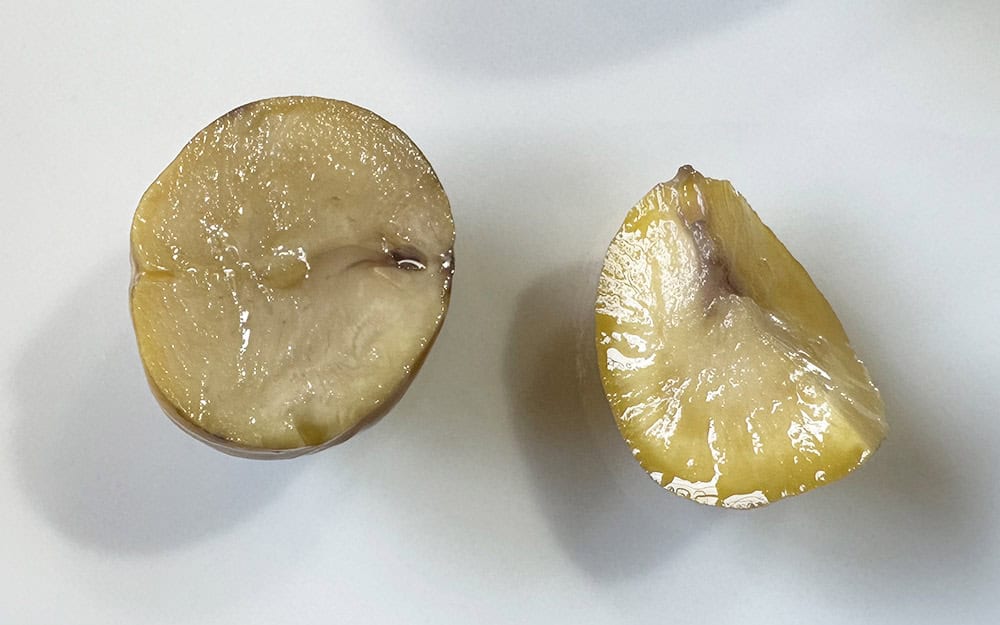
1. No weevils – Make sure your chestnuts do not contain weevil larvae, aka chestnut worms. That’s one of the reasons you’ll be cutting your chestnuts prior to using them: once cut, you can easily inspect the inside of the nuts for weevil damage.

Related: How to keep weevils from eating your chestnuts
2. Bake your chestnuts before fermenting – Once you’ve cut your chestnuts in half, you’ll bake them one-layer deep on a cookie sheet at 350°F (177°C) for about 35 minutes. Remove them from the oven and let them cool. Then you’ll be able to easily separate the nuts from the shells and the papery internal coating (testa).
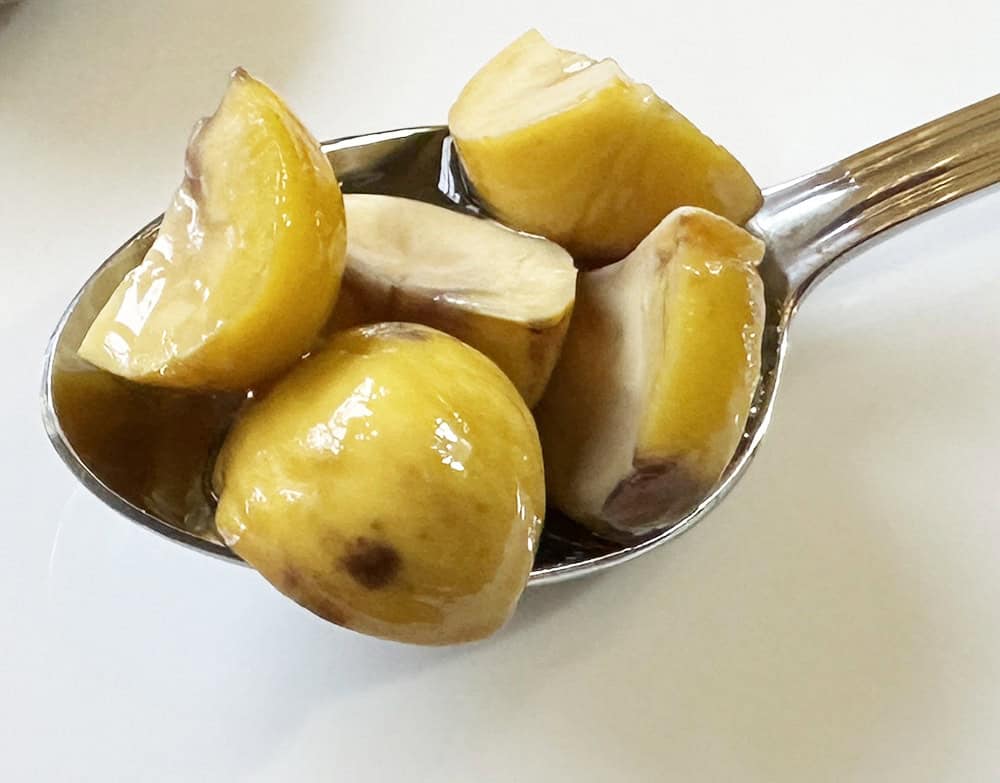
3. Consider the size of your chestnut pieces – Chestnuts are very starchy and dry. Leaving them cut in half to ferment is fine, but if you want maximum moisture penetration, cut the nuts into smaller pieces prior to fermentation, either quarters or eighths. Do this extra cutting after you’ve baked them and removed them from their shells.
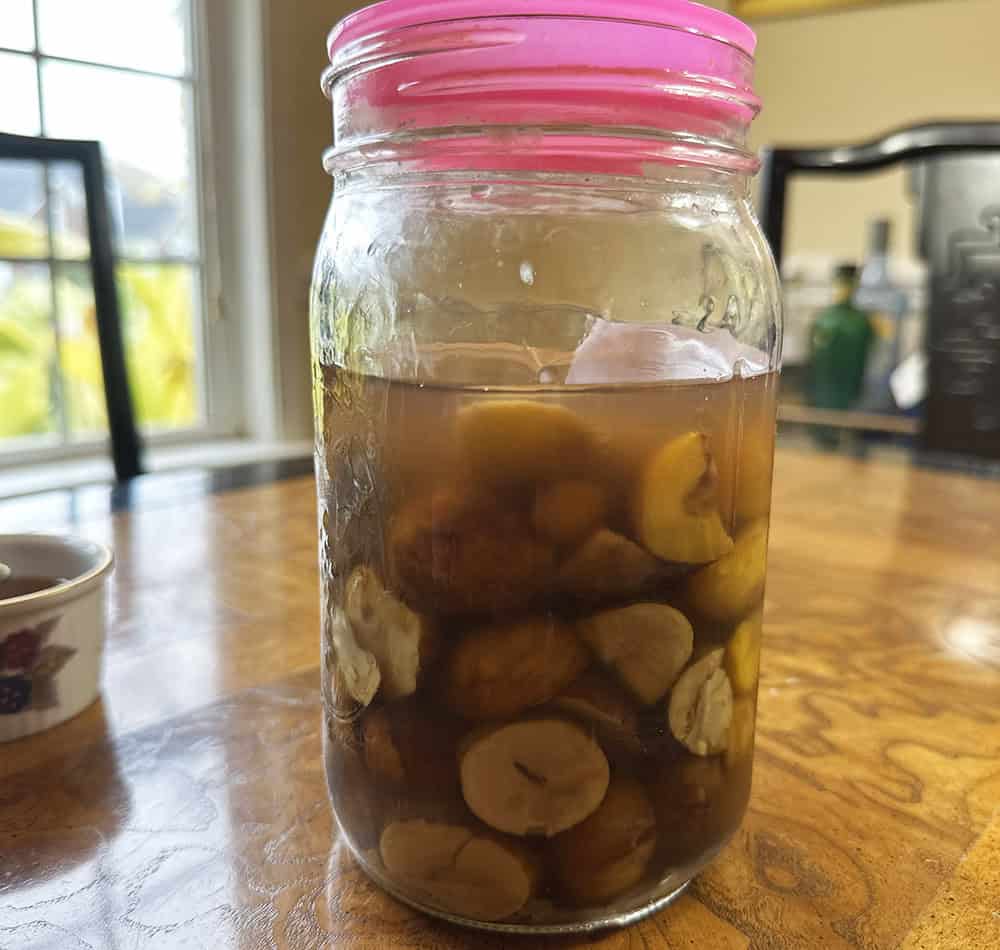
4. Ferment in glass or non-reactive metal, NOT plastic – Fermenting in plastic containers is very likely to lead to plastic compounds leaching into your foods. Instead, we recommend using glass jars. You can use a standard lid on your jars, just don’t screw the lids on tight because you want the ferment to be able to “burp” as the microbes respire.
5. Ferment in a cool, indoor location – Make sure you place your jars in a cool, indoor location out of direct sunlight. Ideal temperature range is 70-72°F (21°-22°C).
6. Stir or shake twice per day – You’ll want to vigorously shake or stir your ferment twice per day for about 1 minute each stirring. Note that standard canning jar lids are coated with BPA, so use silicone lids if you’re shaking the ferment. If you’re using canning lids, just stir the mixture rather than shaking.
7. Taste daily after one week – After about 1 week of fermentation, start tasting a small amount of the liquid and/or chestnuts so you can monitor how the flavor is developing. Exactly when your fermentation is done is up to you. We let ours ferment for about 14 days before we decided they were done, but you may want to push yours longer.
8. Refrigerate to stop fermentation – Once your honey-fermented chestnuts are done, put them in the fridge. The cold temps will slow the fermentation to a crawl since the microbes will become inactive. Keep the jars in cold storage until you’re ready to use them. We can’t say for certain exactly how long they’ll last, but our guess would be multiple months.
Honey-fermented chestnuts
Equipment
- quart jar(s)
Ingredients
- 1 quart pre-baked cut chestnuts (halved, quartered, or cut into eighths) Note: Only fill jars to 1" below top with chestnuts.
- unpasteurized honey Quantity note: Fill to 1 1/2 cup mark on quart jar AFTER chestnuts placed in jar
- filtered water Quantity note: Fill to cover nuts.
- 1 tbsp salt (optional, see tasting notes)
Instructions
- Prepping chestnuts: Cut chestnuts in half with a chef's knife. Place cut chestnuts on a baking sheet one layer deep and bake in preheated oven at 350F for ~40 minutes. Remove from oven and let cool. Once cooled, separate nut meat from shells and testa.
- (Optional) If you want smaller sized chestnut pieces, cut cooled baked chestnuts into smaller pieces, either quarters or eighths. Smaller sizes will allow more liquid penetration into the starchy chestnuts during fermentation.
- Put cut chestnuts into quart jar allowing ~1" space between nuts and top of jar. Pour unpasteurized honey over chestnuts to 1.5 cup mark on side of jar and let settle for a minute or so to ensure you've added enough honey. Once honey has settled, pour filtered water into jar until chestnuts are fully submerged.
- (Optional) For honey-salt ferment, add 1 tbsp salt (we use pink Himalayan).
- Shake or stir jars to combine ingredients. (You can use silicone lids to avoid BPA exposure from canning lids.) Put lids on jars that allow them to burp (standard canning lid not screwed down works fine.) Place jars in room temp ~70F indoor location out of sunlight.
- Stir or shake jars twice per day, about every 12 hours. Unsalted ferment jars will begin becoming bubbly and microbially active first, within 24-48 hours. Salted fermented jars will take longer to begin bubbling, 5+ days. Around Day 7, begin tasting small amounts of the liquid and/or chestnuts after stirring to monitor flavor development. Allow either version (salt or no-salt) to ferment for ~10-15 days or until desired taste and texture is achieved. Refrigerate jars when done. Use within 2-3 months.
We’d love to hear how you enjoy and use your honey-fermented chestnuts, so drop us a comment below!
Other chestnut recipes you’ll love:
- Natto chestnut fermentation
- Cast iron pan-roasted chestnuts on a stovetop
- Chestnut crabapple mash
- One-pot roasted chicken with chestnuts and crabapples (or Granny Smith apples)
- Chestnut flour cake with persimmons and buttermilk
- Chestnut spread infused with spruce needles
- Chestnut flour crepes with beautyberry whipped cream
- Chestnut breakfast porridge with pan-roasted Asian persimmons
- American persimmon pie with chestnut flour pie crust
- Chestnut and shiitake mushroom soup
… and if you want to grow your own organic chestnuts, be sure to check out our guide: How to grow organic chestnuts on your small farm or home orchard!