Will mulching reduce soil nitrogen?
Will mulching reduce soil nitrogen? Our 15 years of mulching experience and review of the research literature gives a clear answer: NO. In fact, mulching INCREASES soil nitrogen.
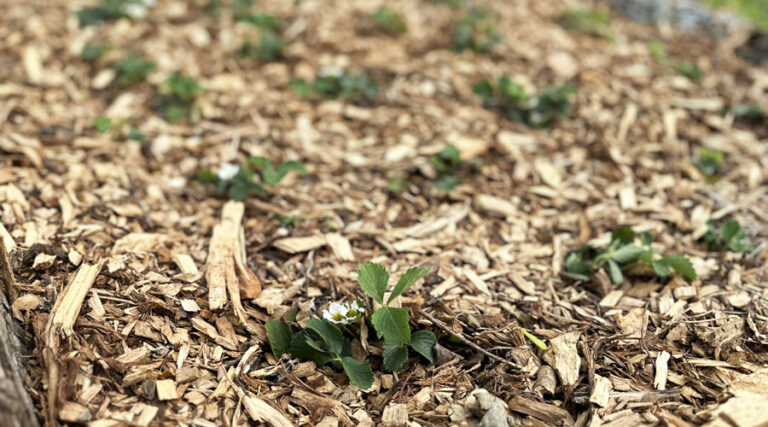
Will mulching reduce soil nitrogen? Our 15 years of mulching experience and review of the research literature gives a clear answer: NO. In fact, mulching INCREASES soil nitrogen.

A conversation with ChatGPT about life, death, the value and application of truth, chasing immortality, and the pros and cons of artificial intelligence.

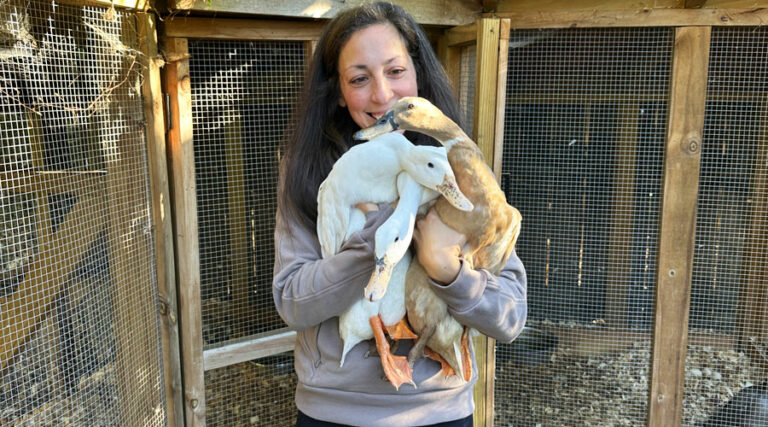
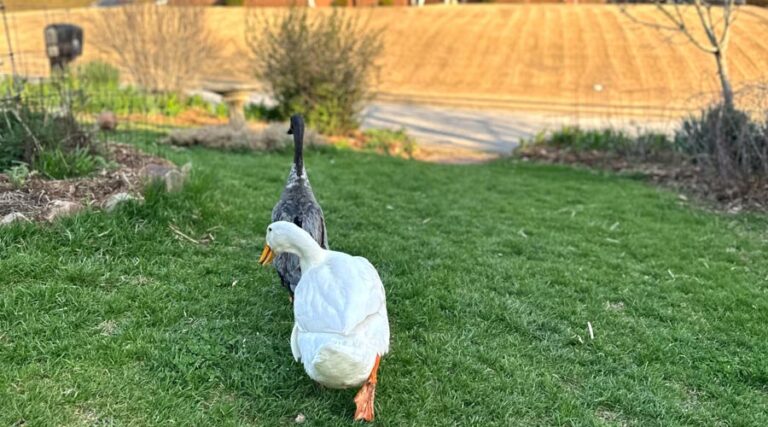
Find out what henopause (aka bird menopause) is and what to expect when your backyard ducks or other poultry go through henopause!
If you raise poultry and want insights into bird flu / avian influenza, check out this must-read expert interview with Dr. Maurice Pitesky!
Find out how sunlight affects ducks, from health and happiness to better egg shells! Essential info for backyard and pet duck keepers!
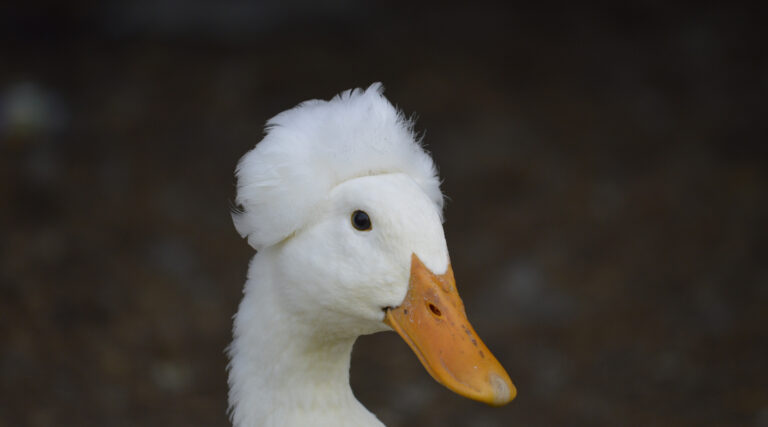
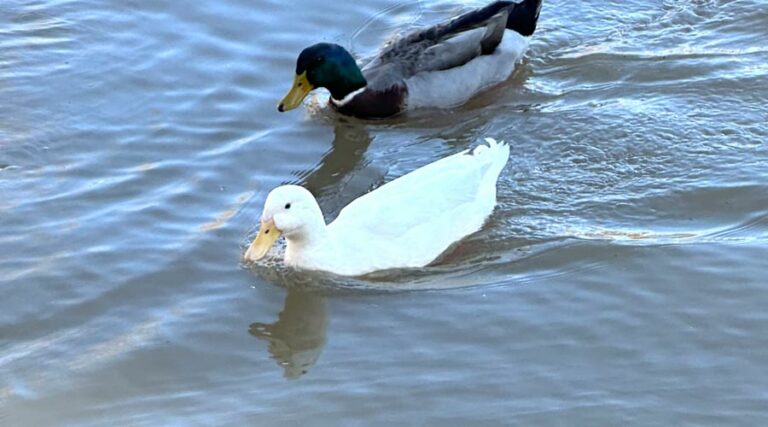
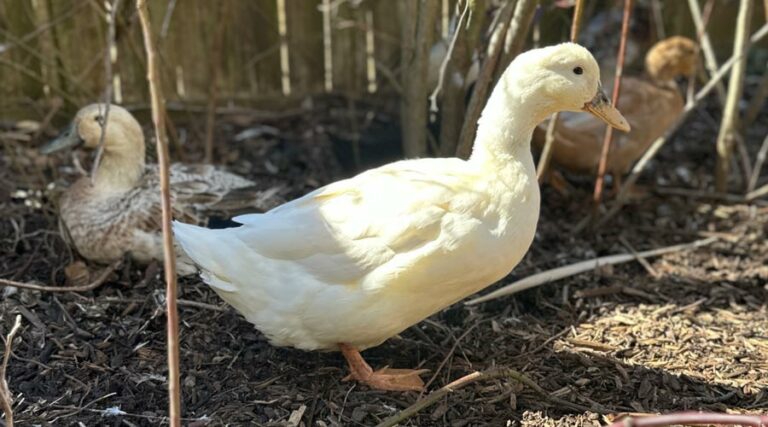
What are crested ducks? Should backyard duck keepers get crested ducks or avoid them? Get answers to these questions and more!
Use our beginner’s guide to raising ducks to learn the basics of duck keeping and find out how to take excellent care of your ducks.
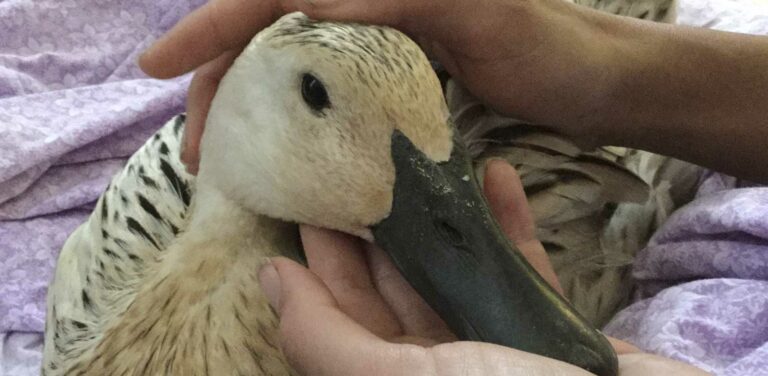
Our duck health guide w/ first aid kit recommendations will help you prevent illness & be prepared in the event one of your flock members becomes sick or injured.
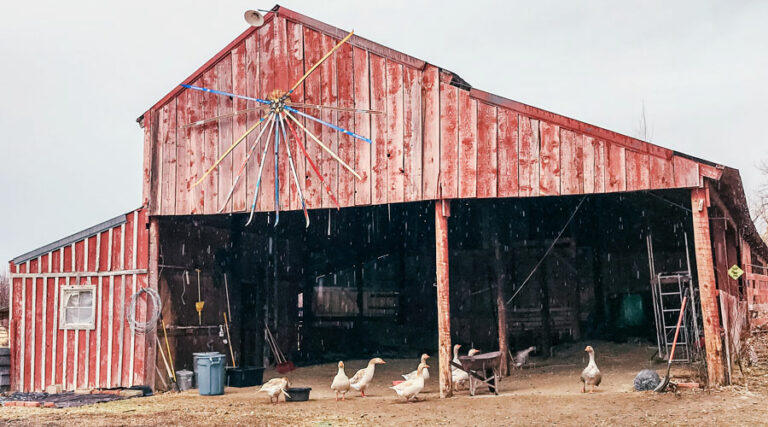
How much does it cost to keep geese? Can they pay for themselves? Take a deep dive into goose-enomics, the financial side of raising geese!

Pickled daylily flower buds are a simple and delicious way to enjoy edible daylilies! Have them in your fridge in less than 10 minutes!
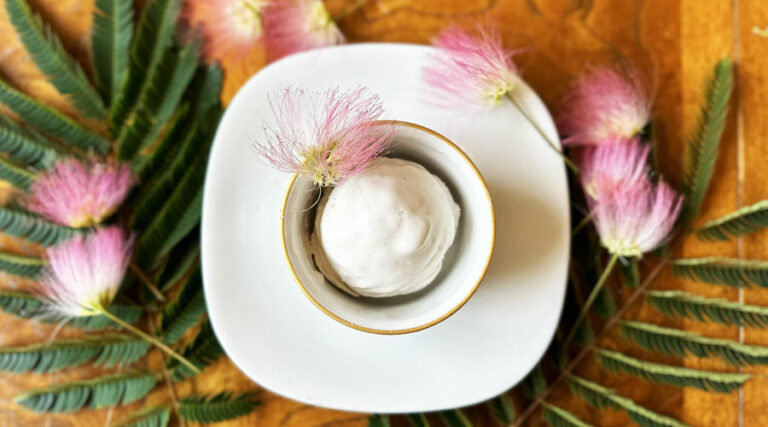
Find out how to turn flowers from invasive mimosa trees, aka Persian silk trees (Albizia julibrissin), into delicious ice cream!

Serviceberry pecan maple crumble: a simple and delicious dessert featuring the uniquely delicious flavor of serviceberries, aka juneberries.

In our second video interview with Dr. M. Scott Echols, DVM, DABVP (Avian Practice), we ask him YOUR questions about duck healthcare.
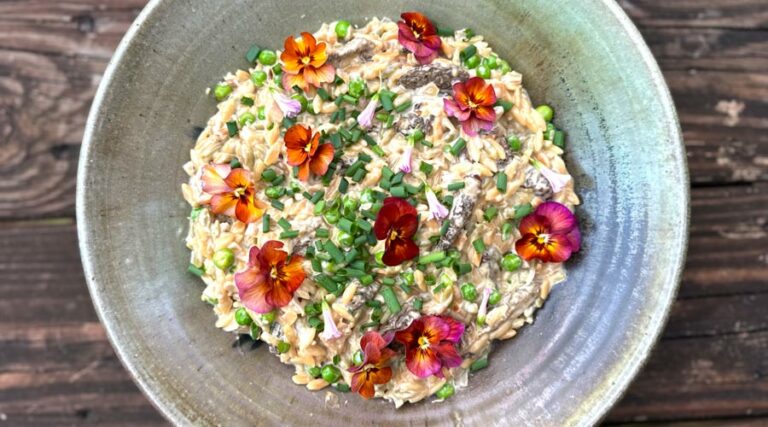
Morel mushroom orzo is a simple and delicious dish that showcases the wonderful flavor of seasonal morel mushrooms!
Looking for natural ways to maintain an attractive, weed-free lawn without using harmful chemicals? Use these 9 methods to get growing better!