How to keep things clean AND keep ducks
Tyrant Farms' articles are created by real people with real experience. Our articles are free and supported by readers like you, which is why there are ads on our site. Please consider buying (or gifting) our books about raising ducks and raising geese. Also, when you buy through links on our site, we may earn an affiliate commission. Learn more
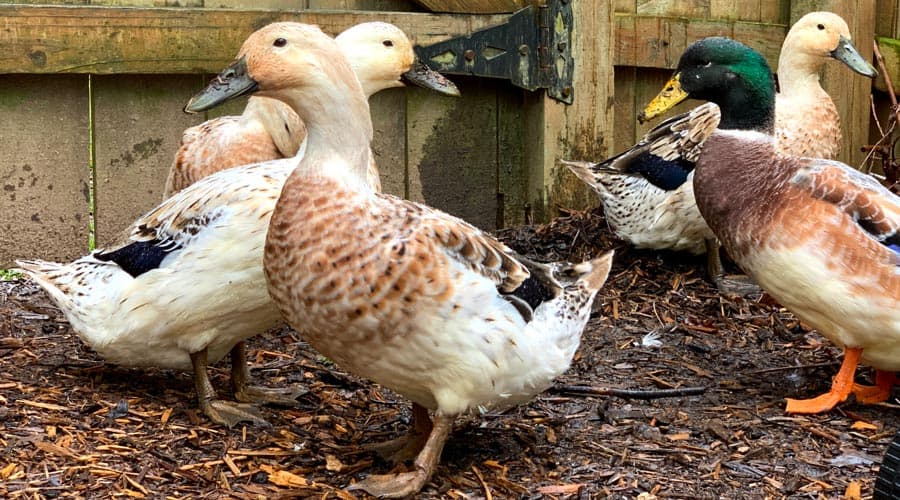
Just because ducks are fowl doesn’t mean they have to be foul. How you set up and maintain your ducks’ living areas makes a huge difference as to whether or not your ducks are dirty.
You’re probably accustomed to the notion of owning a cat or dog and have a general idea of what’s involved with the upkeep of those animals. Now imagine a scenario in which a friend of yours kept their cat or dog permanently confined to a small space in their yard that was never cleaned or maintained.
That spot would get pretty disgusting pretty fast, right? Upon seeing this scenario unfold, would you then say that “dogs are dirty” or “cats are dirty”? Or would you avoid disparaging the animals and instead tell your friend, “maybe you should figure out a different setup and maintenance approach for your animal’s living area.”
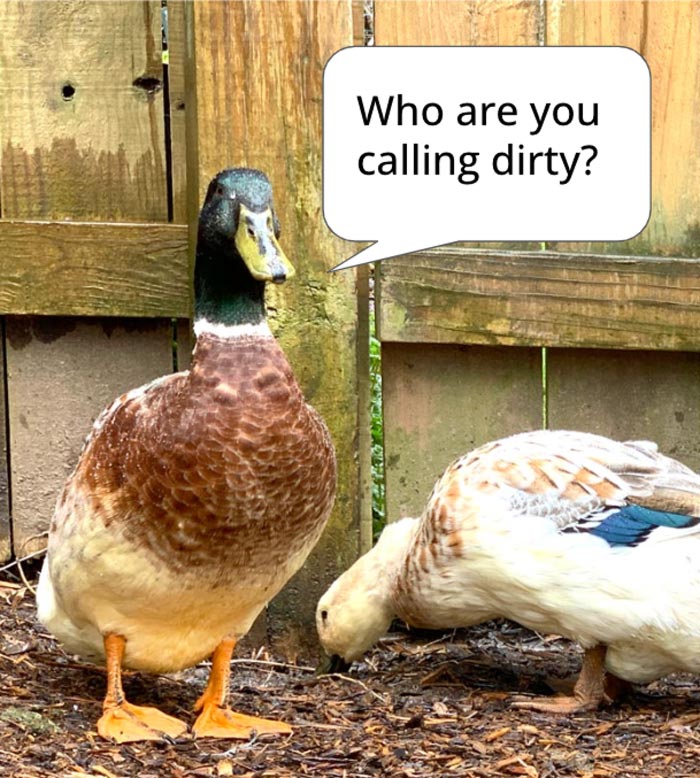
Well, the same thing is true of ducks… Ducks can be absolutely disgusting– or not– depending on the setup and maintenance practices their human caregivers employ.
Four traits that can make ducks seem dirty:
Here are four traits that can make ducks seem dirty:
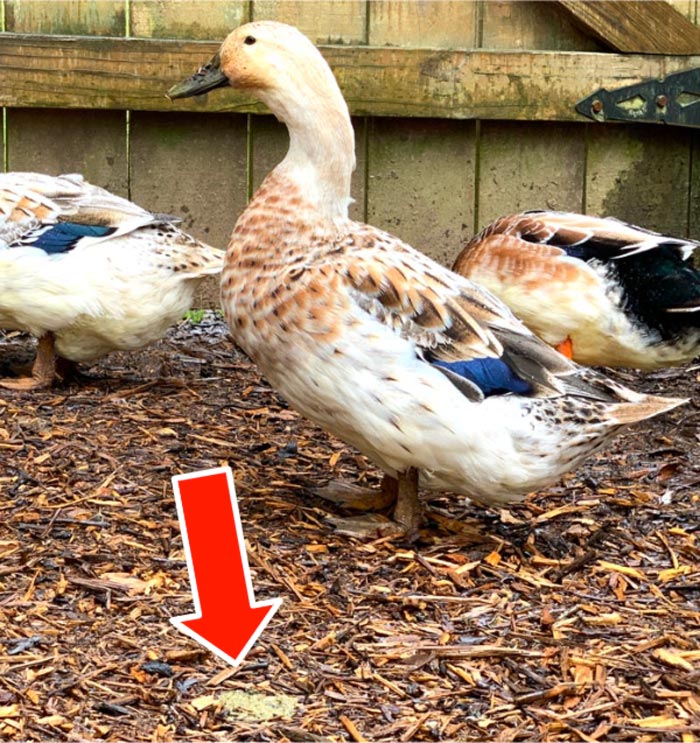
1. Poop
Like other birds, ducks poop a lot.
For clarity: ducks’ digestive systems are much different than ours, so they technically poop and pee at the same time. And when we say they poop “a lot,” we mean that ducks have a watery poop-pee about every 15 minutes or so.
2. Water
Ducks love to swim and dip their heads in water to keep their feathers healthy and their nostrils clean— and for fun. This means they can quickly make things wet and muddy.
If you have a small kiddy pool for your ducks that you have to dump every day or two, you’ll soon end up with a stinky duck swamp in your back yard.
3. Feathers
Ducks “molt” (shed and replace) their feathers yearly. When they molt, their living areas soon look like a war took place between ninjas armed with down pillows.
See: Backyard duck molting – what, when, and why it happens.
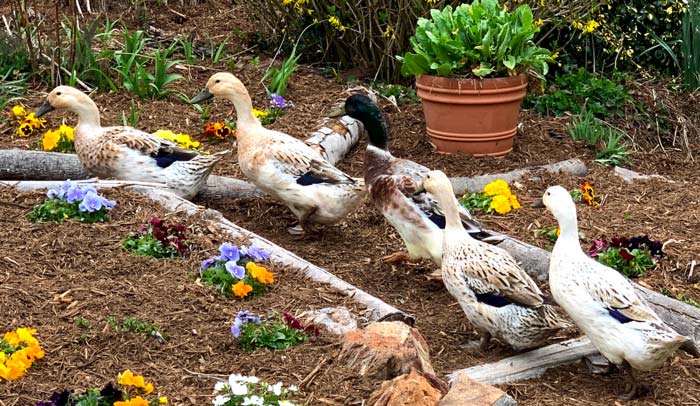
4. Hostility towards small plants
With rare exception, no small plant will survive the continuous presence of ducks for very long. If a duck can’t eat a small plant, they’ll soon trample it to death. Plants that we grow in our ducks’ living area are all larger fruit- or nut-producing perennials that they can’t destroy, NOT small tender annuals.
These four “dirty duck” factors mean that an inexperienced or ill-prepared backyard duck owner might quickly be overwhelmed by how absurdly dirty their duck areas become. Plus, the more ducks you have in a small, unplanned setup over a long period of time, the dirtier things get. And that’s how ducks get a dirty reputation.
How to keep duck areas clean – or at least not too disgusting
Before diving into how to keep your duck areas clean, three caveats:
1. Duck age
Ducklings are hilariously messy creatures. Nevertheless, their small size means they can’t make quite the scale of mess that a full-sized adult duck makes.
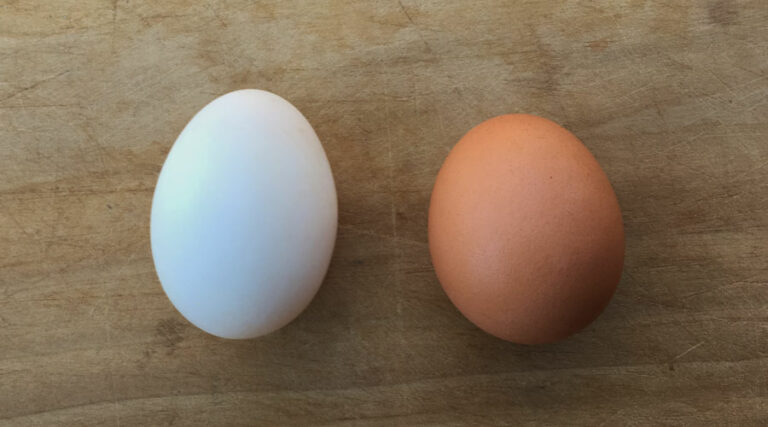
When raising ducklings, you can either hatch your own duck eggs in an incubator, let a good momma duck hatch eggs, or buy ducklings from a professional hatchery (preferably not a farm supply store, which incentivizes impulse purchases).
Depending on which option you choose, your ducklings may be outside all day with momma, which means no indoor mess for you. However, if you’re raising ducklings yourself, you’ll need to have an indoor brooder system, which means the mess will be your joy and responsibility.
2. Duck breeds
Different duck breeds vary significantly in size. As such, a one pound Call duck will be a lot less messy than a 9 pound Silver Appleyard — not for lack of effort but for lack of ability.
Much to their chagrin, a smaller breed simply can’t produce as much poop, feathers, and muck as a larger breed.
3. Duck setup
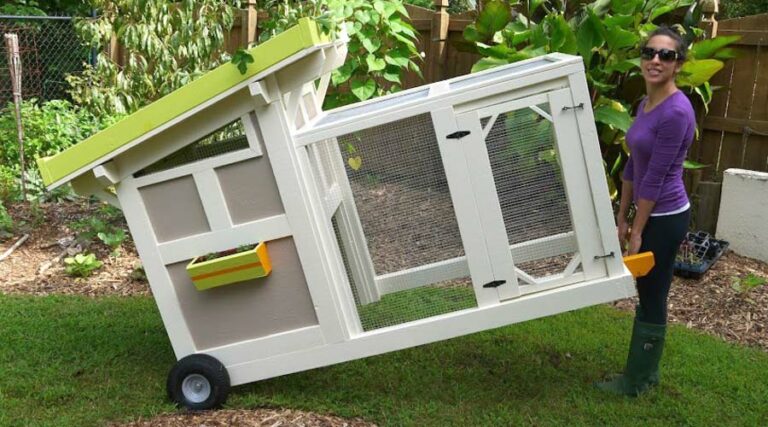
You might have a multi-acre rural pasture and a mobile tractor to house your ducks. As such, keeping your duck areas clean will be fairly easy.
Or you might have a small suburban yard with a coop and run where your ducks spend all their time. This setup will be more difficult to keep clean.
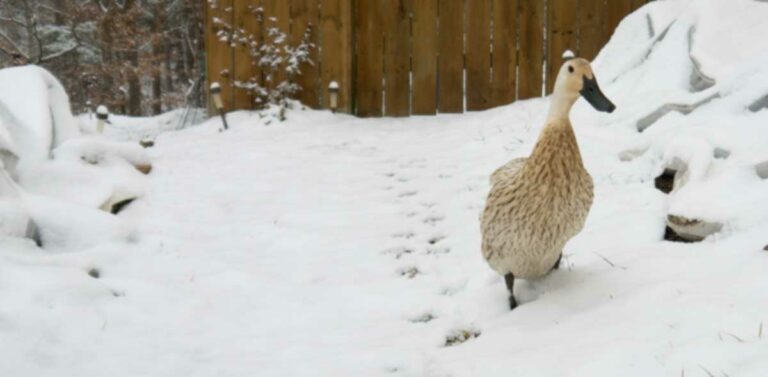
Likewise, your climate makes a big difference when it comes to keeping things clean. Someone in Maine is going to have a different approach to keeping their duck areas clean in the winter than someone in Florida.
Since every situation and setup is a little different, we’ll do our best to provide general tips and tricks for keeping your duck areas clean that are nearly universal in their applicability.
A. Six tips to keep DUCKLING areas clean
If you’re raising ducklings indoors in a brooder, here are six tips to keep their brooder area as clean and odor-free as possible:
1. Don’t get too many ducklings or ducks until you have more experience.
Start small. You might want to get 10 ducklings your first time out of the gate, but we’d instead recommend starting with fewer animals. Once you have the benefit of experience, get more ducklings or ducks as you see fit.
Starting small will reduce mess. More importantly, it will reduce the likelihood of you becoming overwhelmed and abandoning the whole project (and abandoning your ducks). It will also allow you to really pay careful attention to the needs and wellbeing of each duckling.
Since ducklings are highly social animals, the absolute minimum number of ducklings you should get is two. We recommend at least three, to better ensure there’s still a pair if one dies.
2. Use low-dust aspen flakes as brooder bedding.
There are lots of types of bedding to choose from when it comes to a duckling brooder, but our preference is low-dust ASPEN wood shavings. These shavings are odor-free, soft on flippers, highly absorbent, and contain no dangerous contaminants like pesticides.
Since they’re low-dust, they also don’t make a dusty film on everything around your brooder. More importantly, you and your duckling won’t be breathing in wood dust. More importantly, you and your duckling won’t be breathing in wood dust. For reference, many people and animals (especially young animals) can have severe allergic reactions or even develop chronic health problems if they continuously inhale wood dust, especially from red cedar dust.
I once experienced an acute allergic reaction (swollen lymph nodes in my neck and loss of voice) to red cedar dust from our outdoor duck bedding when we were first raising ducks; we’ve never used cedar since.
3. Top up brooder bedding regularly before doing 48-72 hour clean-outs.
No matter what kind of bedding you use in your brooder, your ducklings will make it disgusting with poop, food, and water. Thus, you’ll want to top up the bedding in their brooder multiple times per day to keep things hygienic and reduce unpleasant odors.
Depending on how big your brooder is and how many ducklings are in it, you’ll still need to completely change out the bedding periodically. We usually change our brooder bedding out every 48-72 hours; the older your ducklings get the larger the volume of poop and the more frequent the changes should be.
Don’t throw out that bedding! It makes great compost or mulch.
4. Use small no-tip water bowls.
Ducklings need to drink a lot of water. Unlike chickens and chicks, ducklings don’t do very well with water nipples. Plus, water nipples don’t allow ducklings to clean out their nostrils/nares, which is very important to their health.
Thus, our duckling brooder always has two small no-tip water bowls inside. The ducklings will inevitably jump into the bowls, but they can also easily get out, ensuring that they don’t drown.
Why two bowls? If one water bowl gets emptied, they have a backup.
You could also use water bowls (or food bowls) that snap or screw to the side of your brooder.
5. Don’t put a swimming bowl in the brooder.
Ducklings do NOT have to swim. And if you give them unfettered access to a swimming bowl in their brooder, they can easily drown or become hypothermic since they’re not feathered or waterproof. (In the wild, momma duck shares her feather oil and warmth with the little ones.)
So never put a swimming bowl in your brooder. Not only will it make things messy, it’s a high risk of your ducklings drowning.
For reference, we do allow our ducklings human-supervised swims in mild water in our tub or sink 1-2 times per day. Then we get them back into a heated brooder to dry and warm. Swimming helps with their happiness and development, but you have to mitigate the potential risks in the process.
As they begin to feather in and gain swimming experience, these risks diminish.

6. Don’t use air fresheners – use a plate of baking soda OUTSIDE the brooder.
What to do about those unpleasant duckling brooder smells? First, what NOT to do…
Don’t use air fresheners (sprays, candles, incense, diffusers, etc).
Numerous studies have shown that air fresheners are chock full of volatile organic compounds (VOCs) and can cause a host of health problems. Just as with little humans, ducklings are growing so rapidly that they’re especially susceptible to environmental pollutants.
Instead, to help reduce odors, place a plate covered with baking soda nearby but outside of the brooder (you certainly don’t want your ducklings to eat it!). Why a plate? This increases the surface area of the baking soda and maximizes its odor-fighting ability.
B. Tips to keep ADULT DUCK areas clean
The nice thing about having your ducks outdoors is you can now start to use nature to assist in the cleaning and maintenance process. Here are our top tips for keeping your outdoor duck areas clean:
1. Don’t get too many ducks until you gain more experience.
Start small. Yes, this tip applies whether you’re starting with ducklings or acquiring adult ducks.
The last thing you want to do is get overwhelmed by too many ducks and end up providing poor care and/or getting rid of them. Also, the fewer ducks you start with, the cleaner you’ll be able to keep things.
Once you have the confidence and knowledge that comes from experience, you can scale up and get more ducks as you see fit. Again, our recommendation is to start with 3-4 female ducks if you’re a new or intending backyard duck parent interested in duck eggs OR get all males if you simply want pet ducks that are lower maintenance. .
2. Use pelletized feed.
There are three broad types of feed you can give to backyard chickens or ducks: mash, crumble, or pellets. The differences:
- Mash is a relatively unprocessed feed that often contains whole or cracked grains.
- Crumble is typically made from pulverized pellets and is more powdery in texture.
- Pellets are steam-heated and dried feed formed into bite-sized kibble.
When it comes to reducing food waste AND mess, we’ve found that pellets are by far the best option for our ducks. (We use Mazuri Waterfowl feed.)
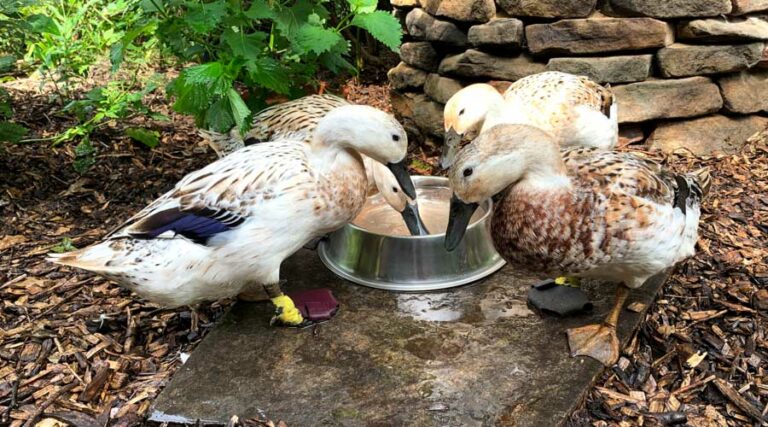
3. Use no-tip food & water bowls or similar no-spill watering devices.
Ducks need near-constant access to clean drinking water. Ducks can also put pigs to shame when it comes to being sloppy drinkers.
Since their eyes are on the sides of their head, they can’t easily see what’s right in front of them. Thus, when they walk, it’s not uncommon for them to run into and topple over a smaller food or water bowl.
Thus, using no-tip food and water bowls will really help reduce duck messiness. We only use metal food and water bowls for our ducks to reduce their plastic ingestion
Do ducks need water and food at night?
Technically, no, your ducks do not have to have food or water overnight. In fact, many duck parents don’t provide either in order to keep mice away, keep their coops cleaner, or reduce ice buildup in the winter. However, if your ducks do have access to food, oyster shell, or grit at night, it’s essential that they also have access to water so they don’t choke or damage their throats.
4. Separate your duck food and water bowls by a few feet or more.
If you put your ducks’ food and water bowls side-by-side, both bowls and the surrounding areas will quickly turn disgusting. Instead, keep their feed and water bowls several feet apart so less food goes into their water bowls and less water goes into their food bowls.
5. Utilize a “deep litter” method in your duck coop.
As we’ve written about elsewhere, our favorite litter for our duck coops is low-dust large-flake pine shavings that we get from our local Tractor Supply. These pine shavings are low cost, don’t contain pesticide residue, are soft on flippers, highly absorbent, and antimicrobial.
Our duck coops don’t have solid floors. Instead, they have open bottoms with buried 1/2″ wire mesh under them. This lets moisture go out and worms come in while keeping unwanted animals (mice, rats, predators, etc) from tunneling in.
We place our pine shavings on top of the wire mesh to prevent flipper scrapes/injuries. Each night before we put our ducks up, we top up their bedding where necessary with a thin layer of fresh pine shavings. After 2-3 months, the bedding is deep enough for us to remove it all and start over.
However, this spent bedding is not a waste product. It’s biological gold!
Upon removal, the bottom shavings have been broken down into rich soil that’s teeming with earthworms. Depending on the season, we either:
- place all of our ducks’ spent bedding into a compost bin to finish breaking down or
- spread it around the beds and areas of our yard containing our perennial fruit and nut plants as a nutrient-rich mulch. (Safety warning: Do NOT use spent duck bedding in your garden beds containing low-growing annuals like lettuce or kale where potential pathogens could come into contact with the produce.)
6. Limit your ducks’ access to “nice” areas of your yard or gardens AND impermeable surfaces.
We have backyard ducks. The only time they become side yard or front yard ducks is in the evening or on weekends when we’re with them doing garden projects or harvesting food for dinner.
This keeps our ducks from being dinner for predators while they’re out. It also allows us to minimize or prevent our ducks from making a mess or eating more duck-sensitive plants growing throughout those areas.
For a deeper dive, read 5 tips to keep your ducks from destroying your yard or garden.
Likewise, your ducks should not be living on a concrete pad or other impermeable surface. Not only is this bad for their feet, it will quickly fill up with duck waste.
7. Use fencing and raised beds as-needed to protect sensitive plants.
Want to keep ducks out of a particular garden bed? Or keep them from getting to a certain plant? Easy peasy: just use temporary fencing that’s about 24″ high supported by stakes. Green or black fencing also blends into the landscape so it’s nearly invisible to the human eye from a distance.
We often use this type of fencing to protect the edible beds around our yard that our ducks would otherwise destroy while they’re out foraging with us in the evening. During seasonal transitions and/or whenever the plants are large enough that the ducks don’t present a risk (vining beans, large tomatoes, etc), we’ll remove the fencing and let the ducks in to keep snails and slugs in check.
What about raised beds? We installed 18″ raised metal beds in our duck area to test their duck-deterrent abilities. While this height kept our larger breeds out, our smaller more nimble ducks soon figured out how to flap-jump into them.
Also, all of our ducks could still reach over and in to the beds to rip at any desirable plants that grew close to the edges or dared crawl over the sides. Thus, we had to install temporary fencing around these raised beds to keep our ducks out. If you want to put in duck-proof raised beds, we’d recommend a height of 24″ or higher.
8. No exposed dirt – use fine mulch or other materials to keep the soil covered.
If: a) you live somewhere where it rains, and b) you have exposed soil in your ducks’ living areas, then that exposed soil will soon become a mud pit.
Instead, keep your soil covered, whether that soil is inside a duck run or in the fenced area where they spend their days. In our fenced backyard (which technically belongs to our ducks), we use triple ground mulch from a local provider who does a great job of letting the mulch compost for a while before selling it. This means there are almost no sharp bits left which might otherwise hurt duck flippers. If you have a duck run, you could also just use pine shavings or the bedding of your choice inside.
These high-carbon, woody materials also help reduce or eliminate pollution from your ducks’ high N-P-K waste during and after rains since the woody material absorbs and locks up the waste before slowly turning into rich soil.
9. Use hardy perennial plants, not tender annuals.
Know what LOVES duck poop? Soil organisms and plants.
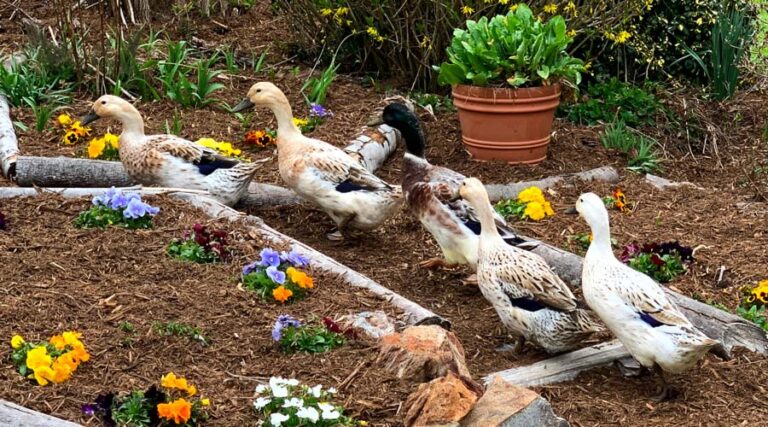
Instead of letting ducks’ ability to poop prolifically be a problem, turn it into a solution: soil fertility. We grow lots of perennial edibles in our ducks’ backyard: pomegranates, blueberries, yellow turmeric, persimmons, thornless cane berries, peaches, and more.
These plants (and their fruit) are too tall/large for our ducks to damage or eat, and the plants benefit enormously from all the fertilizer and pest control (especially slug and snail control) our ducks provide them. Plus, the plants help provide daytime protection from aerial predators by eliminating clear flyways into the backyard. They also provide areas of shade where our ducks can cool off on hot summer days.
If you go with edible plants in your duck areas, note that you should plan to grow them organically, e.g. NOT use synthetic fertilizers or pesticides on those plants — or you risk harming your ducks. However, there may be some organic, OMRI-listed pest deterrents or insecticides you can use. Even then, these substances should only be used as a last resort and your ducks should be kept out of the area during application.
For instance, we used to have a huge peach tree that had to be removed to make room for Waddle Inn, our new larger duck coop. Growing organic peaches in South Carolina is nigh impossible, but we were able to do it on a small scale, thanks in part to using SurroundWP as a foliar and fruit spray. This OMRI-listed product is made from kaolin clay, which leaves a white coating on the fruit and foliage of the plant, deterring pest insects and reducing plant heat stress. Even though there was minimal immediate or ongoing risk to our ducks from this product, we’d always keep them out of the area until it was dried.
What about a good non-edible perennial plant for your duck area? One we discovered by accident (since some were already in our backyard when we moved into our home) is loropetalums. These attractive flowering shrubs in the witch-hazel family are evergreen. While the leaves are not used for food by humans, our ducks do eat them, thus keeping the bottom of the bushes neatly trimmed.
10. Carefully design your swimming area(s).
Ok, ok, but what about all the dirty mess ducks make with their swimming water? The mud? The stink?
Some people will say that ducks don’t technically need a pool or pond. That might technically be true, but we disagree. Ducks will be much happier and healthier if they have water to bathe and play in. They are waterfowl, after all.
A small baby pool is usually the first option new duck parents choose. (That’s what we started with, too.) Then the ducks turn the water disgusting after 1-2 days and the pool has to be dumped. This process then repeats and pretty soon, there’s a stinky mud swamp in your yard. (Yes, we’re speaking from experience.)
If you have to use a small kiddy pool/plastic pond, you might want to first set it up and plumb it so that you can attach a pipe or hose to the base allowing you to divert the dirty water to different areas during water change-outs. If you opt for this design, the challenge will be creating a setup that allows your ducks to easily get into and out of the pool without damaging their legs.
On land, ducks (especially larger breeds) are clumsy creatures who can easily hurt themselves going up or down steep ramps or jumping off the edge of a tall pond to the ground below. Thus, a wooden deck/platform that goes all the way around the duck pond would be ideal – so long as it allows you easy access to the on/off valve on the bottom of the pool.
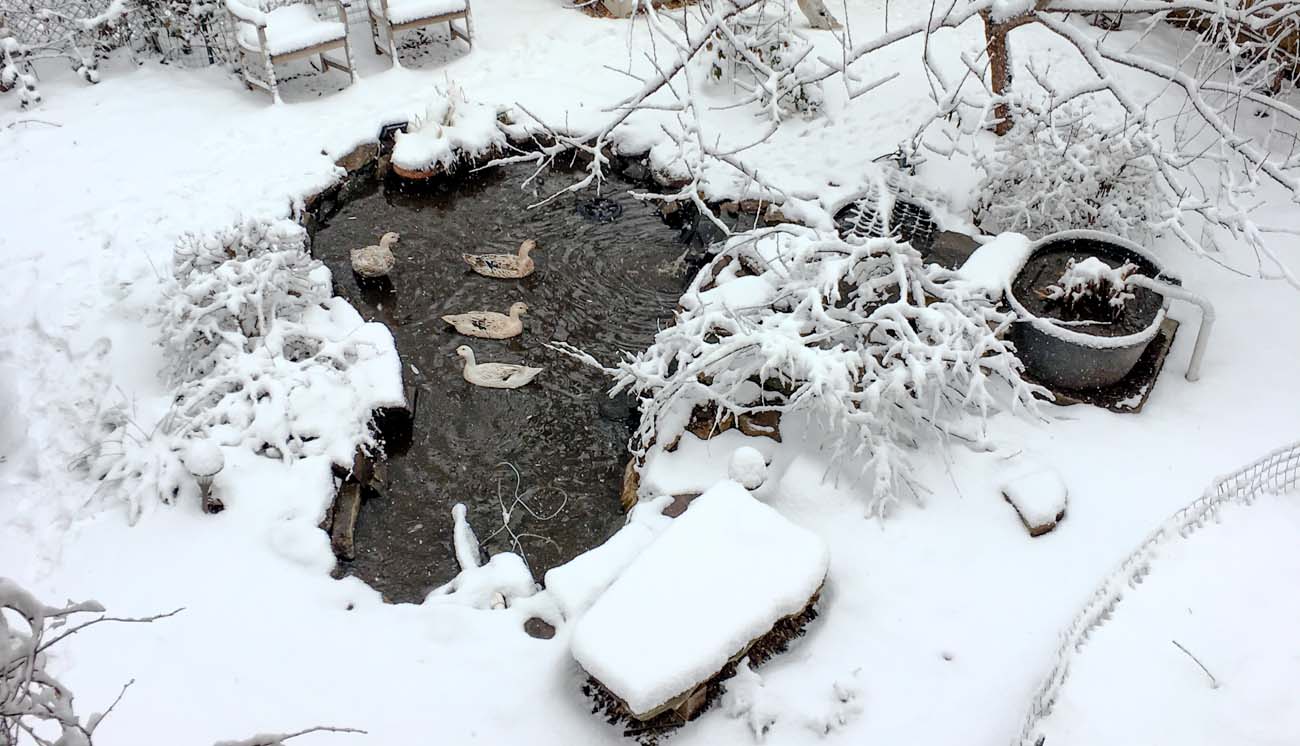
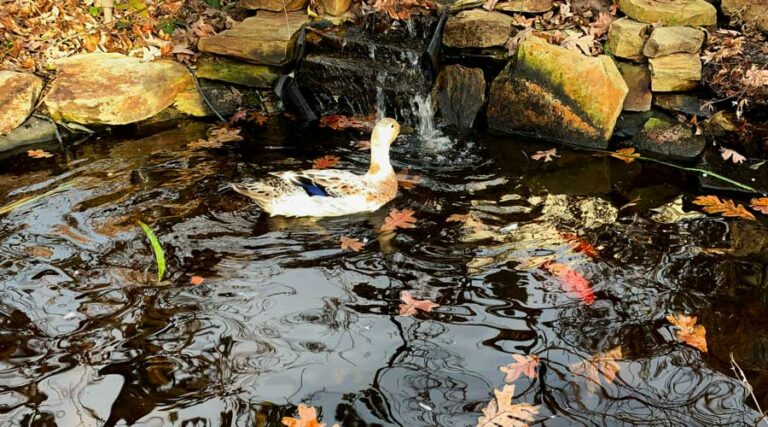
During Year 2 of our duck enslavement, we decided to build something more permanent and lower-maintenance. That’s when we designed and built our self-cleaning backyard duck pond that uses a “skippy biofilter” system and natural bacteria to keep the water clean. We only have to clean our filters and pond about once per year, which takes 4-6 hours for one very efficient person (usually Aaron). We do have to unclog and clean our Laguna pond pumps every six weeks or so — or more often when our ducks are molting and/or fall leaves fill the pond. This process only takes about 15 minutes.
Our duck pond investment has been a HUGE time saver for us. It’s also kept our backyard clean and swamp-free while making our hard-to-please ducks happier and healthier. Our pond is also an attractive landscape feature that provides us with calming waterfall sounds throughout the year.
Curious to learn more? A deep dive into how to build a self-cleaning duck pond including step-by-step photos and instructions, links to the exact products we used, etc. We’d recommend you visiting: How to build a self-cleaning backyard duck pond.
Are our ducks dirty? Is our backyard dirty? No and no. That’s due to careful planning and preparation, not luck.
Are you planning to get ducks? Do you currently have “dirty” ducks, but dream of cleaner days ahead? Good news: it is possible to have backyard ducks who don’t create a huge, stinky mess. Hopefully, the tips in this article help you get there!
KIGI,


Other duck articles that will quack you up:
- 10 things to know before you raise ducks
- How to diaper a duck (with video!)
- How to get your ducks to like you
- 17 tips to keep your ducks safe from predators
- 9 tips and tricks for keeping indoor pet ducks
… or browse the latest duck articles and goose articles from Tyrant Farms!
We have a pea gravel flooring in our 10 x 20 foot pen. We have a very large bedroom for the girls we close them in at night for their safety. My problem is the pea gravel not draining the food and poop. We put down 8 inches of gravel and we rinse the entire pen daily, the bedding is an easy poop cleanup in the pine shavings, with a weekly empty and vacuuming, no food or water are in the bedroom which they are inside from midnight until 7:00. The gravel is impossible to clean and has a million tiny fungus flies everywhere when you rinse it, stinks when disturbed badly. I don’t want to use anything that might hurt the girls. I also put ten pounds of red wiggler worms in the pea gravel for the girls to keep busy hunting on the rare daytime lock up. We have pheasant netting on top of the pen; a large tarped area for shade and winter weather protection for them. We had a koi pond that was hooked to a pump and filter that was gross very quickly: now we just have a kiddie pool we empty daily, and i scrub out with a dish brush when it gets yucky. I really don’t know how to keep the gravel clean. Any thoughts?
Hi Julie! That’s a tricky one. Unfortunately, I don’t have any tips or ideas to offer to keep the gravel clean. Instead of pea gravel, why not use shavings?
Is there any particular type of wood you recommend for the mulch or can we use anything so long as it is triple-mulched? Also, do you shovel it up and change it the way one changes the bedding in their house? Our team spends most of their time freebirding around our backyard but they do go into an enclosed area at night which they turned into a mud pit in about 6 months.
For our duck coop, we use large flake pine bedding from Tractor Supply. Another really good option is hemp bedding, but it’s more expensive than large flake pine. We use a modified deep litter method. We remove all the bedding from the coop every 4-6 months, put it in a compost pile, then start adding new bedding to the coop each day when the coop is prepped for put-up time.
For our backyard where our ducks spend their day, we use triple ground mulch, which is predominantly a hardwood mix. We don’t shovel and change the mulch. Instead, we leave it to slowly biodegrade and turn into rich soil right there on the spot. The carbon-rich mulch does a good job of locking up the nitrogen-rich duck waste as it biodegrades. We usually put out a few inch thick layer of mulch at least once per year. Since the mulch biodegrades more rapidly in our hot, humid summers (meaning there’s not much left by late summer) and we have very rainy winters, we usually try to always get a round of mulch put out in the fall so things don’t get too messy during the winter months.
Hope this answers your questions!
Thank you. That was very helpful. I just wanted to be sure we didn’t get anything that wouldn’t be harmful when they noodle around in it. Y’all’s website has been SO helpful and it’s really nice to read about folks who are as crazy about their duckies as I am!
Haha! Glad to hear our duck articles are helpful for other duck fanatics!
Another wonderful article!! Our four happy girls (WHY is the happy duck stomp dance not common knowledge? Better keep it a secret to avoid increasing impulse duckling purchases!) have about half an acre back yard all told outside of their predator safe pen when they are allowed to free range (which they demand to be most of the day–and I’m lucky enough to be able to be home most of the day to supervise) and even that seemingly small number of ladies has made quite a few stinky duck mud pit locations (:
I look forward to implementing a lot of these suggestions so that next summer the ladies can have just as much fun without me having to play cleaning catch up seemingly 24/7!!
Thank you, Tyrants!
Haha, thanks Miki! Don’t let the secret of the happy duck stomp dance out. 🙂 Glad this article will help you keep your ducks’ area cleaner moving forward.