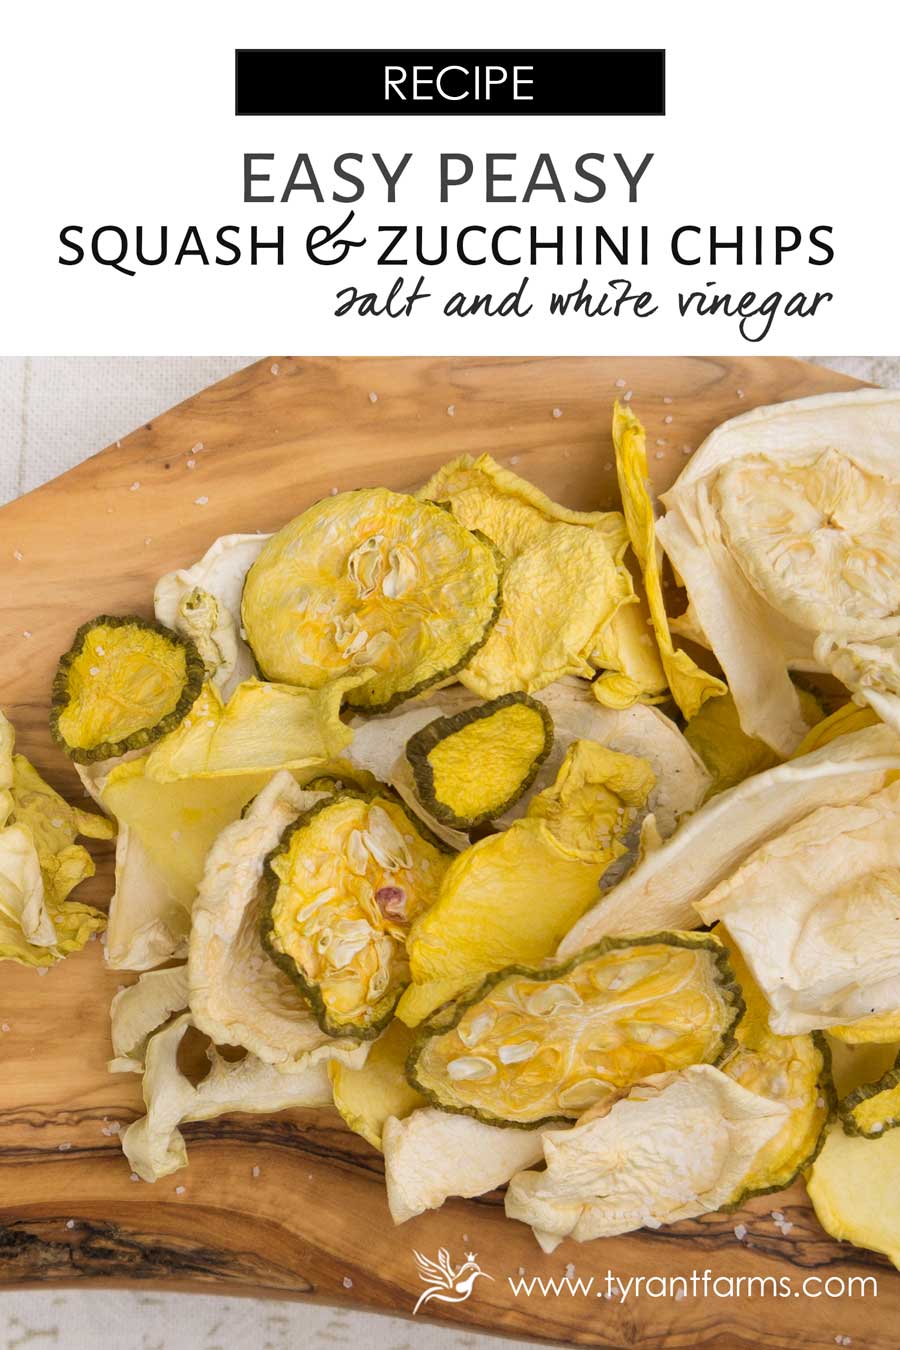
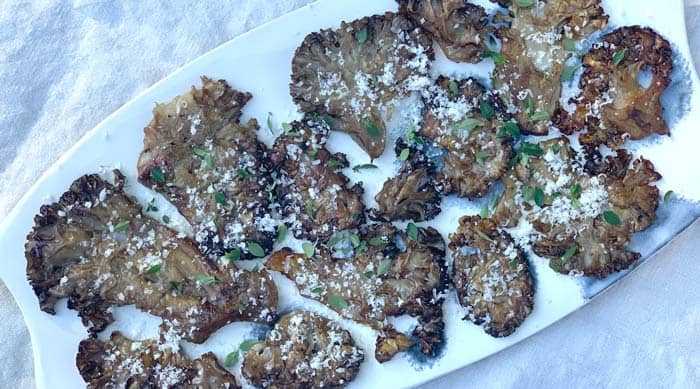
Recipe: Salt & vinegar summer squash chips
Tyrant Farms' articles are created by real people with real experience. Our articles are free and supported by readers like you, which is why there are ads on our site. Please consider buying (or gifting) our books about raising ducks and raising geese. Also, when you buy through links on our site, we may earn an affiliate commission. Learn more
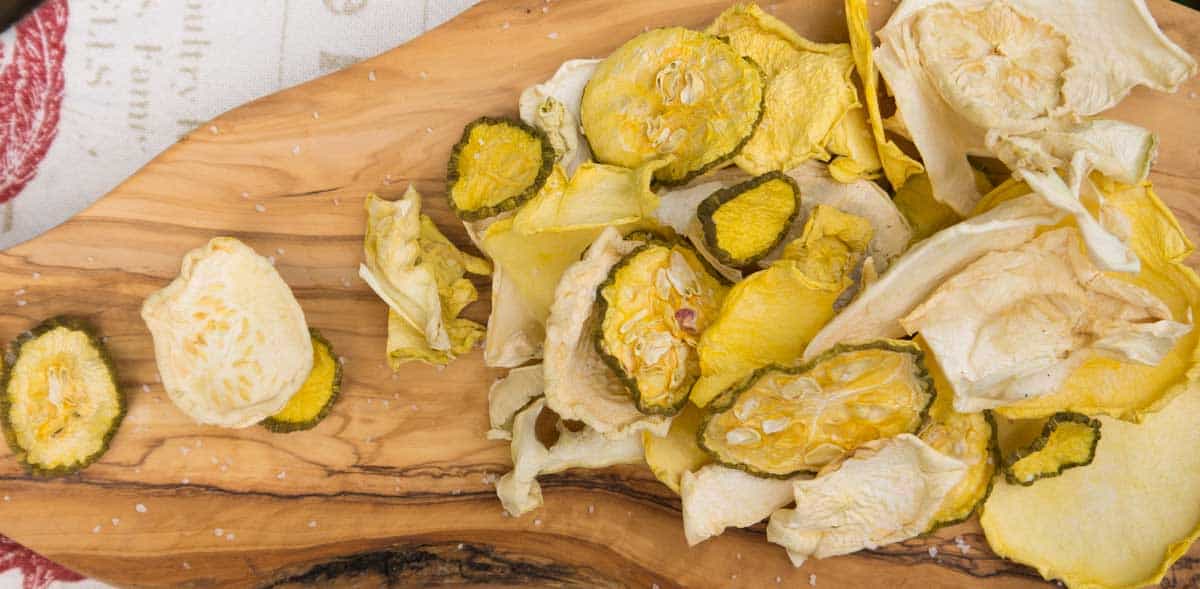
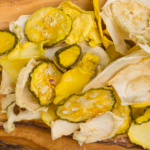
If you’re looking for a great way to use up tons of extra summer squash, use our delicious salt & vinegar squash chips recipe!
Feeling overwhelmed by your summer squash?
We love summer squash, at least most of the time.
We like grilling it, stir frying it, and sharing rocking chairs with it next to our DIY duck pond.

However, we don’t always do the best job of planning out how many squash plants we need to start from seed in order to take care of our squash-eating needs.

Over the years, this has led to marital discord, as accusations of being a “squash murderer” or “not loving our squash plants enough” get bandied about.
On numerous occasions, my wife (aka The Tyrant) has threatened to leave me for suggesting that we might not need 400 squash plants in our edible landscape. (In case you’re wondering, I’m always the voice of reason in these and similar disagreements that arise.)
Susan’s side of the story: There aren’t 400 plants…more like 40. And they’re beautiful landscape plants. Besides, some of our ducks love eating squash blossoms and if we don’t plant 40 plants we won’t get enough squash. Yes dear. You are ever the voice of reason. 😉

Making matters worse, we inevitably have several volunteer squash plants come up in our yard (or compost) that end up adding to our squash harvest. There is only so much squash you can give away to your neighbors, friends, and family before people mysteriously stop wanting to come over to your house or say hello when they see you out in the yard.
Summer squash chips: tastier and cheaper than a therapist (don’t eat your therapist)
The seemingly rational thing to do would be to grow less squash and seek out a good marriage counselor who has experience dealing with these sorts of vegetable disputes. Maybe we’ll do that next year.
But what do we do with the 4.5 tons of squash we have on our countertops, floors, bedroom dresser, tabletops, etc. this year?
We’d can or pickle them but we don’t really enjoy canned foods or eat many pickles. So we set out to create another recipe to save our squash — and our marriage.
As we were loading up our Excalibur Dehydrator with another round of peach fruit leather, The Tyrant said, “I wonder if we can make squash chips?” Thus began a new culinary experiment that ended quite well…

Two important tips for making salt & vinegar squash chips
There are lots of different flavors you can experiment with in making your own squash chips: salt & pepper, BBQ, curry, etc.. The flavor we like the best of the ones we’ve made are salt & vinegar squash chips.
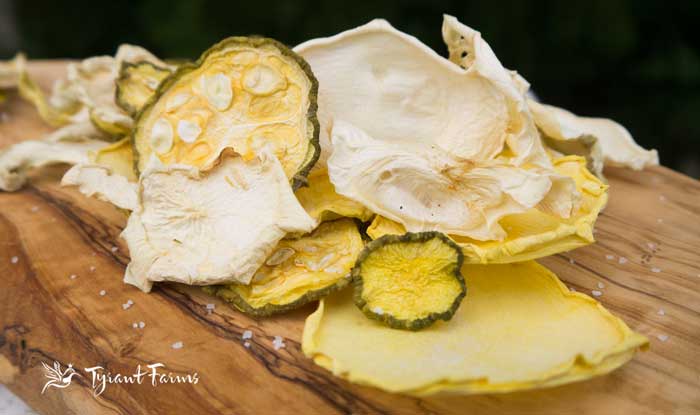
And in case you’re wondering, you can use any type of summer squash to make squash chips so long as it’s immature and tender, not mature, hard, and seedy.
Two things we recommend to help you make the perfect squash chips:
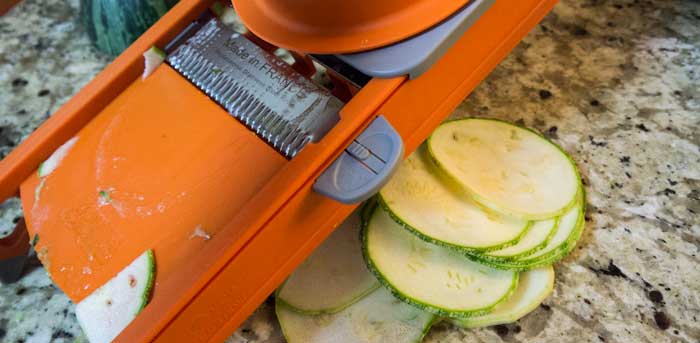
1. Use a mandoline to perfectly and consistently thin-slice your squash.
A good mandoline allows you to quickly, precisely slice your squash into perfectly-sized squash chips. Be careful not to slice your fingers though!
In the photo below we’re using our old De Buyer swing mandoline, but newer mandolines like this Vekaya mandoline are easier to use and come with cut-protective gloves.
2. Use a dehydrator.
After brining your slices of squash (see recipe below), the best way to dry them into crunchy perfection for long-term storage is with a dehydrator.
We’ve used the same Excalibur dehydrator for over a decade and it still works great.
Alternatives?
If you don’t have these tools, fear not! Just do the best you can with a good chef’s knife, a baking rack + cookie sheet, and an oven set on low temp until you reach the desired crispiness.
Recipe: Salt & vinegar squash chips
Ready to make your own salt & vinegar squash chips?
Salt and vinegar squash chips (made in dehydrator or oven)
Equipment
- mandoline
- dehydrator or oven is fine
Ingredients
- 2.5 lbs thin-sliced summer squash
- 2 cups organic white vinegar
- 4 cups water (*Start with warm water so salt dissolves, but let cool before adding squash.)
- 2 tbsp sea salt
Instructions
- Thin slice your squash. The best thing to use here is a mandoline slicer. You can process a lot of squash very quickly and get the exact same thickness on each slice. If you don't have one, just use a good sharp knife and slice your squash into strips as thin as you can make them.
- Brine your squash. In a large non-reactive bowl (ceramic or glass), combine all ingredients EXCEPT for sliced squash. Stir/whisk together and wait until salt has dissolved and/or water has cooled before adding squash to bowl. Cover bowl and allow to stand for 12 hours in the fridge or on your kitchen counter.
- Remove and dry. Remove your sliced squash from the salt & vinegar mixture, blot dry, then place onto dehydrator racks. Set dehydrator to your dry veggie setting (125° - 135°F on our Excalibur). If you don't have a dehydrator, you can also dry your squash on baking racks in your oven, turned to the lowest heat setting possible (you don't want to cook them, just dehydrate them).
- Store.Once your squash chips are dry and crunchy, remove them from the dehydrator. It usually takes about 12-18 hours for us, depending on how thin-sliced the squash are. Store dried squash chips in air tight containers until you're ready to eat them — large jars, silicone bags, etc. If they get stale, simply pop them in the oven on low heat for about 10 minutes before eating.
We hope this article helps you use more of your squash and salvage your marriage, too!
KIGI,


trying it now. can rhe brine mixture be reused for the next batch, immediately?
We haven’t re-used the brine before, but you could probably get away with re-using it on another batch of squash chips once. The only concern would be that whatever water leaches out of the squash into the brine might dilute the acidity and salinity. Let us know how it goes!
This recipe also works well with thinly sliced eggplant and zucchini. Every last bit was gone in the first 10 minutes of my last party. I also made a fab aioli to accompany: 1/4 c mayo, 2-3 garlic cloves grated in via micro plane, salt, pepper, organic chili seasoning from the farmers market. Yum!!
Plus, if I made it, the recipe is officially ‘therapist approved’!
Sounds terrific, Lisa. Glad to know that this recipe has been board certified by a licensed psychiatrist. 🙂 Tyrant requested that I share our aioli recipe with you if you want to get even fancier next time you make your version of this recipe: http://www.tyrantfarms.com/garlic_mayonnaise_recipe/. That’s the best aioli I’ve ever eaten anywhere. Perhaps you can certify that recipe as well.