More living history about Welsh harlequin ducks (from the granddaughter of the original breeder)
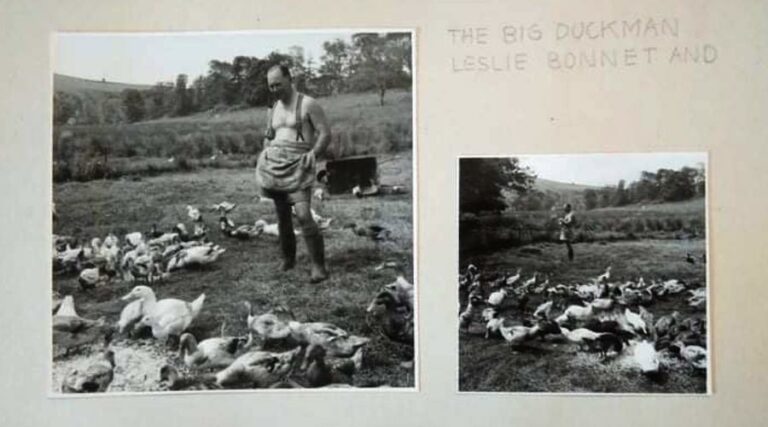
August 22nd is Leslie Bonnet Day, a day every Welsh Harlequin duck enthusiast should celebrate! In honor of the occasion, here’s some living history about the man (and his family) who originally bred Welsh Harlequin ducks.