Fig nibbler: the best fig dessert (with no cane sugar!)
Tyrant Farms' articles are created by real people with real experience. Our articles are free and supported by readers like you, which is why there are ads on our site. Please consider buying (or gifting) our books about raising ducks and raising geese. Also, when you buy through links on our site, we may earn an affiliate commission. Learn more
Many pounds of figs were sacrificed on the way to getting this fig dessert recipe perfected. The Tyrant and our toddler were also highly displeased that a nighttime walk was sacrificed during the recipe’s first trial run due to the baking time going way over schedule.
Nevertheless, this is a recipe we’re quite proud of because it’s new and it’s so dang good — and it’s pretty healthy to boot.
We initially set out to make a fig newton-like recipe that did not contain cane sugar, had mostly whole wheat flour, and a bit of almond flour.
The results?
1. Sugar-free fig preserves
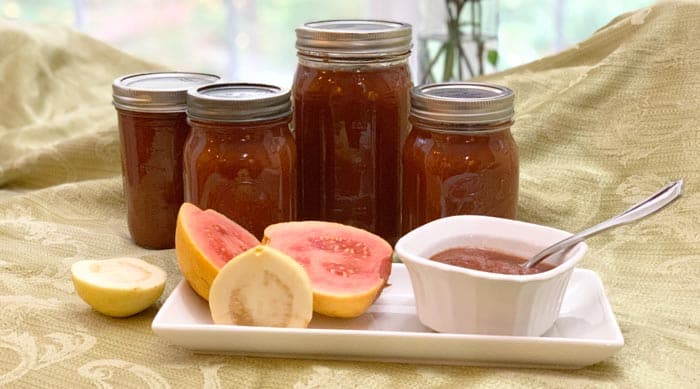
Firstly, we created a thick, rich, and delicious fig preserves recipe that has zero added sugar. Rather than cane sugar, we used a small amount of organic liquid stevia. (At 200-400 times sweeter than sugar, a small amount of calorie-free liquid stevia goes a long way.)
Our sugar-free fig preserves recipe alone is worth your current visit to our website.
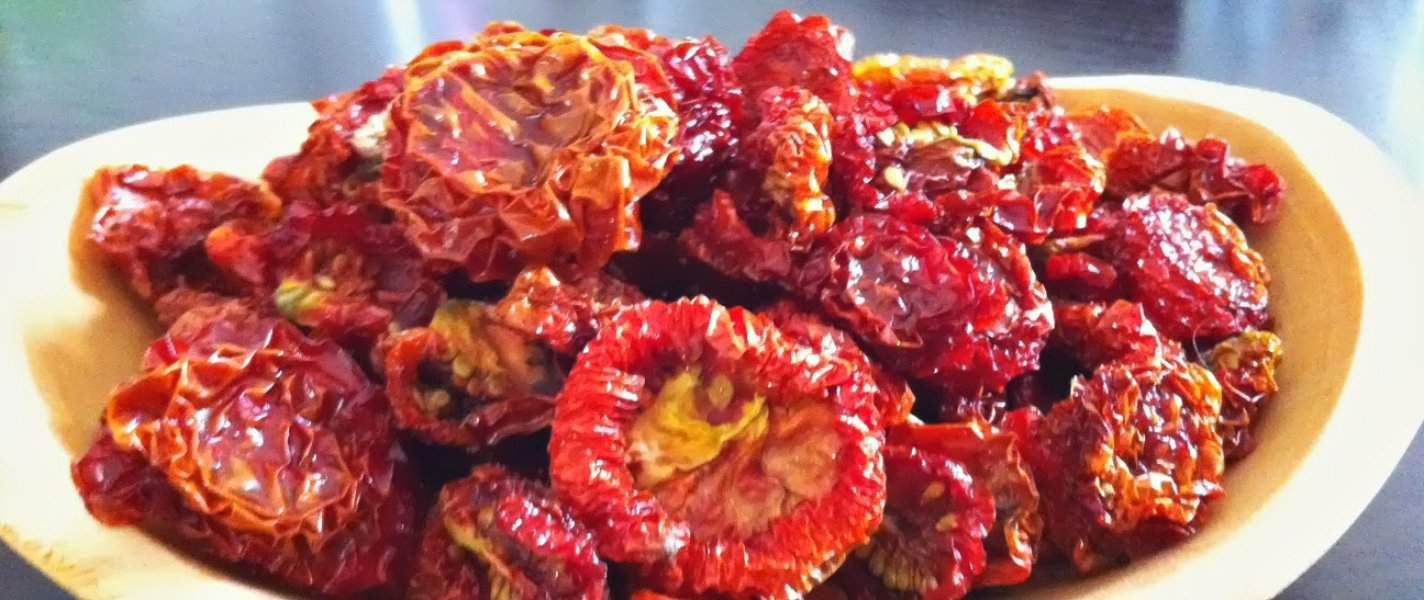
In case you’re wondering: yes, our fig preserves recipe can be made with fresh or dried figs, and we’ll share how to use either option below.
2. New to earth: fig nibbler? A hybrid between fig cobbler and fig newtons.
Once the sugar-free fig preserves were perfected, it was time to combine them with the baked cookie/cake part of the recipe. Here, rather than cane sugar, we opted for maple syrup as the sweetener.
Is maple syrup “healthier” than cane sugar? It’s more nutritive, sweeter (so you can use less), and has a lower glycemic index. Thus, according to The Cleveland Clinic, the answer is yes.
However, you still don’t want to eat a bunch of maple syrup in one sitting. Thankfully, there’s only about 1 tablespoon of maple syrup in a single serving of this fig dessert- not much!
Maple syrup adds incredible flavor to a baked recipe. However, it produces a wetter dough that then requires longer bake times than cane sugar. Thus, getting the baking part of this recipe right was the trickiest part, but we think you’ll be very happy with the final results when you take your first bite of…
“What do we call this thing?” We brought a tray of this then-unnamed fig dessert to a dinner gathering of friends, which were enthusiastically wolfed down (the dessert, not the friends; we’re staunchly anti-cannibal).
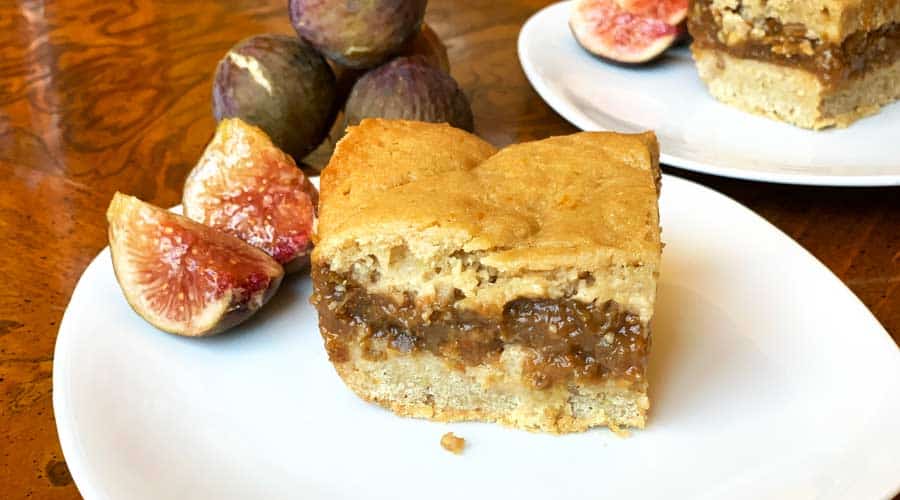
Is it a fig newton? Not quite. Fig cobbler? Not quite. Something in between? Yes. Thus, our friend John recommended the name “fig nibbler,” part newton and part cobbler. #NameContestWinner
Now with this introduction out of the way, let’s dive into the things you need to know to get this recipe just right!
Fig nibbler: tips, recipe notes, and process photos
1. Bread pan size
We use a standard 9″ x 5″ glass bread pan for this recipe, which yields about 8-10 servings (depending on your serving size).
We chose this size because it’s something that most people have in their kitchens. The size of the pan is very important if you’re following our bake time recommendations, so don’t deviate!
2. Key ingredients – and notes on deviations
Different types of flours have different weights. In our recipe, we provide both weight and volume but weight is the gold standard in measuring when it comes to precise baking — assuming you’re using the same type of flour.
If you deviate too far away from a baked recipe’s ingredients, you’ll likely end up with different results and/or longer or shorter bake times.
The primary ingredients we use and recommend for the cake/cookie part of this recipe are:
- King Arthur’s organic WHITE whole wheat flour,
- King Arthur’s organic all-purpose flour,
- Bob’s Red Mill super-fine almond flour,
- REAL maple syrup – don’t use the fake stuff.
We use 365/Whole Foods liquid stevia to sweeten our fig preserves. However, you can use whatever type of stevia or non-sugar sweetener you want, sweetening the preserves to your tastes.
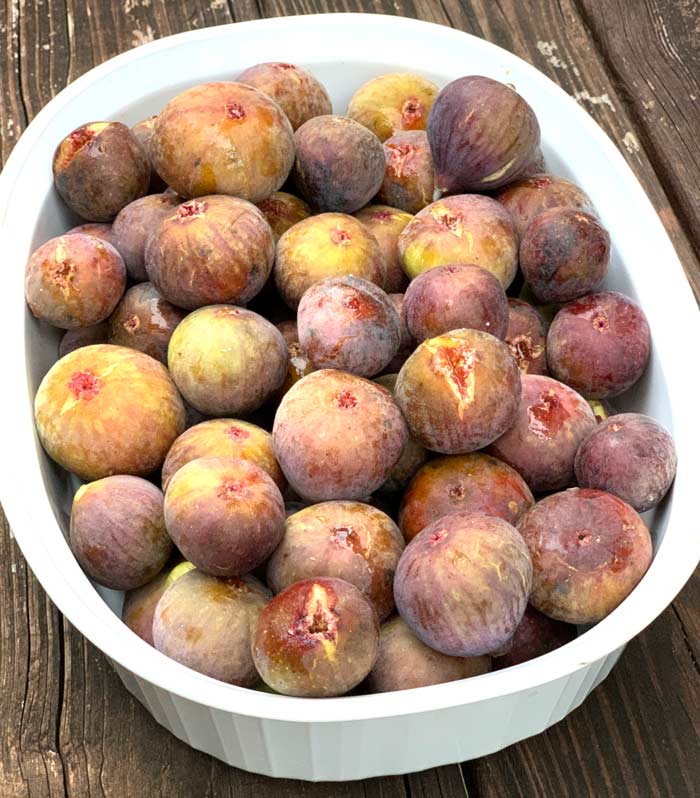
3. Making the fig preserves with fresh OR dried figs
Yes, you can make the sugar-free fig preserves part of this recipe with fresh or dried figs. If using dried figs, you’ll just add some water to your pot when getting started. (We detail exact quantities in the recipe card at the bottom of the article.)
Regardless of whether you use fresh or dried figs, your aim is to end up with very thick preserves. An immersion blender is a helpful tool that lets you quickly blend your hot figs (or other recipes) in the pan without removing them and putting them in a blender or food processor.
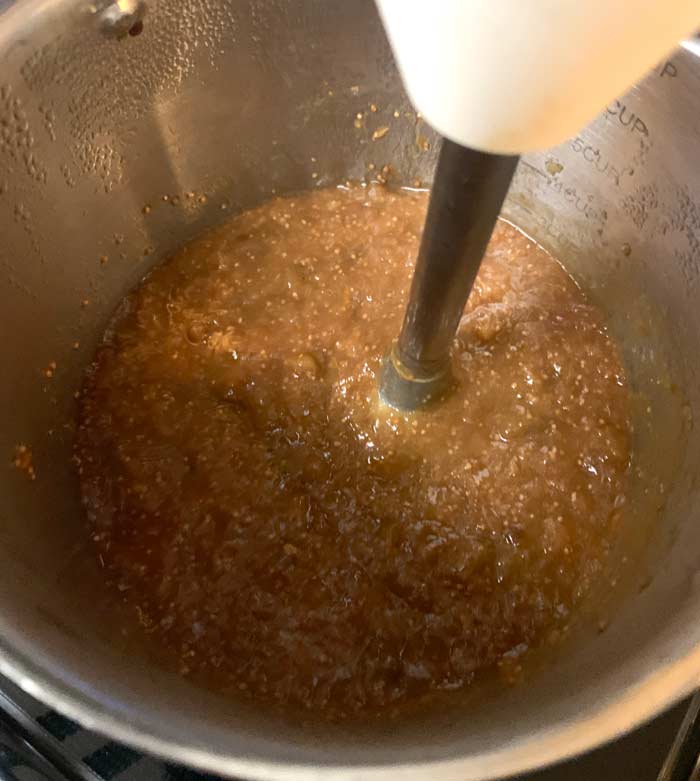
After blending the cooked figs, we turned our burner to low and let our fig preserves continue to cook down for about an hour after they were technically done. This means less water and more intense flavor. It also means a thicker preserve, which is important when you put the top layer of dough on top without it sinking.
If you follow our fig preserves recipe exactly, you’ll start off with about 2 cups of pureed ingredients which you’ll then cook down to about 1.5 cups.
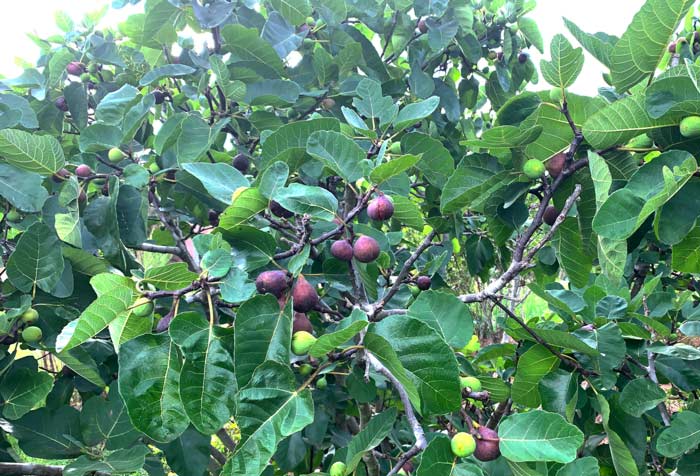
Trying to figure out fresh vs dried fig equivalencies? We did the math with figs harvested from the exact same tree:
- average fresh fig weight = 19 grams
- average dry/dehydrated fig weight = 5.5 grams
That means one dried fig is 29% the weight of a fresh fig, ergo dried figs weigh 3-4x less than fresh figs of the same variety. Since this recipe uses 1 pound of fresh figs, you’d substitute 4.64 ounces of dried figs if you’re using those instead.
Once your fig preserves are done and cooled to room temp, put them in the fridge to chill and thicken up before using them in our fig nibbler recipe.
4. Making the dough – yes, it’s very wet!
Owing to the fact that maple syrup is wet (unlike cane sugar), the dough portion of this recipe will also be quite wet. Thus, this is not a dough you can roll out or shape.
Once your dough is made, you’ll divide it in two: half will form the base (which gets cooked first) and the other half will form the topping. For precision’s sake, half the total dough = 228 grams (about 3/4 cup).
5. Baking the layers.
If you bake all three layers (bottom dough + fig preserves + top dough) at the same time, the result would be an uneven and uncooked mess. Instead, here’s what you’ll do:
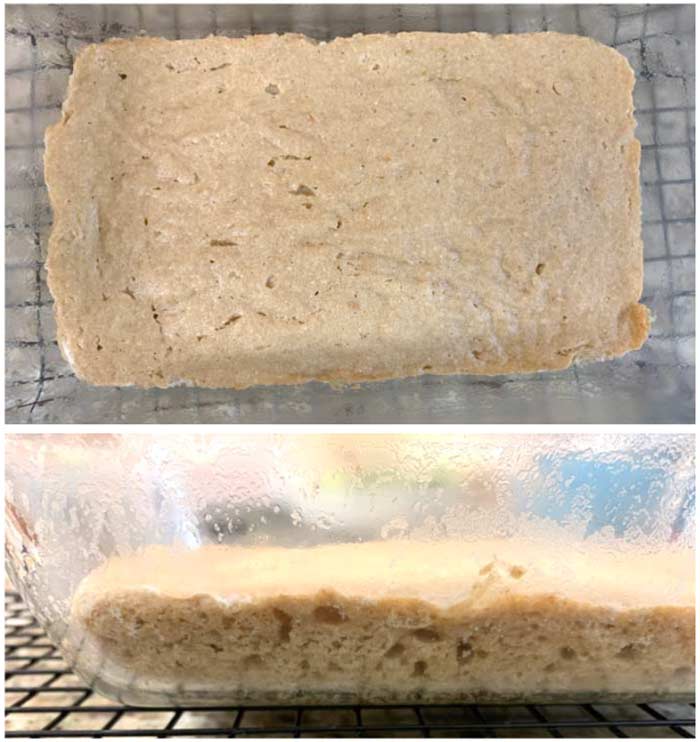
a. Put half (3/4 cup or 228 grams) of your dough in the bottom of your well-buttered bread pan and smush it flat with a spatula. Then bake it in a pre-heated 350°F oven for 23-25 minutes or until the edges are just starting to get a golden brown hue.
Then, remove it from the oven and let it cool to room temp on a cooling rack.
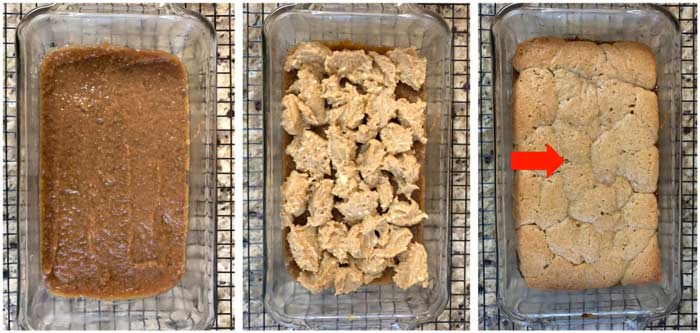
b. Next, using a spatula, evenly spread the chilled fig preserves over the pre-baked base layer. Then dollop on small spoonfuls of the remaining batter until it’s evenly distributed across the surface of the fig preserves (see next photo in article below).
Nope, the dough won’t perfectly cover the surface of the figs UNTIL it’s heated in the oven. Nope, chilling the dough in the fridge first won’t make it workable. Yes, we did lots of experiments here so you can trust us.
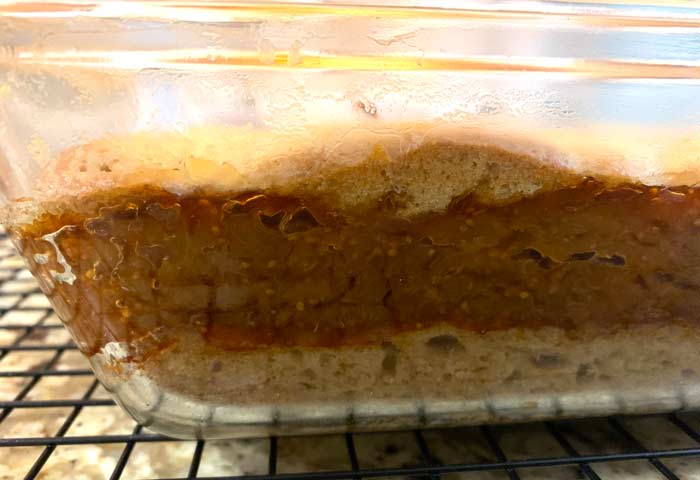
7. Bake time
Now that your fig nibbler is fully assembled, it’s back into the pre-heated oven for 50 minutes uncovered + another 5-10 minutes covered with a sheet of aluminum foil to finish. The foil cover allows the top layer to fully bake while keeping it from getting too browned.
Here we should also warn that every oven cooks differently, so your fig nibbler may take slightly less or more time. It’s done when it’s golden brown on the sides and golden in the middle with no doughy appearance.
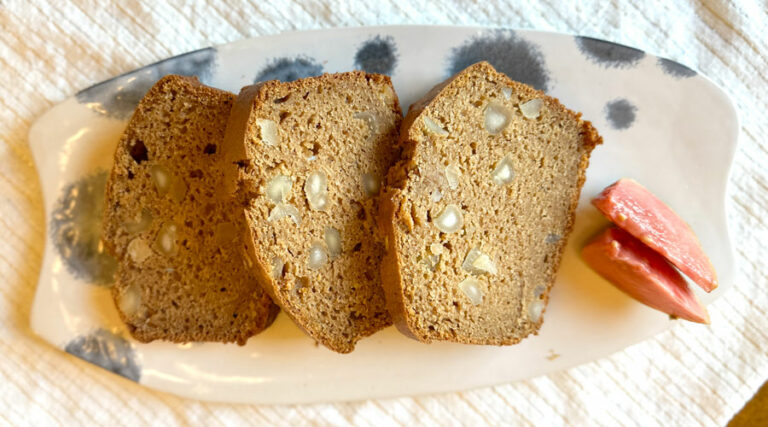
8. When and how to serve fig nibbler
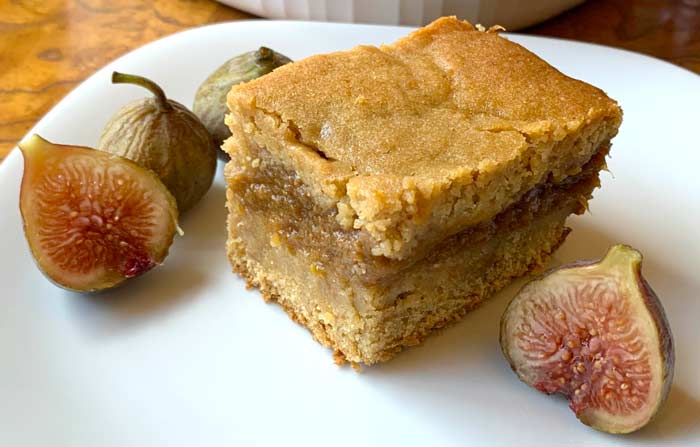
Fig newtons are typically eaten at room temp. Cobbler is typically served warm with a scoop of vanilla ice cream on top. How best to serve a fig nibbler?
In our opinion, fig nibbler is best served slightly warmed. You can serve your first round about 15-20 minutes after it’s removed from the oven.
It’s even better the next day after it’s rested and/or chilled in the fridge a while. It’s also much easier to cut into neat pieces when it’s cold. From there, pop a piece in the microwave until it’s just slightly warm, about 15-20 seconds in our microwave.
It’s so good and figgy by itself, we don’t bother to add anything to it. Plus, it’s a relatively healthy dessert when served as-is. However, if you want to add a bit of vanilla ice cream or whipped cream on yours while we’re not looking, we won’t judge you.
Recipe: Fig nibbler – the best fig dessert we’ve ever made!
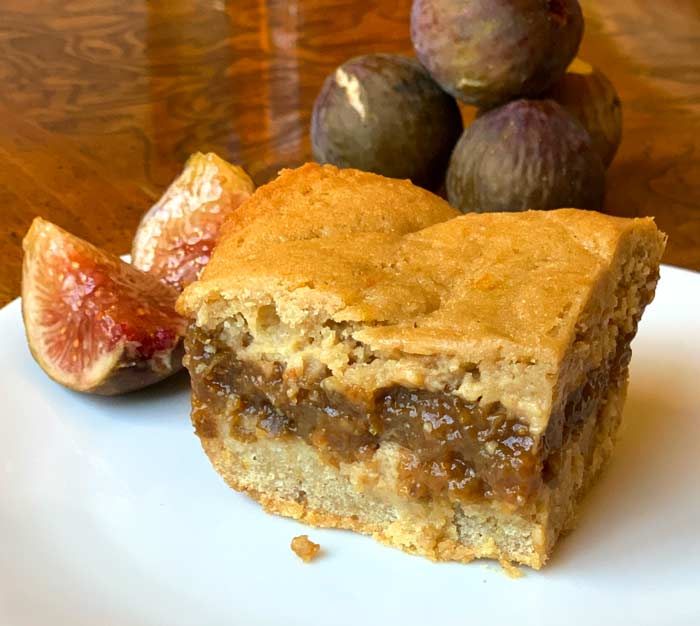
Fig nibbler - a cross between fig newtons & cobbler (no cane sugar!)
Equipment
- 1 SMALL sauce pan (for making fig preserves)
- 1 immersion blender (alt: food processor or blender) (for making fig preserves)
- 1 Electric mixer (for cake/cookie dough)
- 1 9″ x 5″ bread pan, ideally glass
Ingredients
For the fig preserves
- 1 pound fresh figs (about 2 cups once pureed) (if using dried figs, use 4.64 ounces)
- 1/6 cup fresh orange juice (ideally fresh-squeazed)
- 1/2 tbsp dried orange zest (or 1.5 tbsp fresh zest)
- 1/2 tbsp apple cider vinegar
- 1/4 tsp cinnamon
- 1/8 tsp liquid stevia (or to taste before finishing)
- 1 tsp vanilla, added at very end so flavor doesn't cook out
- pinch of salt
- 1/2 tbsp molasses (optional, but adds great rich flavor)
- *try to use organic ingredients if possible!
For the cookie/cake dough
- 79 grams organic King Arthur’s organic white whole wheat flour (about 5/8 cups)
- 64 grams King Arthur’s organic all-purpose flour (about 1/2 cup)
- 20 grams Bob’s Red Mill super fine almond flour
- 85 grams unsalted butter, room temp (6 tbsp)
- 1/2 cup REAL maple syrup
- 3/4 tsp baking powder
- 1/2 tsp salt (we used fine pink Himalayan sea salt)
- 1/2 tbsp dried orange zest (or 1.5 tbsp fresh zest)
- 1 egg (we use a duck egg, but large chicken egg is fine)
- 1.5 tsp vanilla extract
Instructions
For sugar-free fig preserves
- If using FRESH figs - Quarter fresh figs then add all ingredients (except for vanilla) into SMALL saucepan over medium heat. You don't want a large/wide saucepan or the ingredients will cook too quickly. If using DRIED figs - Quarter dried figs then add all ingredients (except for vanilla) into SMALL saucepan over medium heat. Also add 1 cup of water to saucepan. You don't want a large/wide saucepan or the ingredients will cook too quickly.
- Stir ocassionally to make sure ingredients don't stick to bottom of pan. After ingredients have been at a low boil for about 15 minutes, use an immersion blender to blend them. If you don't have an immersion blender, remove them and blend them in food processor or blender (careful with hot ingredients!) then return them to pan on stovetop. Note: If you started with dried/dehydrated figs, it's going to take a bit longer for the figs to soften enough to puree/blend.
- Once ingredients are pureed, turn heat to low and use a loose-fitting lid that allows water/steam to escape while keeping any bubbling fig preserves contained to pan. Let cook down and thicken for about 1 hour: aim is to reduce total volume by ~25% so you end up with about 1.5 cups of thick fig preserves.
- Remove from heat, let cool to room temp, then put in fridge to chill.
For the fig nibbler
- Preheat oven to 350°F (177°C) and butter a 9″ x 5″ bread pan (ideally glass).
- In electric mixer, beat together room temp butter and maple syrup for about 1 minute. (Start low then speed up so you don’t make a mess.) Add egg, vanilla, and orange zest, then beat again.In seperate bowl, stir together all dry ingredients. Then slowly add dry ingredients into mixing bowl with wet ingredients with mixer on low. Once all ingredients combined, turn mixer up and continue mixing for another 30-60 seconds. Use spatula to make sure no un-mixed ingredients are left on side or bottom of mixing bowl.
- Measure out half of the batter (3/4 cup or 228 grams). Keep half of batter reserved at room temperature, and put other half of batter into buttered baking dish. Flatten/even out batter with a spatula on bottom of baking pan. Bake in pre-heated oven for 23-25 minutes or until it’s just starting to get golden brown on sides. Remove from oven, put on cooling rack, and let cool to close to room temperature.Pour chilled fig preserves on top of pre-baked cookie/cake base, then evenly spread the preserves to uniform thickness. Next, dollop on small spoonfuls of the remaining batter (use two spoons - one to scoop, the other to remove the dough) until the dough is evenly distributed across the surface of the fig preserves. (See pictures in article!) Place assembled fig nibbler back into the pre-heated oven for 50 minutes uncovered + another 5-10 minutes lightly covered with a sheet of aluminum foil. This allows the dough to fully bake in the center without the top browning too much.) When done, sides should be golden brown and center golden with no doughy appearance.
- Place on cooling rack. Serve while slightly warm for more of a cobbler consistency. Or chill in fridge, making it easier to cut into tidy pieces. From there, microwave individual pieces until slightly warm, about 15-20 seconds, then serve. Serve as-is to keep sugar content low or with a dollop of whipped cream or ice cream.
We hope you and your family love fig nibbler as much as we do — enjoy!